Make your own signs!
That wasn't me yelling at you, it's me telling you that you CAN make your own signs! So many people ask me to make signs for them or how I do it so, now I'm going to tell you how to make your own! First, decide the size of sign you want to make and draw it or make it on your computer.
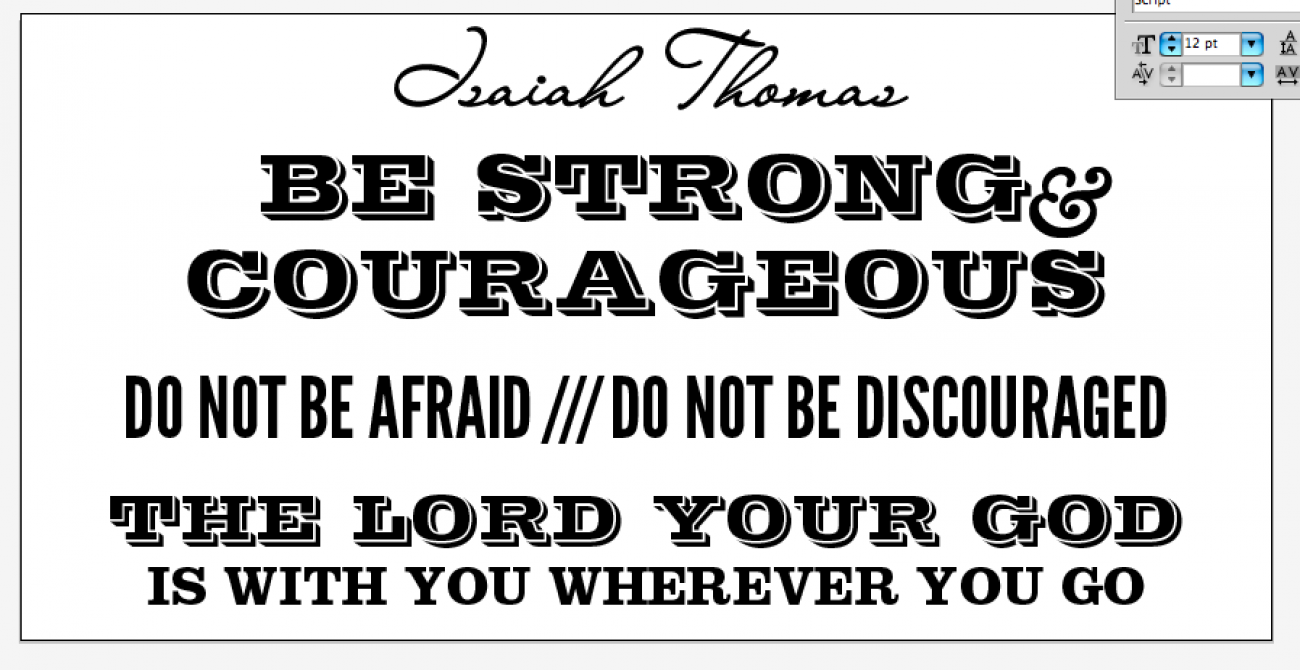
Next, print out your design (for large signs I like to have them printed and cut at Kinko's).
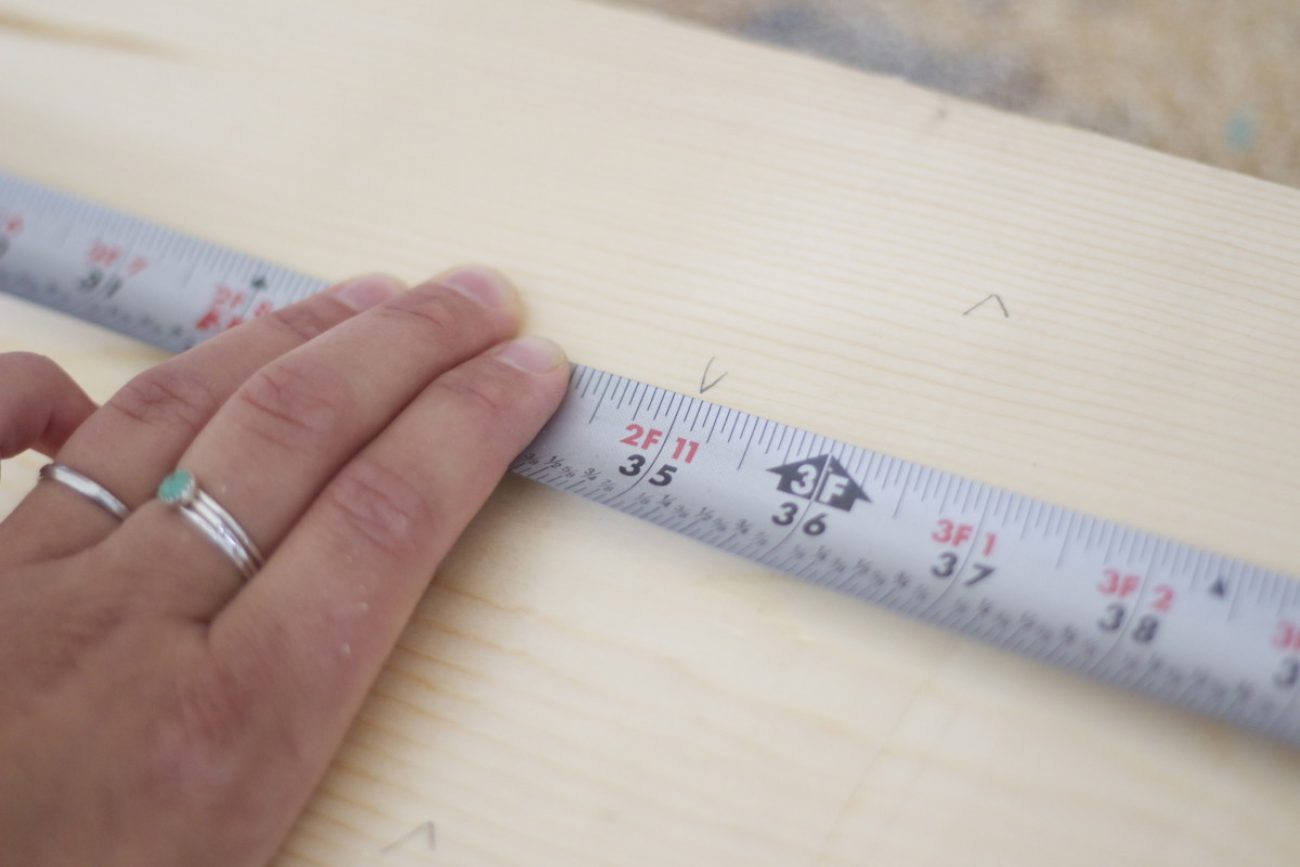
Measure the wood.
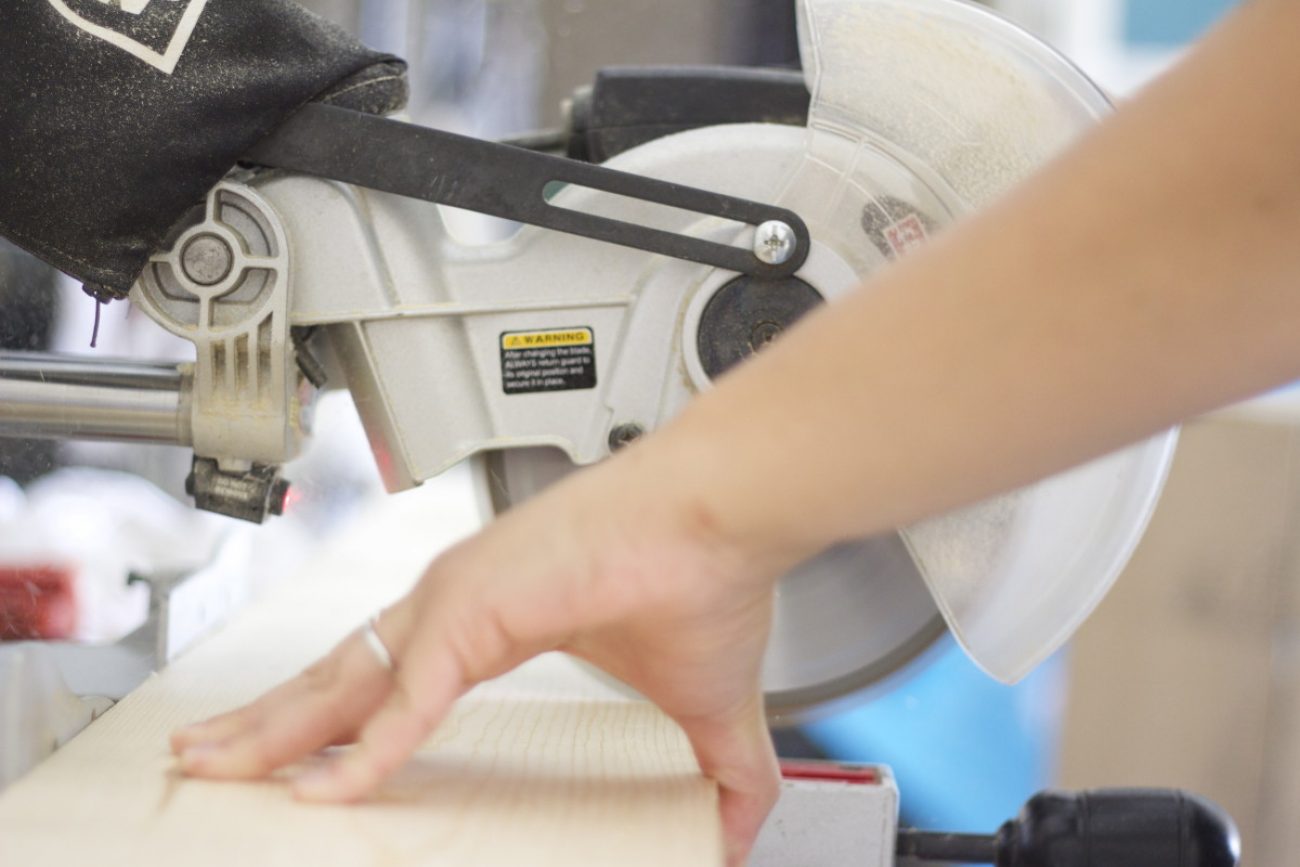
Cut the wood.
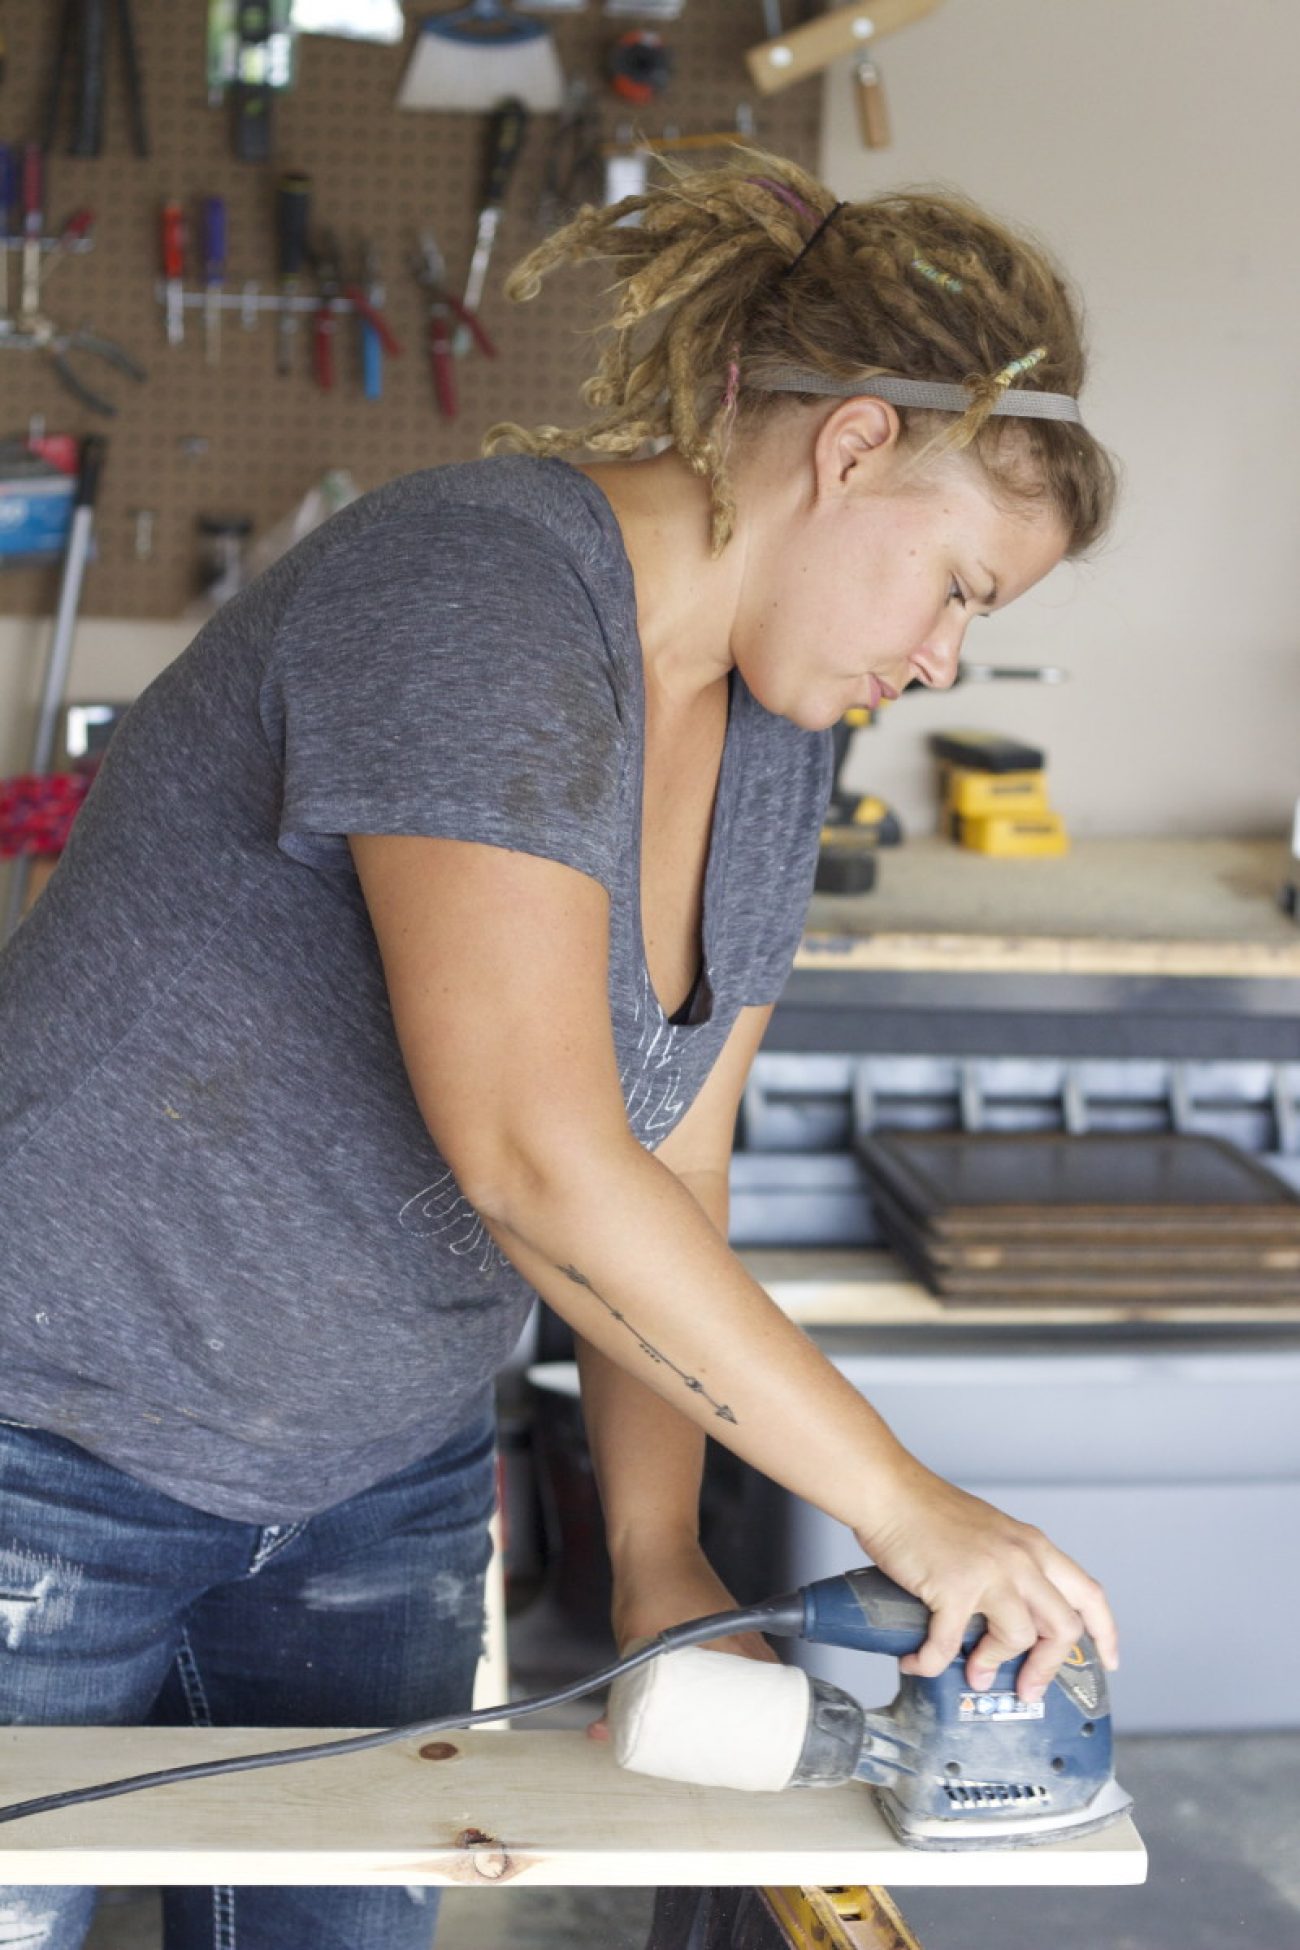
Sand the wood.
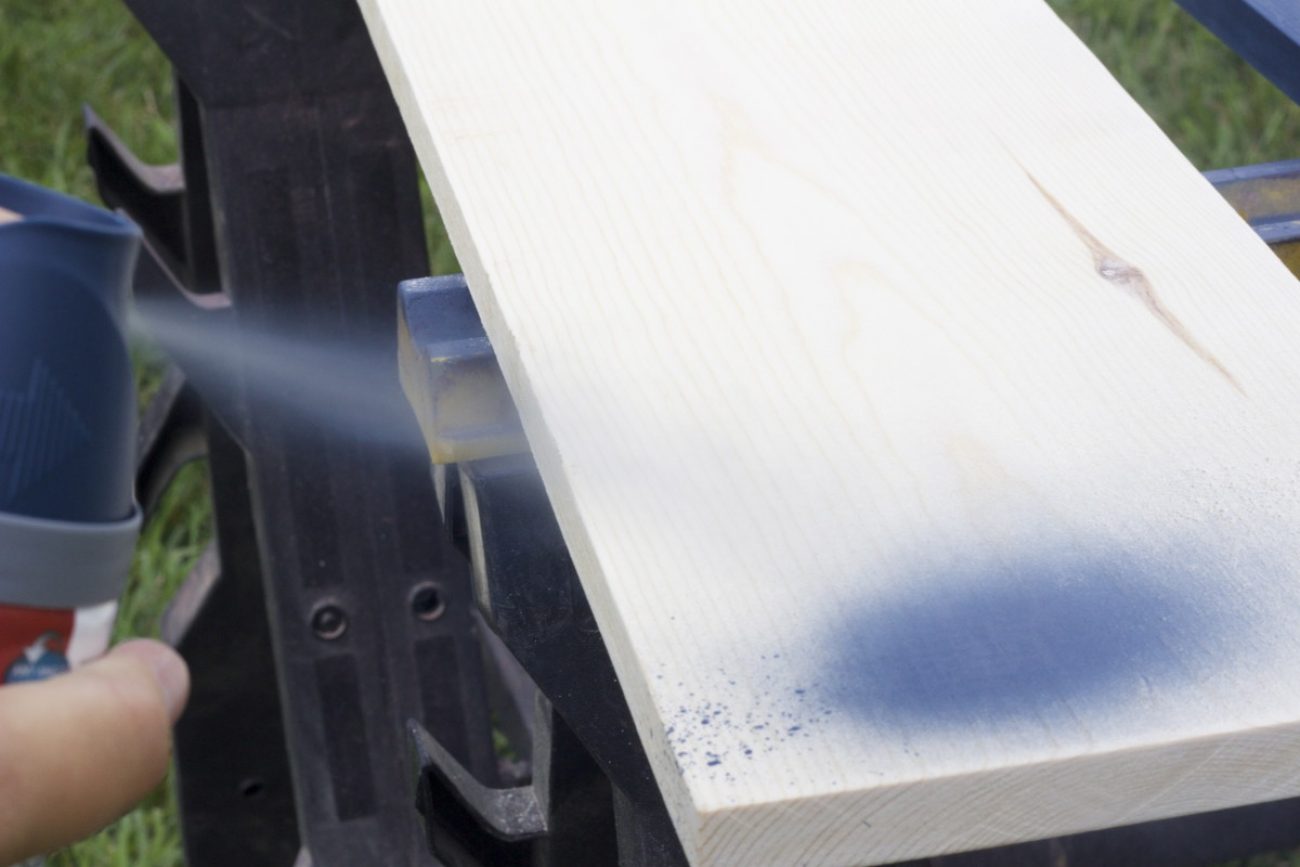
Paint the base coat on the wood. ***This is the one and only time I've ever used spray paint on a sign. NEVER AGAIN will I use spray paint. Choose acrylic or chalk paint. I'll explain in a few pictures.
Once base coat is dried, lay your print on the wood.
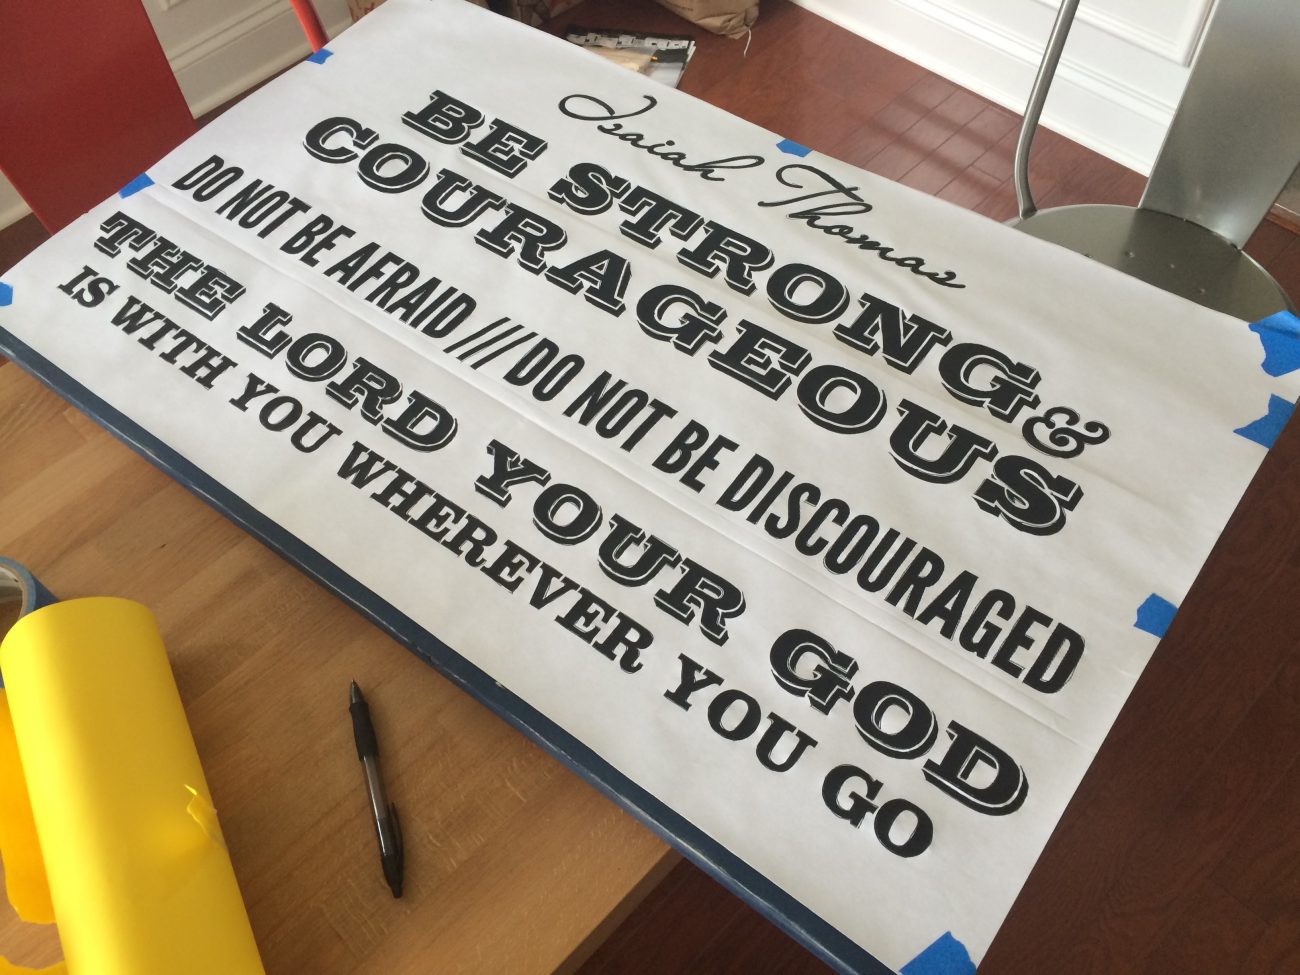
Trace your design with a ball point pen. Don't press too hard, but hard enough for you to see a slight line in the paint on the wood.

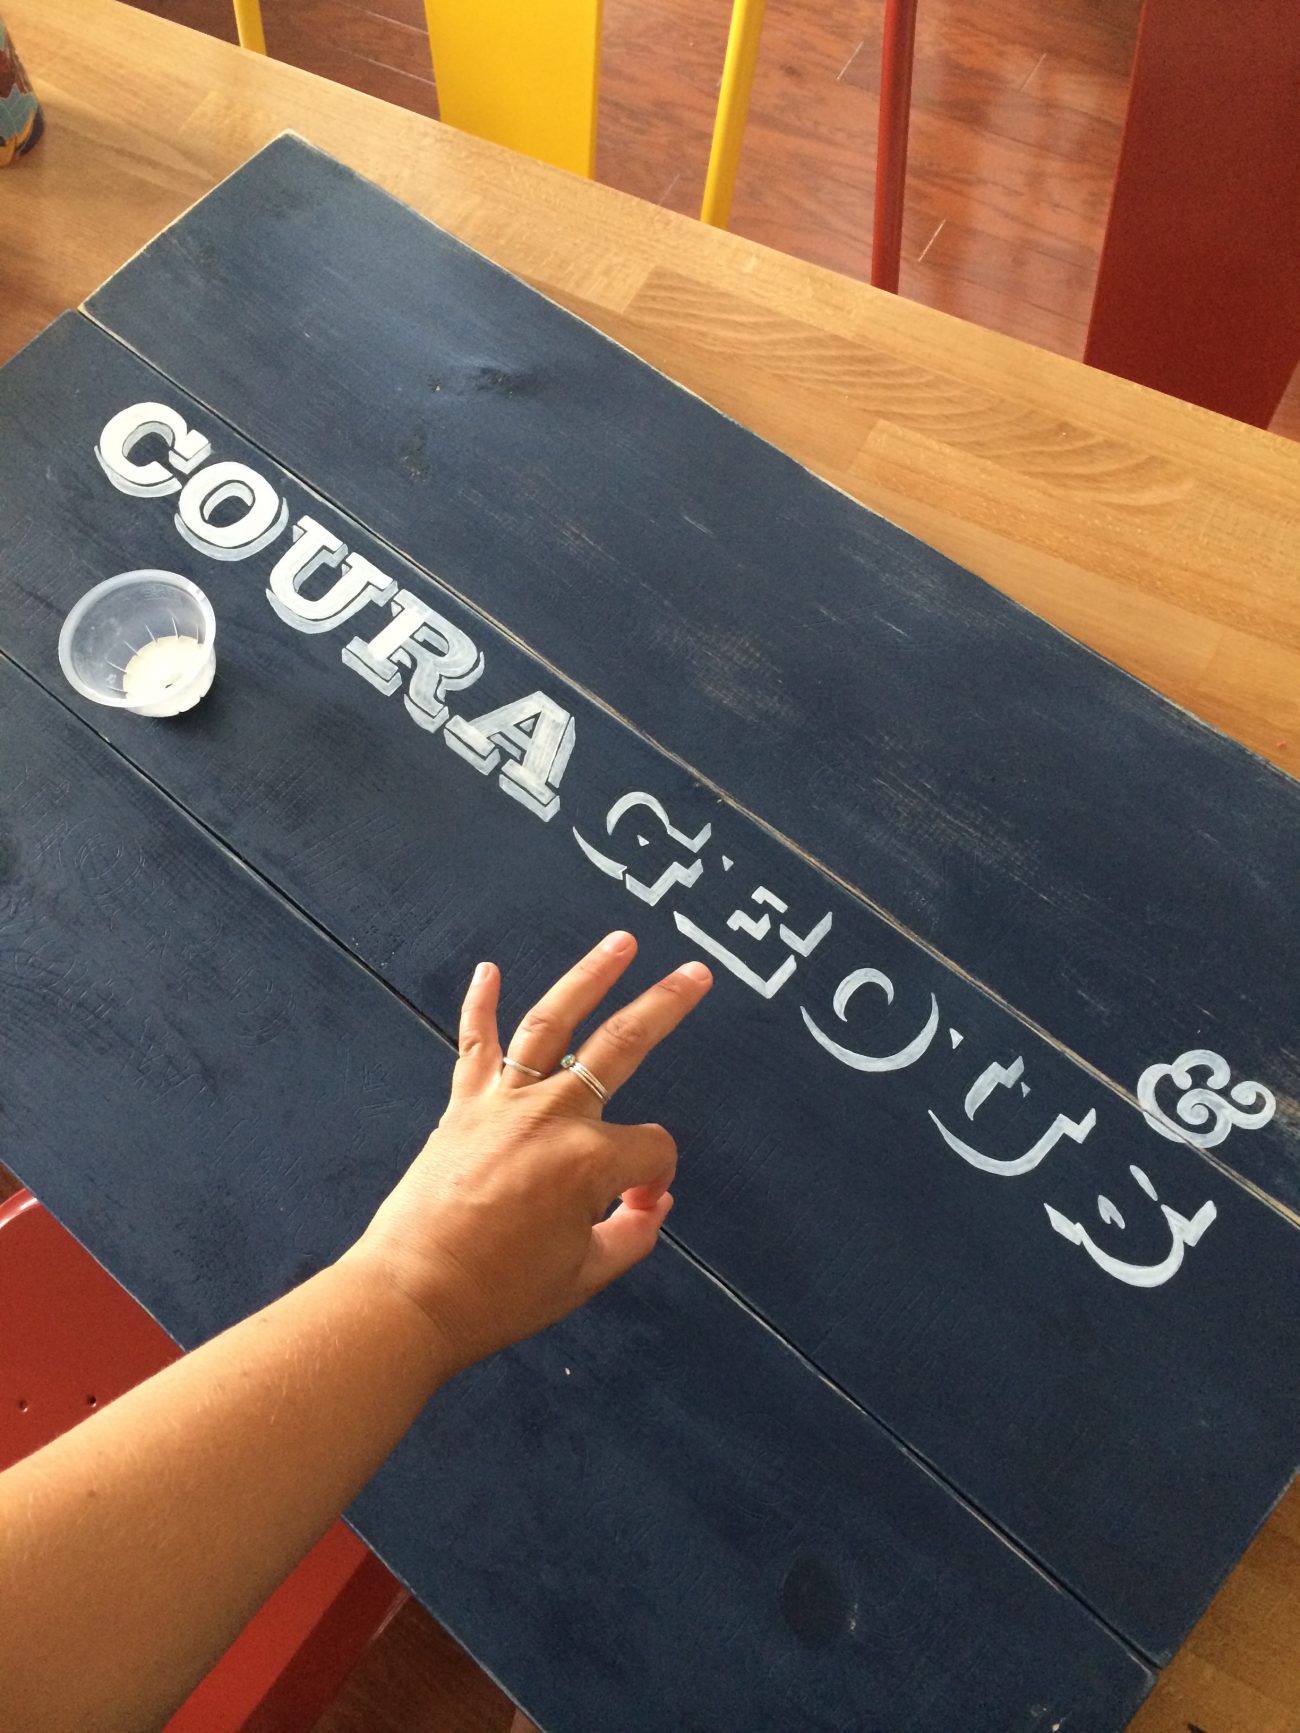
Next, choose your color and start painting in the lines. From experience, DON'T use spray paint for your base coat. I did this on this sign and it was horrible to paint my top coat. I had to go over the words 3-4 times to get it to look right. I always have used acrylic paint (sometimes chalk paint) for my signs and that works great. For this particular sign, I only used the spray paint because the person who is receiving this sign as a gift had used this very same spray paint to do the furniture in the child's room and we wanted it to match perfectly. Painting the letters by hand is very time consuming (more so when spray paint has been used). At this point, I had spent 3 hours on tracing and doing this little bit of painting.
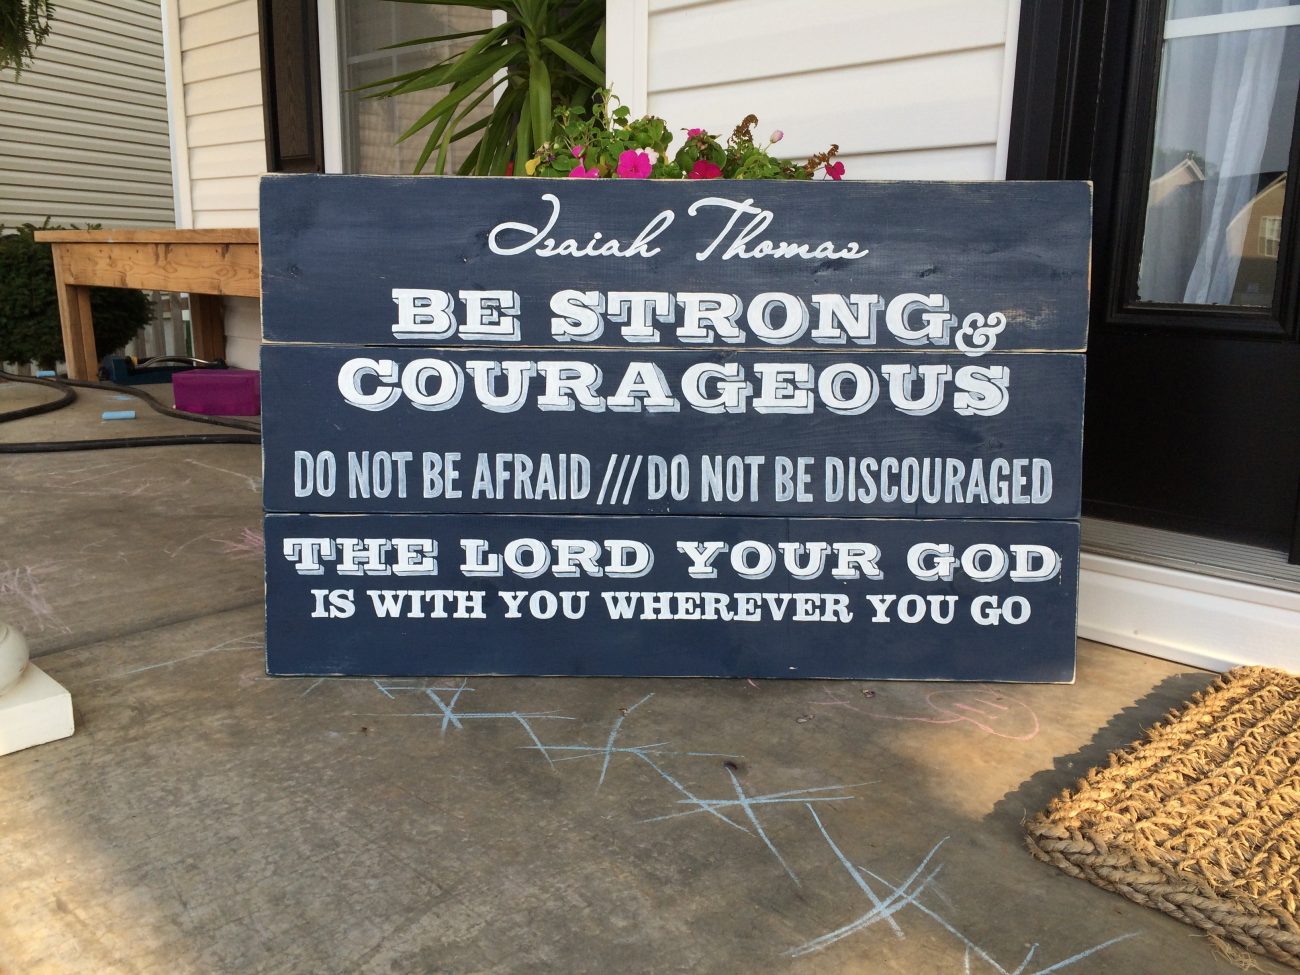
Many hours later, you'll be so happy with what you've done! You just made your first sign. Maybe you should choose a less complicated sign than this for your first try.
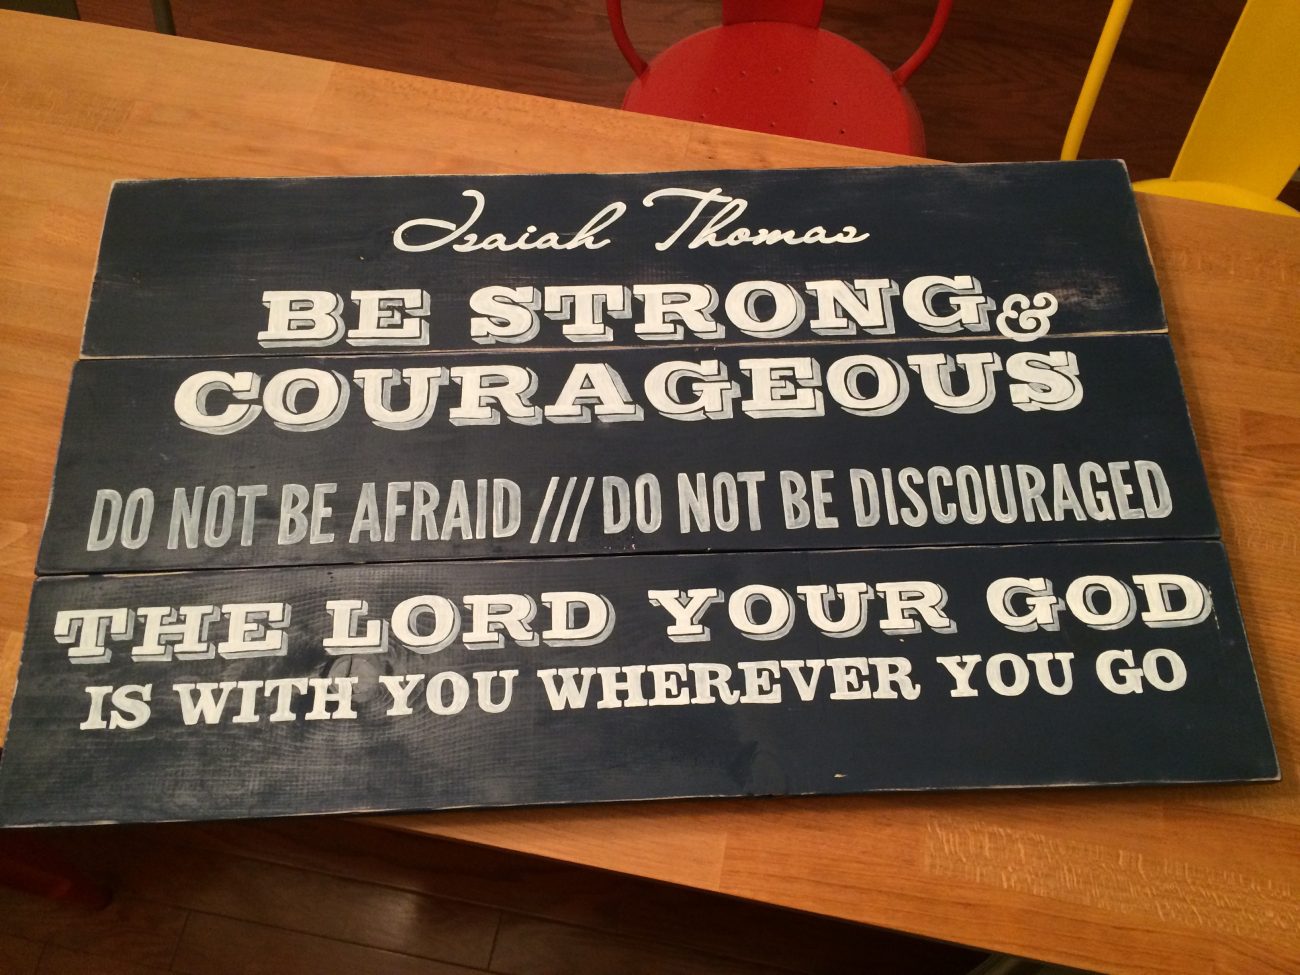
Had I used acrylic, I would add another step of sealing the sign with either stain or wax. This sign, I just left it as it is.
Good luck and happy painting! Tools I love for this job: Craftsman Miter Saw, Ryobi Hand Sander, these brushes.
Apparel
Grab a fun, comfy t-shirt & help support our family.


About the Author
Ashley Longnecker is the fiercely independent tattooed and dreaded half of Tiny Shiny Home. She's a woodworker, photographer and maker of delicious baked goods. She loathes schedules and makes every day an adventure.
comments powered by Disqus


