Introducing LAVACRETE: The Coolest Alternative Building Method You've Never Heard Of
Today we’re excited to share the details of Lavacrete construction - this exciting new (to us) building technique promises a sustainable, thermally efficient, fire resistant, low carbon, concrete style wall using scoria or cinder sand.
Simply put, it goes up fast, is less labor intensive than earthbags, needs no finishing work, and cost effective because the lava sand is a byproduct of landscaping lava rock.
While pioneers like Paul Schwam have been pushing this technology forward for nearly 30 years, there’s very little public information available.
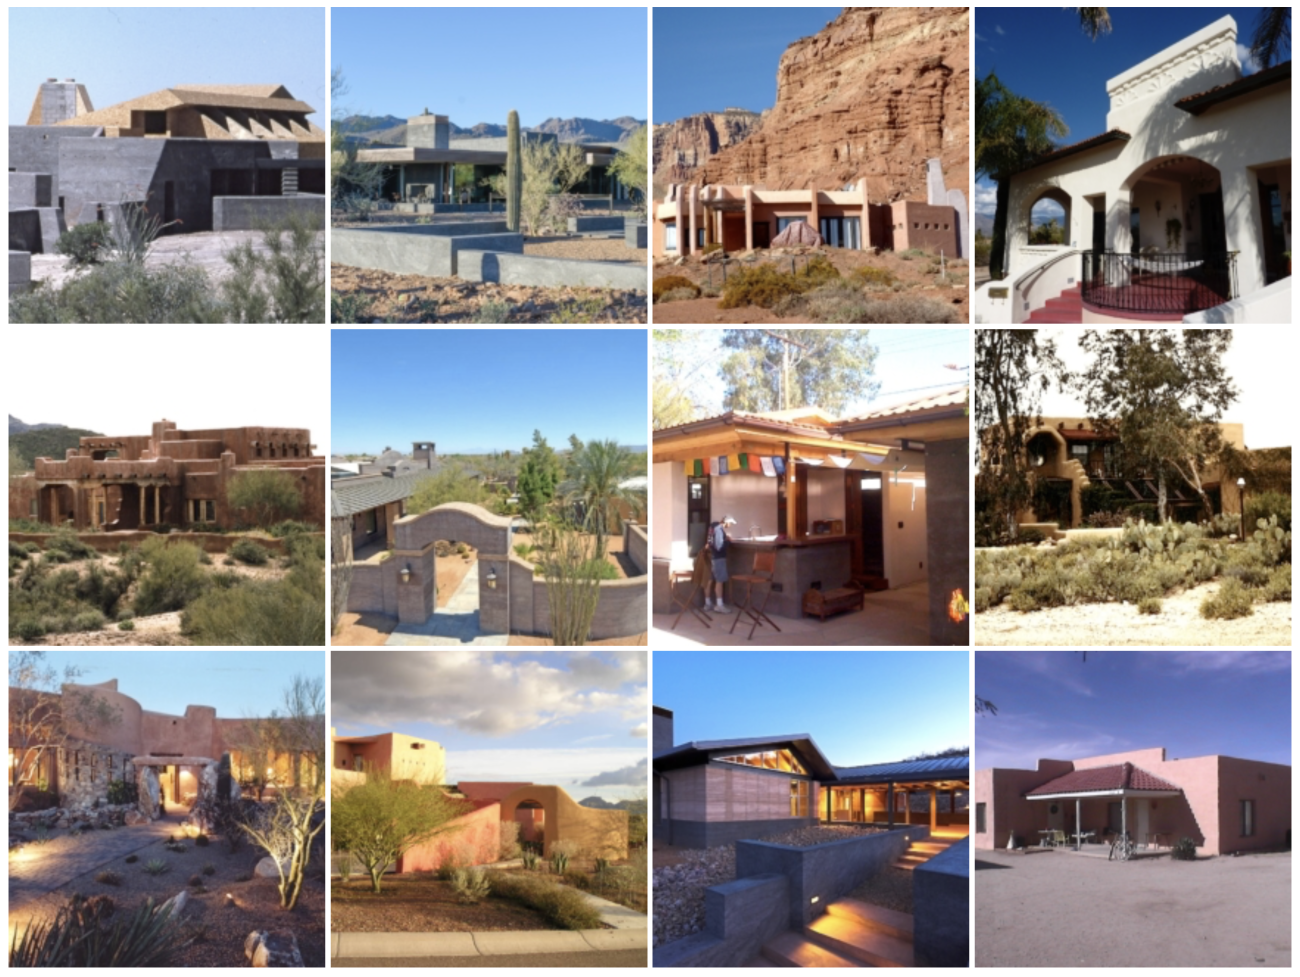
So today we’re going to do our best to explain Lavacrete with help from the pros, looking at the history, materials, process, and even gorgeous examples of what can be done with this technique. Ready? Let’s Get Started.
Sections
- History
- Benefits
- Materials & Process
- Foundation, Doors & Windows
- Curing & Form Removal
- Lavacrete Material Calculator
- Step-by-Step Lavacrete Build
History
Like we said, there’s not much on the internet about Lavacrete so it’s hard to tell exactly where it originated from.
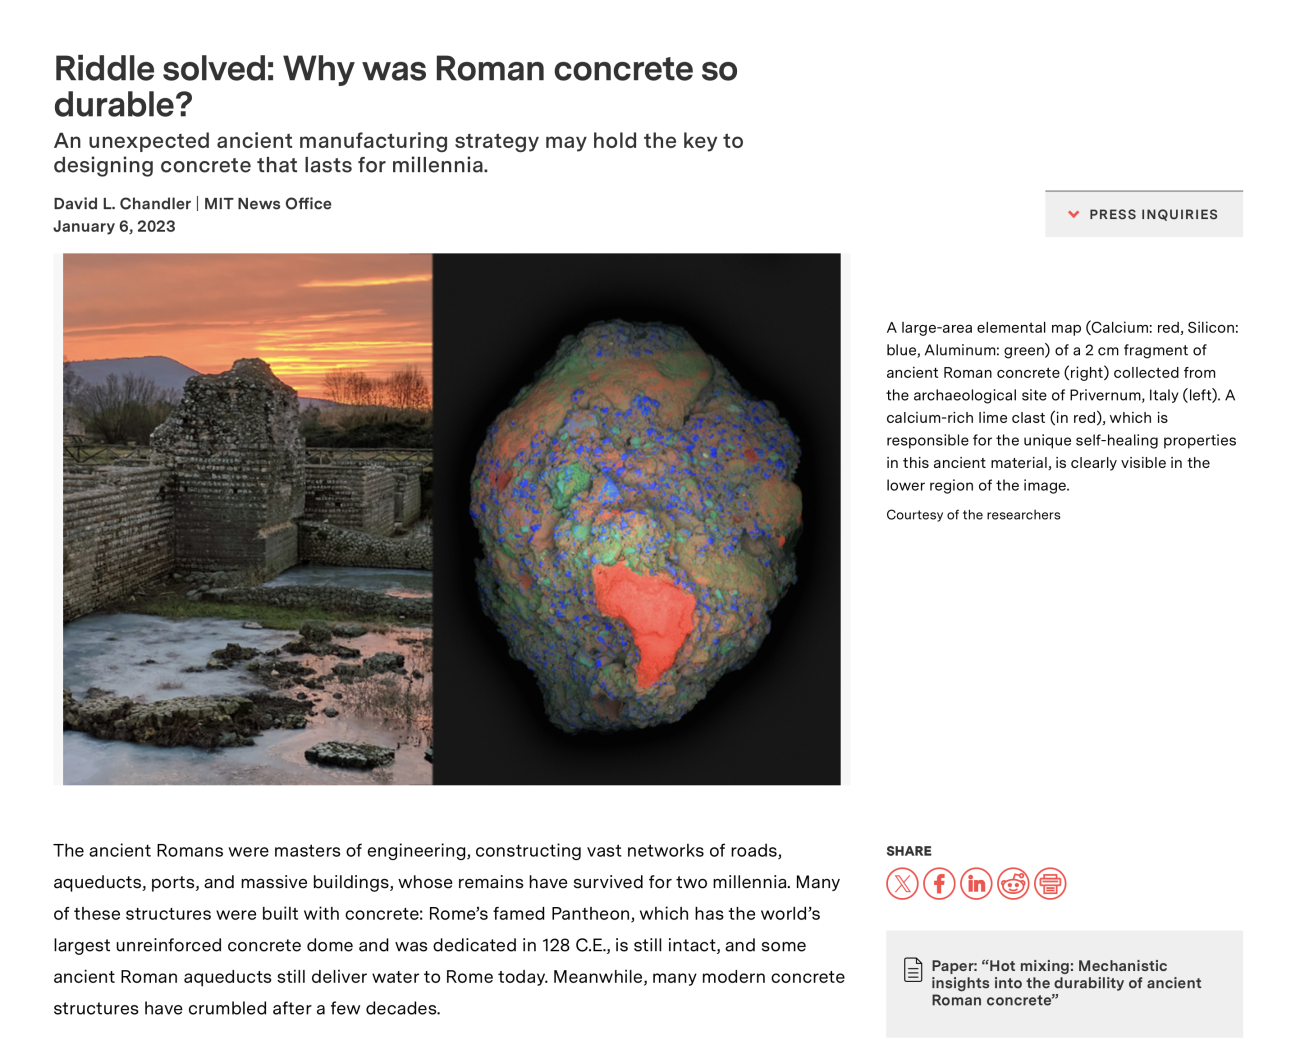
It’s been said the ancient Romans incorporated ground volcanic rocks as a binder in their concrete, but regardless, it seems it was largely forgotten until the last 30-50 years, with interest growing in the last 5 or so.
And believe it or not, most of the development has been happening right under our noses here in the Tucson, Arizona area for the last 30 years.
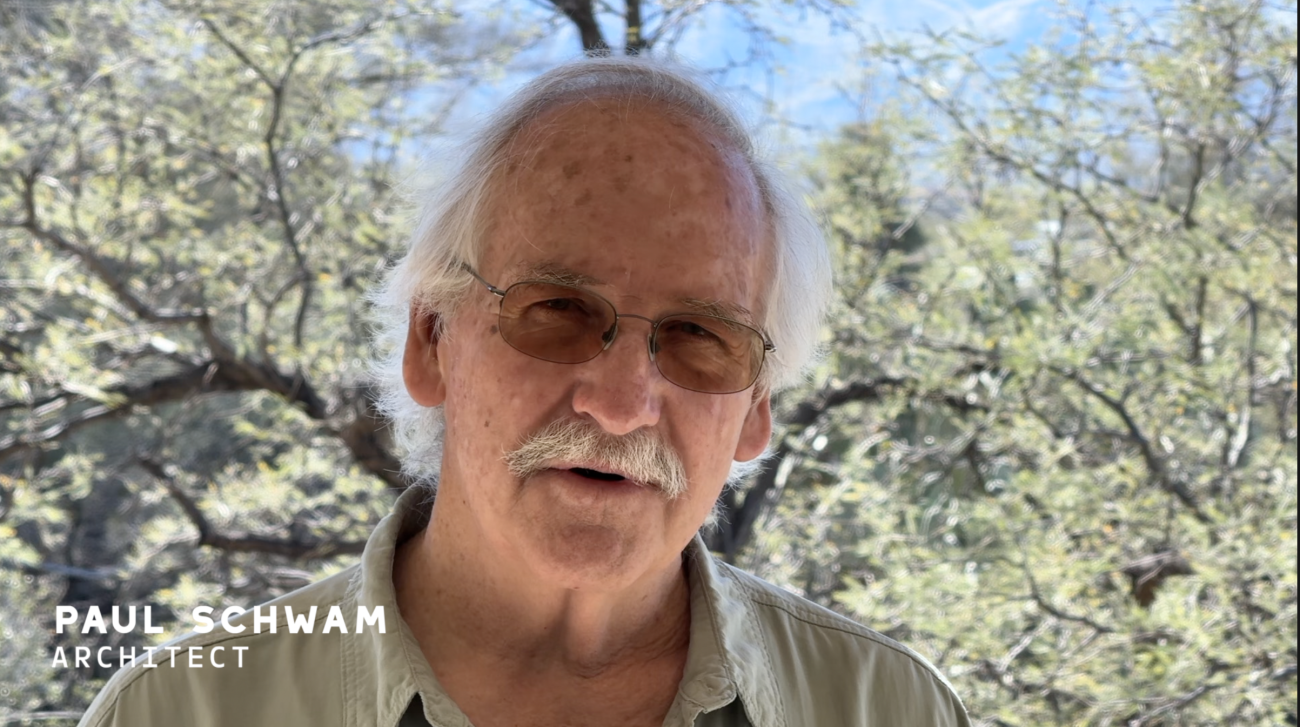
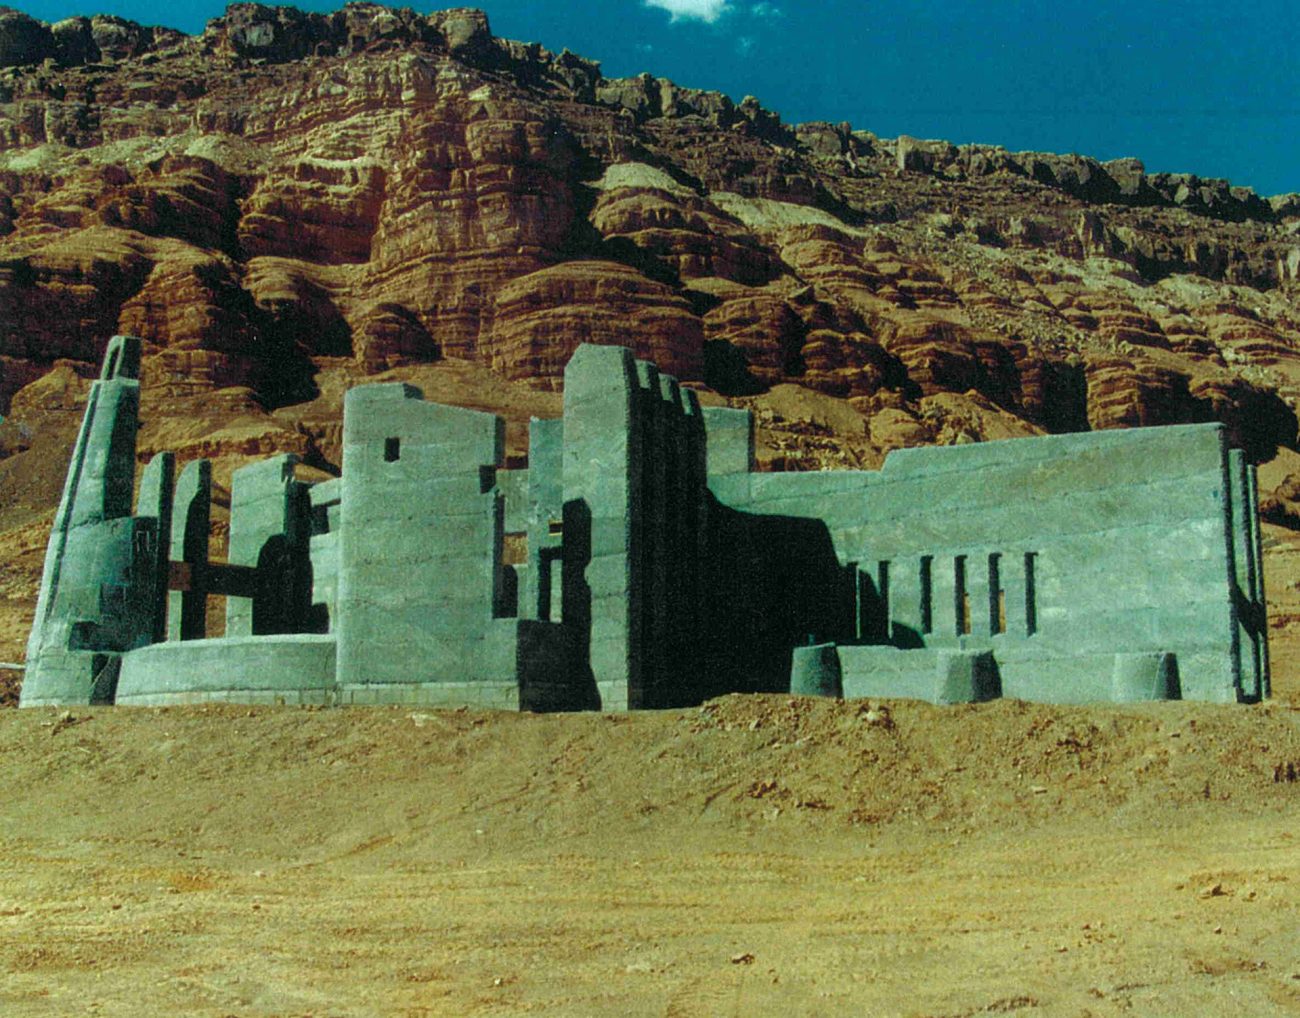
Paul Schwam is an architect that has spent most of his career focused on designing and building sustainably. He co-founded World Geodesics with Al Miller and Buckminster Fuller in the 80’s, and found volcanic architecture in the 90’s.
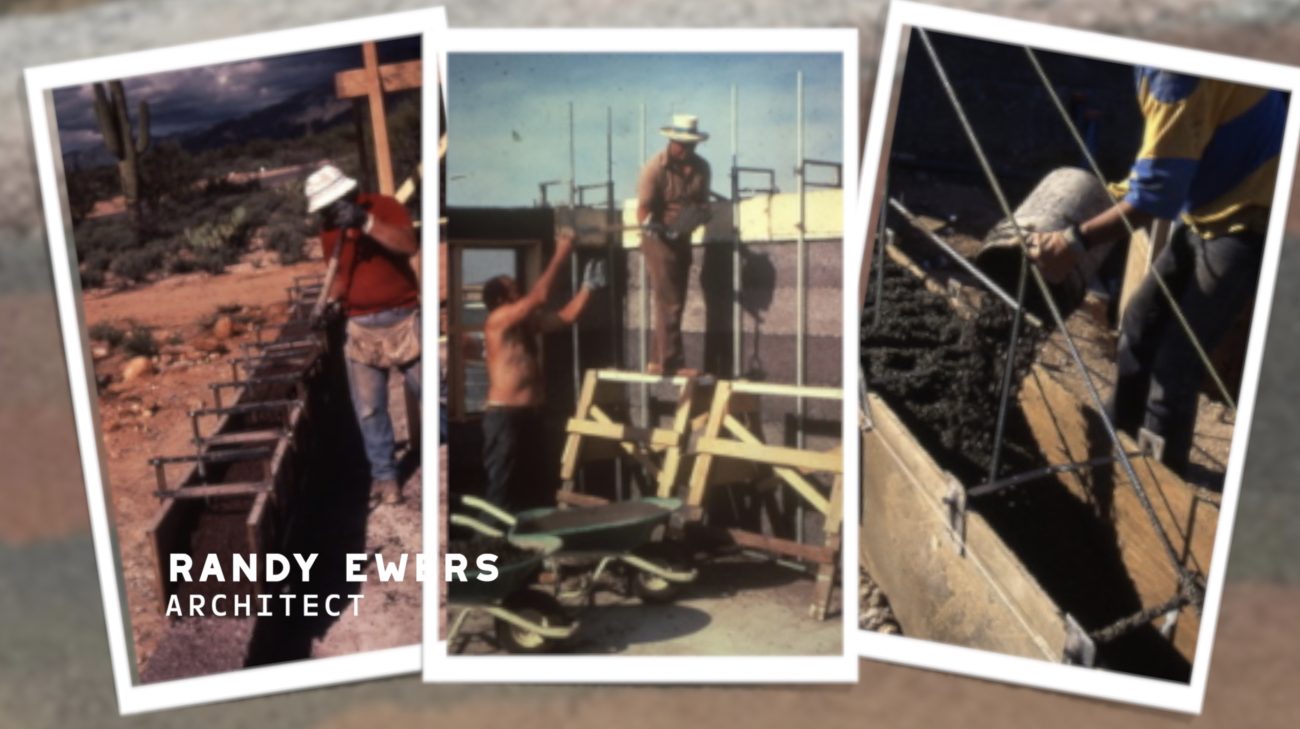
During an interview Paul shared his Lavacrete origin story: "A buddy of mine in school - Randy Ewers - his father was building with scoria 10 years before I even knew it was around. Randy continued that process, and built a house in Tucson, AZ. I was involved with that, and intrigued with the fundamental power and capability of this material. It was so easy to work with, very flexible. It also had some big room for improvement."
"LAVA stands for Lightweight Aggregate Vertical Application. That's probably what I was innately attracted to - this was a vertical kind of concrete. Very playful, and relatively inexpensive going up as walls and roofs - that's brand new gymnastics for architecture."
From there Paul helped develop a new class of concrete - Lava Concrete - a building material suitable to architecture wile also being deliberately designed to respond to health and environmental concerns, financial pressures, and natural resource opportunities.
Over the years he has continued to push the technology forward, working with permitting offices and shepherding over 25 code compliant homes and structures to date, even developing custom machinery to help construction crews do this work efficiently.
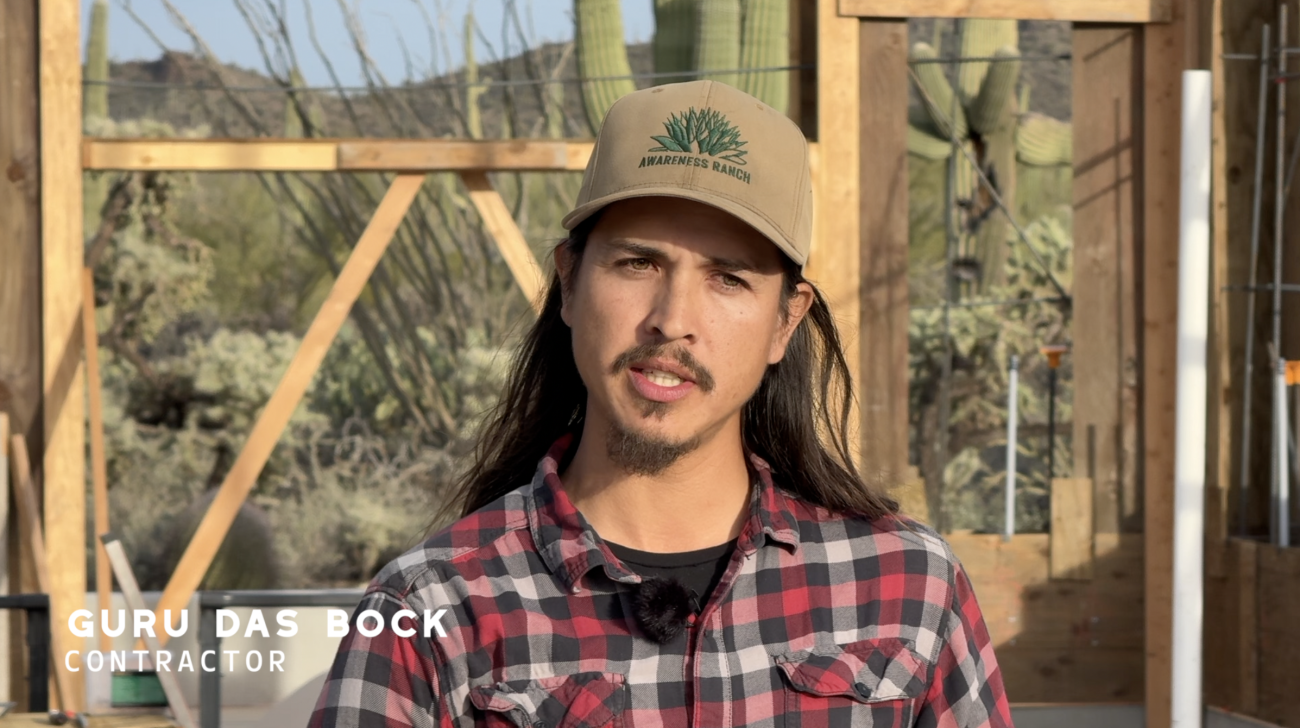
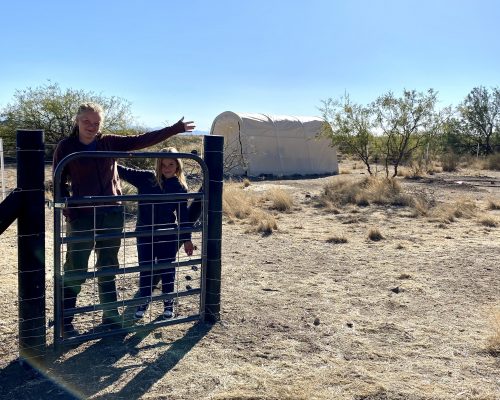
Guru Das began learning with Paul in 2017, and his construction company Awareness Ranch has continued to build with Lavacrete and other alternative building styles over the last 5 years, getting testing done for engineering and certification.
He's been experimenting with as many building materials as possible: "I'm really interested in building long lasting, resilient, sustainable infrastructure. If something has to be be rebuilt over and over, it's not as sustainable as it might seem. This Lavacrete material is a hard, long lasting material - and I think if we can build something once and it can serve a purpose for many generations - that's the goal that I'm after. I really want something that's going to have longevity for many generations, and I think this Lavacrete material does that."
It's crazy that there's not more information on the internet about this, so we’re excited to dig in and learn why Lavacrete might be the next big alternative building technique.
Lavacrete Benefits
Lavacrete is uniquely positioned as a material we’re all familiar with - concrete - but with a number of upgrades and benefits while also being more environmentally friendly.
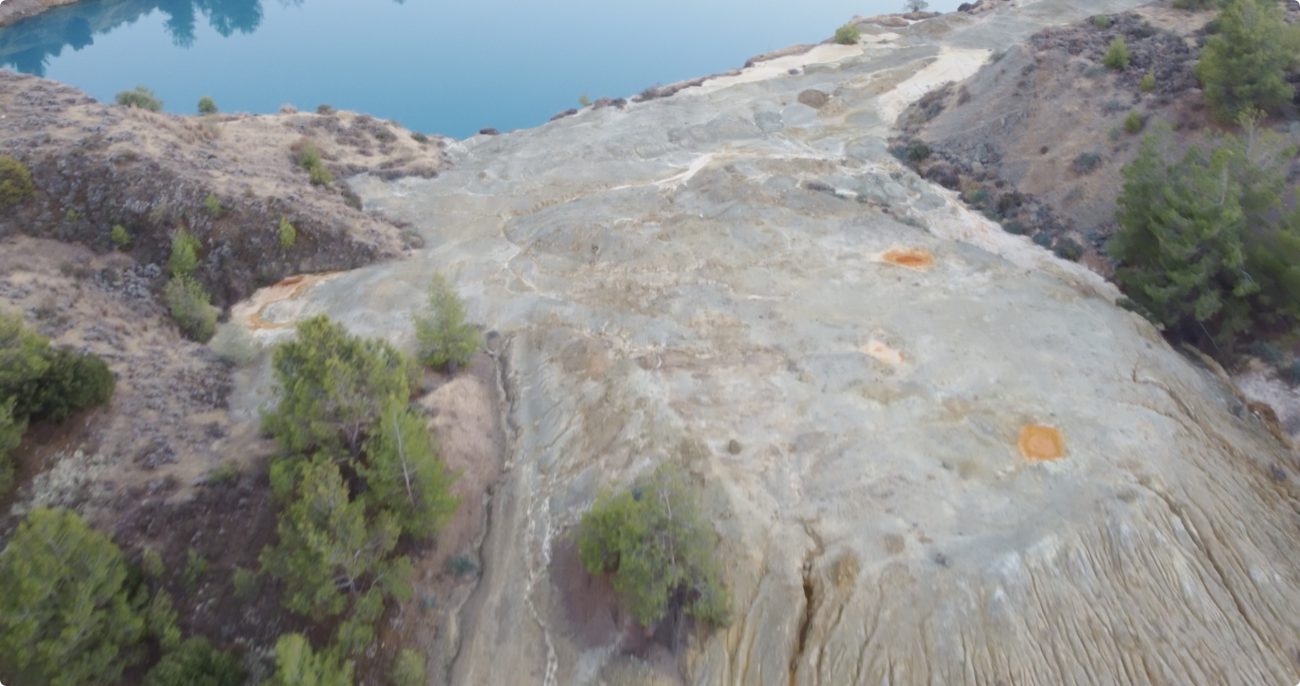
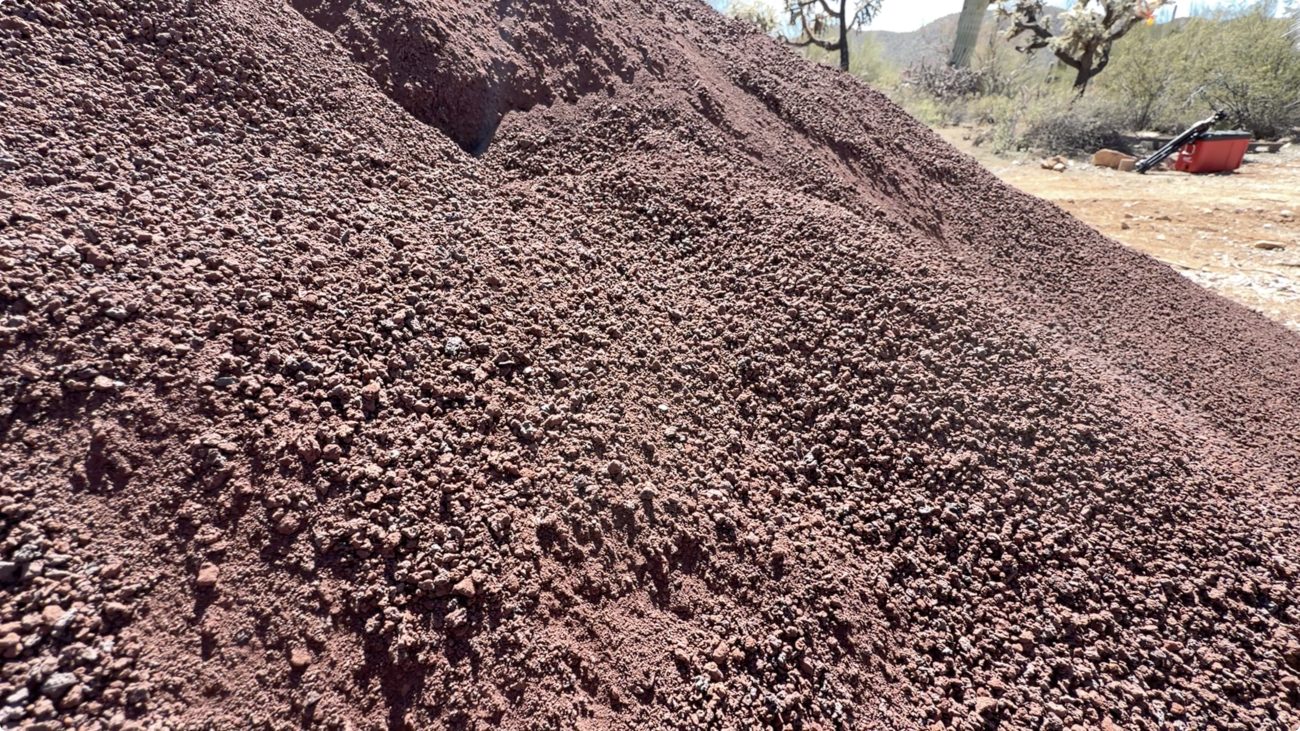
We're running out of the washed sharp sand needed for concrete projects so scoria (sometimes called cinder) sand is the perfect plentiful alternative.
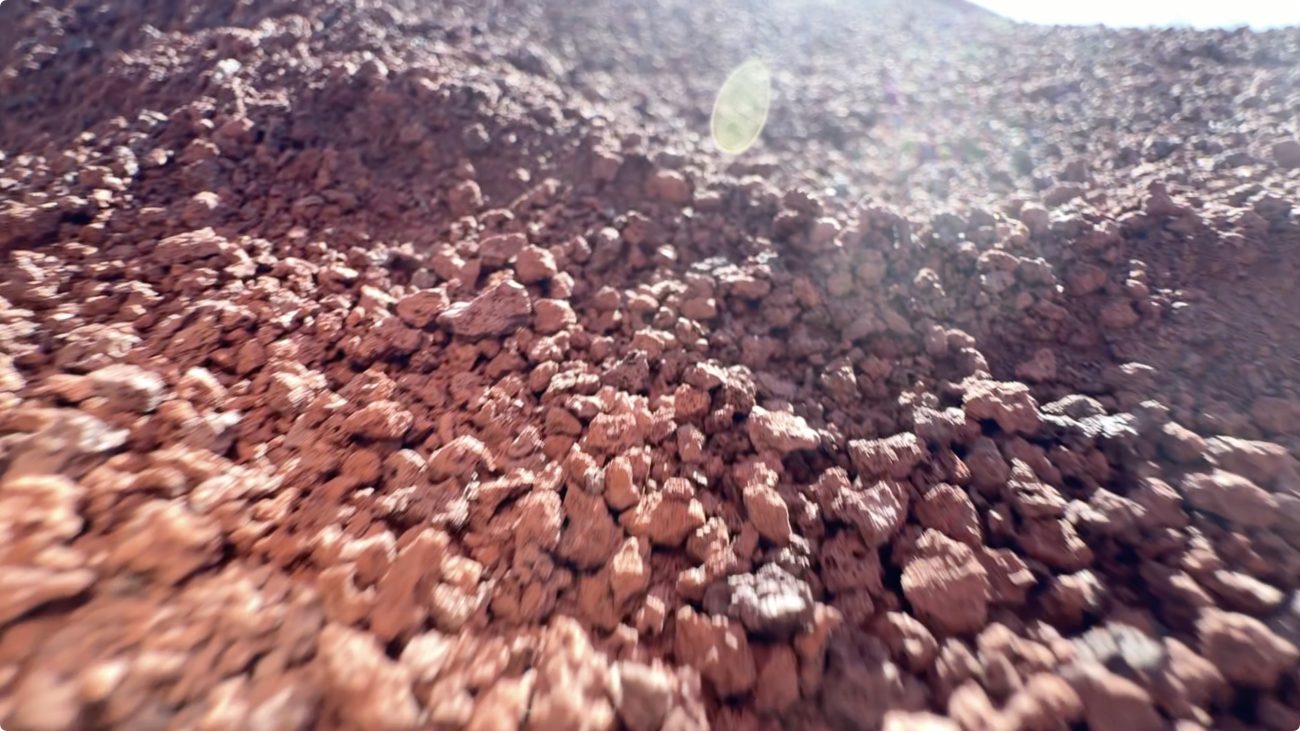
Scoria sand is a byproduct of screening for landscape lava rock. When crushed and sifted you end up with a very sharp lightweight aggregate that locks in tightly with the other material. Because it’s “left over” material, the cost is reasonable.
You still need to add a binder like cement or lime, and rebar is recommended lateral forces.
However, it differs from traditional concrete in workability, performance, and application. The material is blended in a highly aerated and fluffy way, finding the balance between strength and durability but also increased insulation and sound absorption. It’s poured much drier than concrete so it cures faster.

There are no masonry joints meaning fewer points of failure, and it’s thermally efficient, acoustically insulated, fire resistant, and termite resistant. Even better, it doesn’t require additional labor like heavy compaction or vibration.
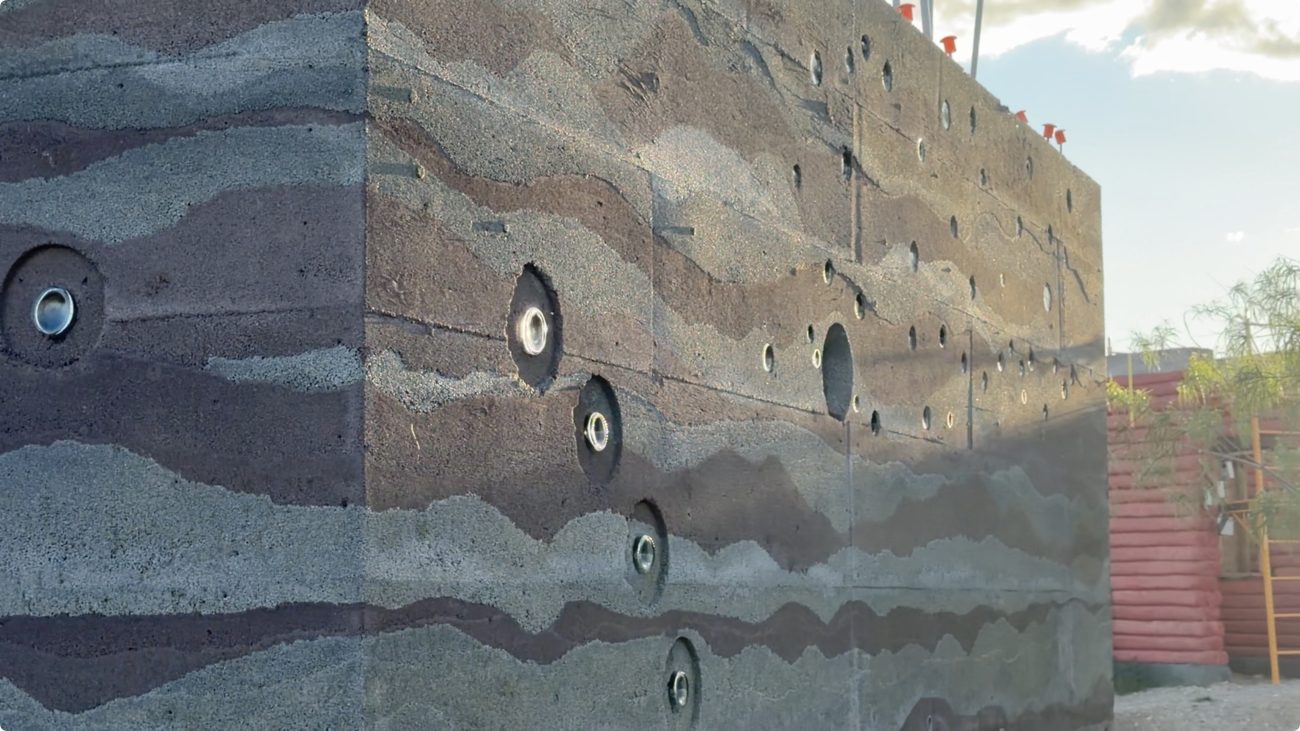
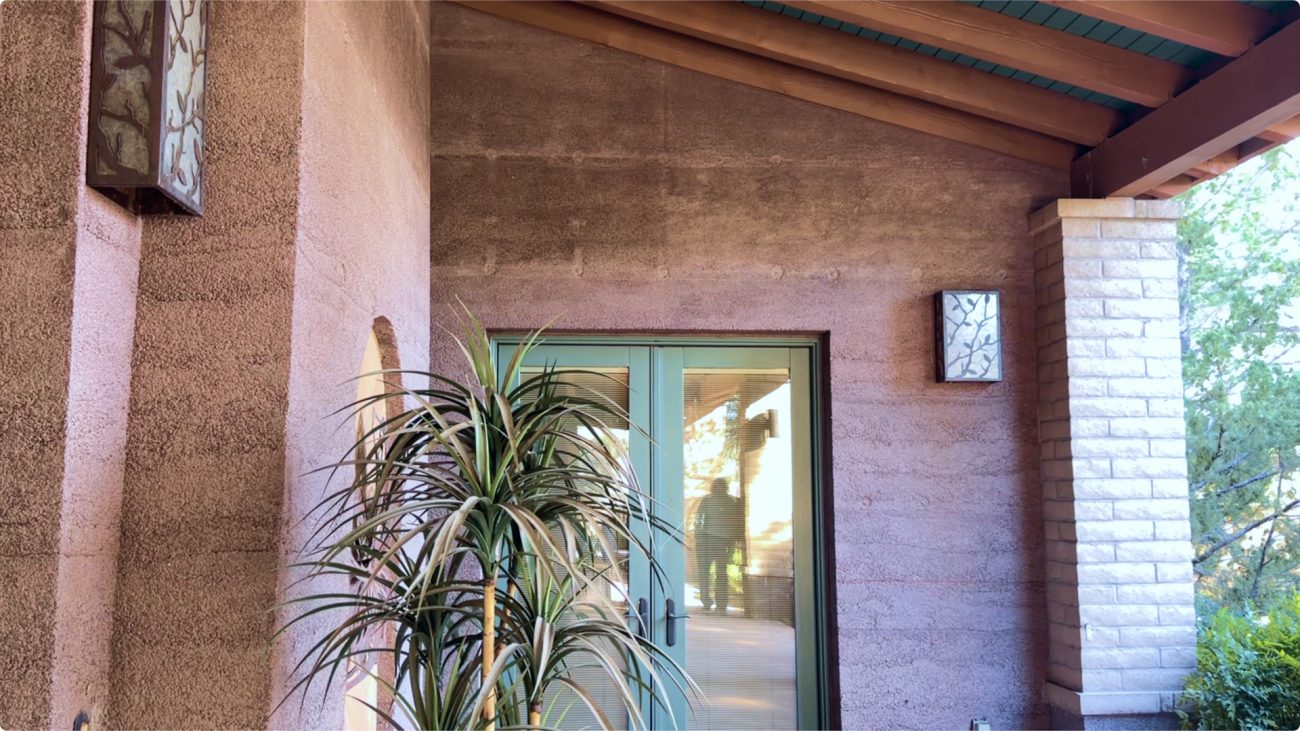
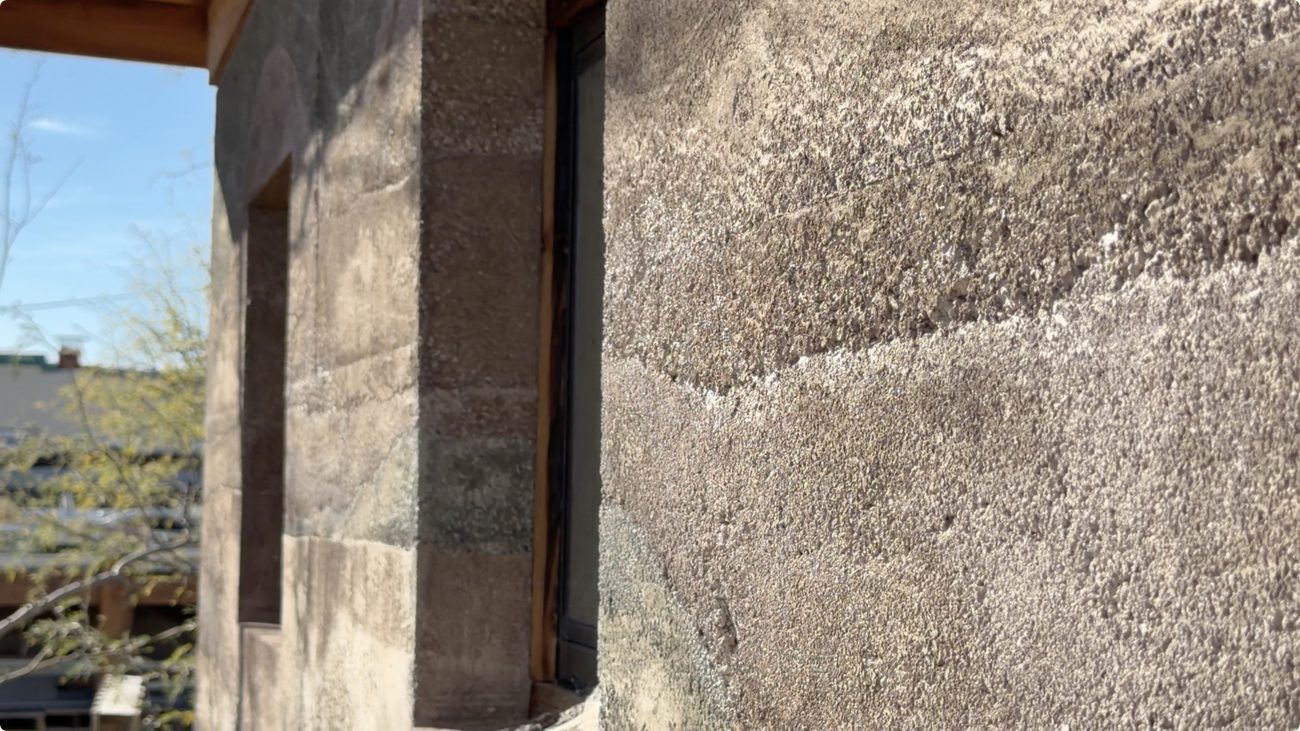
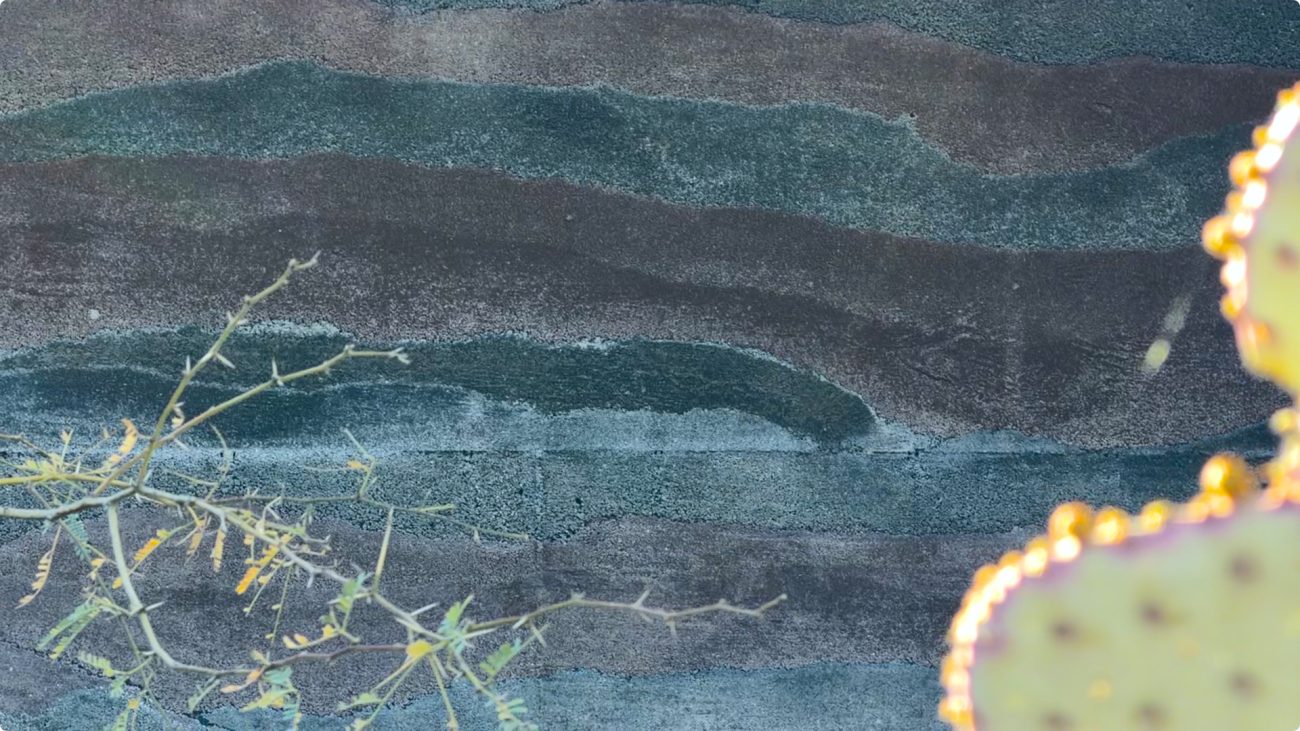
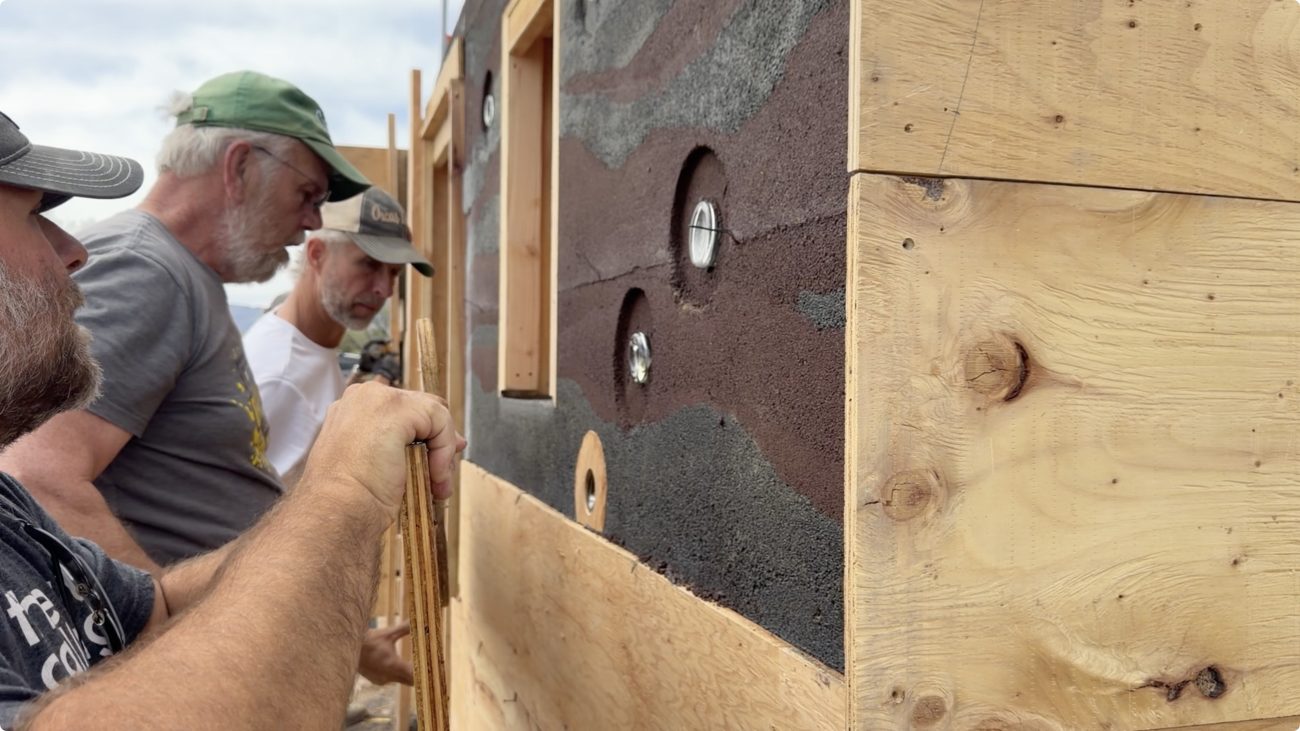
The cherry on top is that once the forms are removed there’s no finish work needed. The surface is naturally weather resistant, and absolutely beautiful. This has the potential to save hours of labor during the finishing stages.
Lavacrete will make the most sense for you if scoria, cinder, or other volcanic materials are regionally available. An important part of building more sustainably means using locally sourced materials to reduce long distance transport. So just keep that in mind.
For those of you who are like, “This sounds cool. how does this actually work?” We’re gonna get into it.
Materials & Process
The basics of working with lavacrete are actually really simple. You only need a few materials:
- Aggregate
- Binder
- Water
- Reinforcement
- Forms
You’ll mix your aggregate, binder and water together and fill your form which should have some kind of reinforcement inside.
Aggregate
The aggregate in this mixture is the scoria or cinder sand. Fine grained will give you a smooth finish, but you can use gravel sized scoria then sandblast for a pebble texture. The pieces of sand are very sharp, and this helps everything lock together when the binder is added.
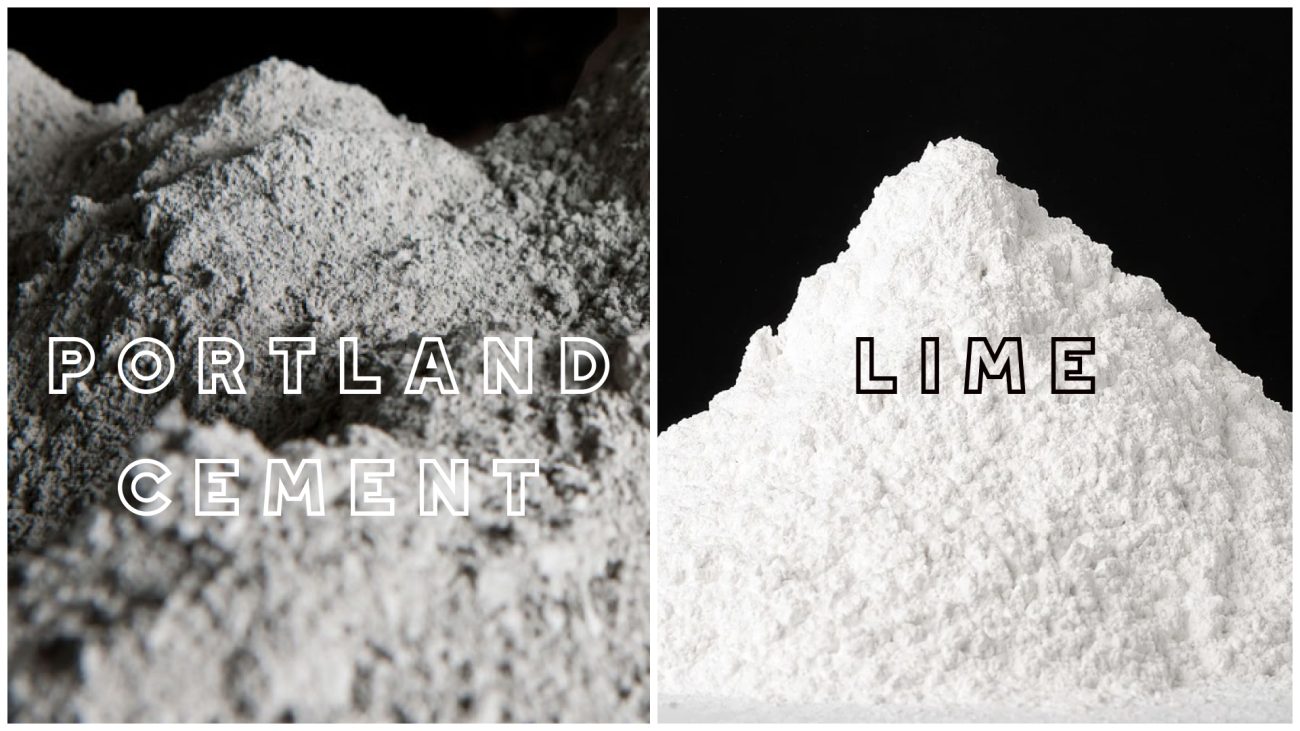
Binder
This can be portland cement or lime. There are pros and cons to both.
Portland is easier to get, cures faster, and speeds up build times. But it is terrible for the environment, and is prone to cracking over time.
Lime is potentially more expensive and difficult to source, and cures much slower, thereby removing the “build fast” benefit of Lavacrete. But long term lime has been shown to self heal and continually become harder over time.
At this point lime is only beginning to be explored because most of the projects being done are in the engineered and permitted space. So we hope that more experimentation can be done with it as it’s obviously more environmentally friendly and long lasting.
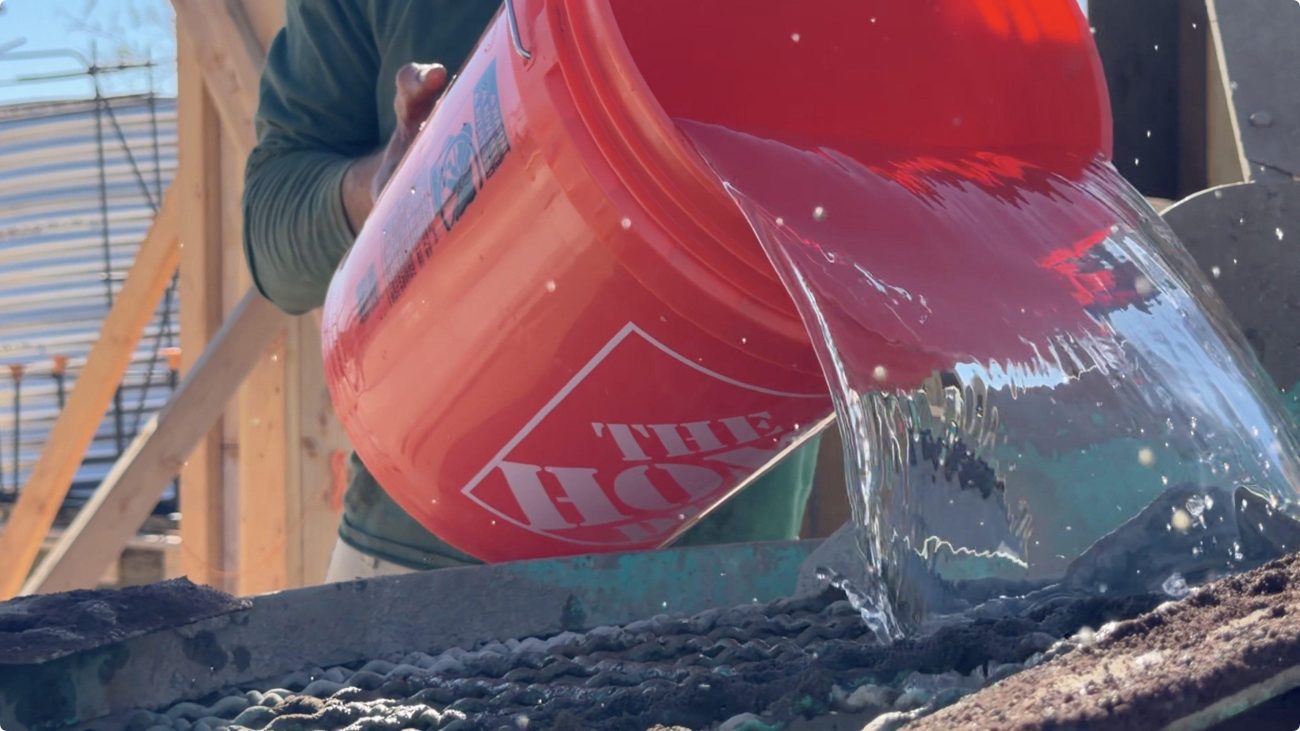
Water
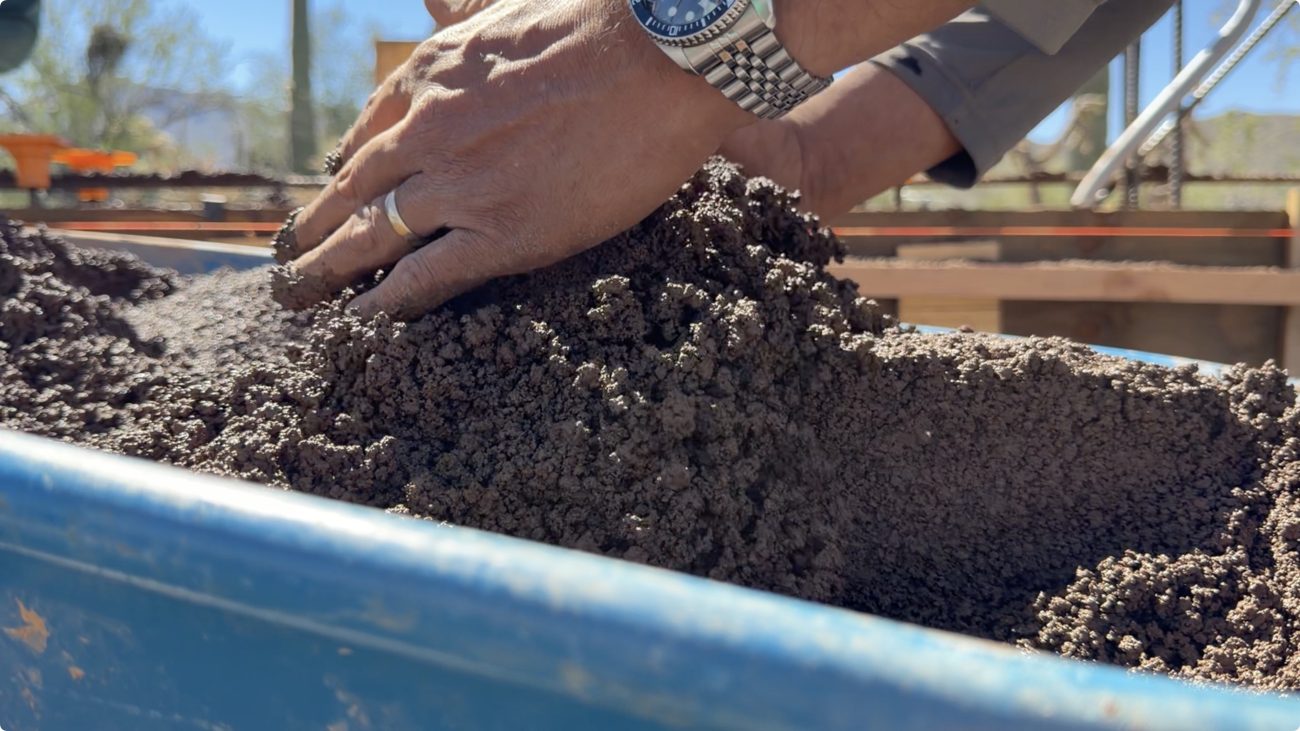
Lavacrete differs from concrete in that the mix is very dry, fluffy, and aerated. In fact, it gets mixed in reverse. That means the lava sand and a small amount of water are mixed first so it becomes saturated, and the binder is added last so it can coat the aggregate.
Auger style or vertical shaft mixers can help make the mixing and transporting of the material easier to work with since it doesn’t flow like concrete. But you can still mix in a normal concrete barrel style mixer, too.
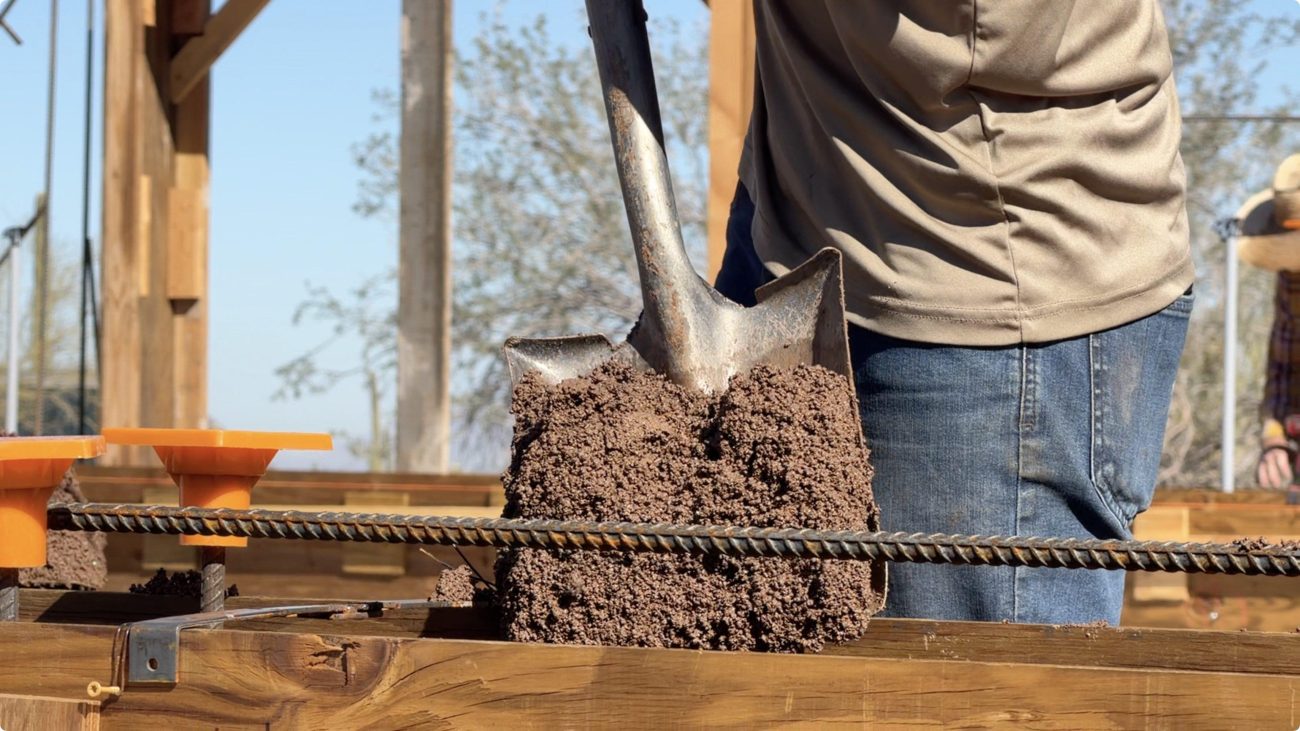
Once the lava sand is evenly coated with binder you put it in your form and lightly compress, where the grains glue themselves together and creates an incredibly strong wall. It's totally different than a flowable concrete mix, and doesn't exert any outward fluid pressure on the formwork. Think of it like a self supporting sand castle.
It has zero slump, and you can create a vertical wall without any sagging.
Mixing Ratios
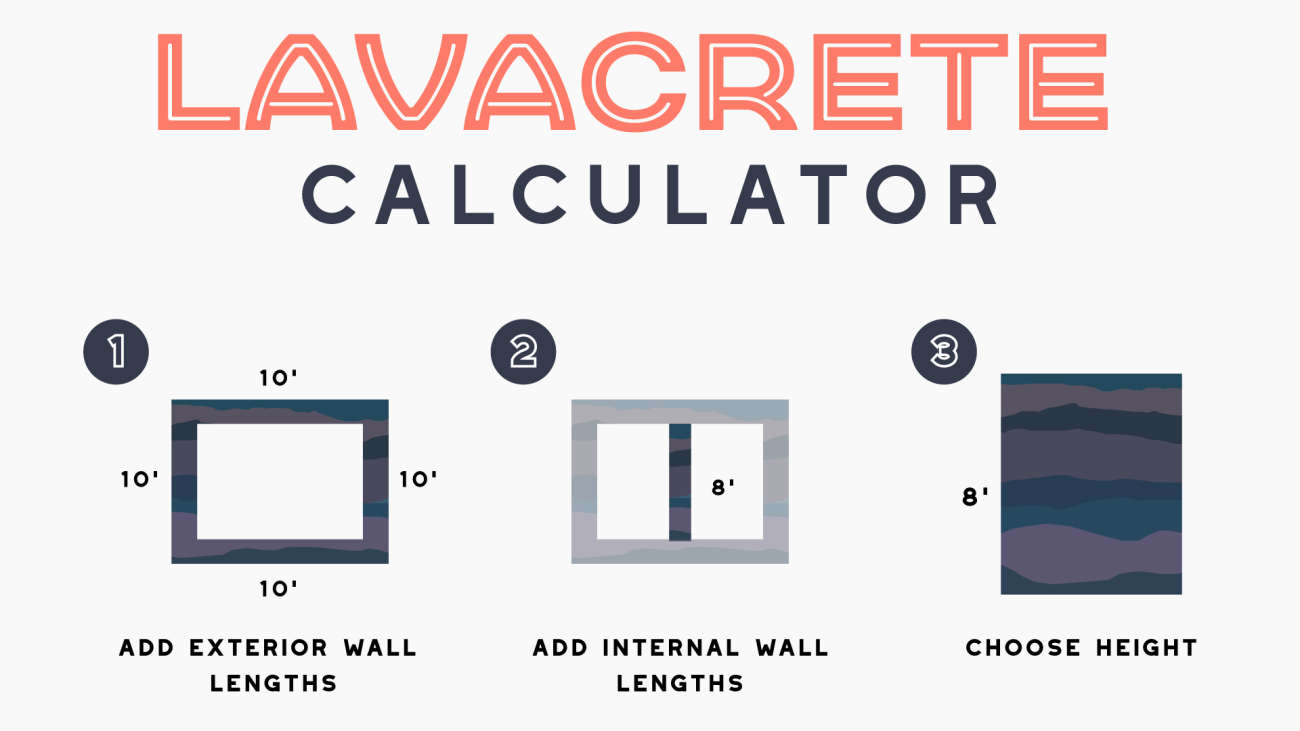
When mixing, use a ratio of 6:1:1 - or 6 parts aggregate to one part binder to one part water. This is calculated by volume and not by weight to keep the on-site mixing process simple. Using this mix you should see a compressive strength of around 1,000 PSI.
See our Lavacrete calculator below to estimate how much materials you'll need for your project.
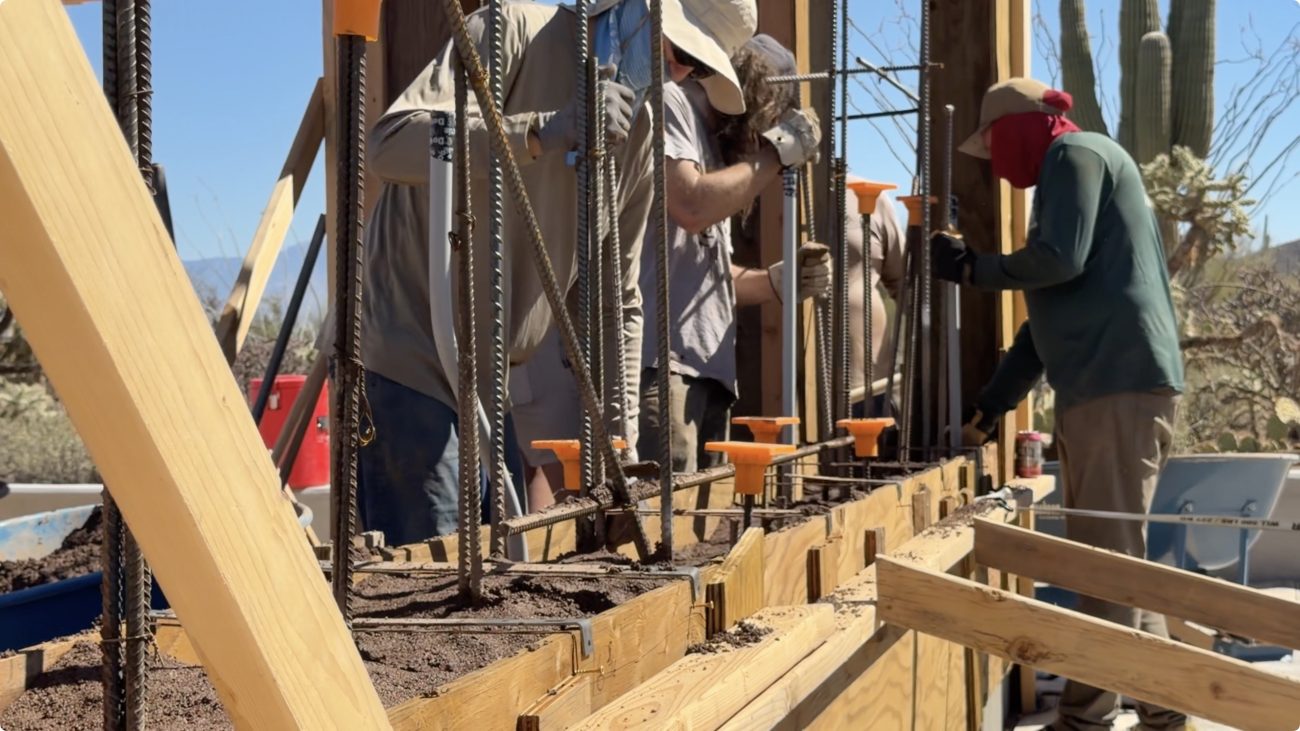
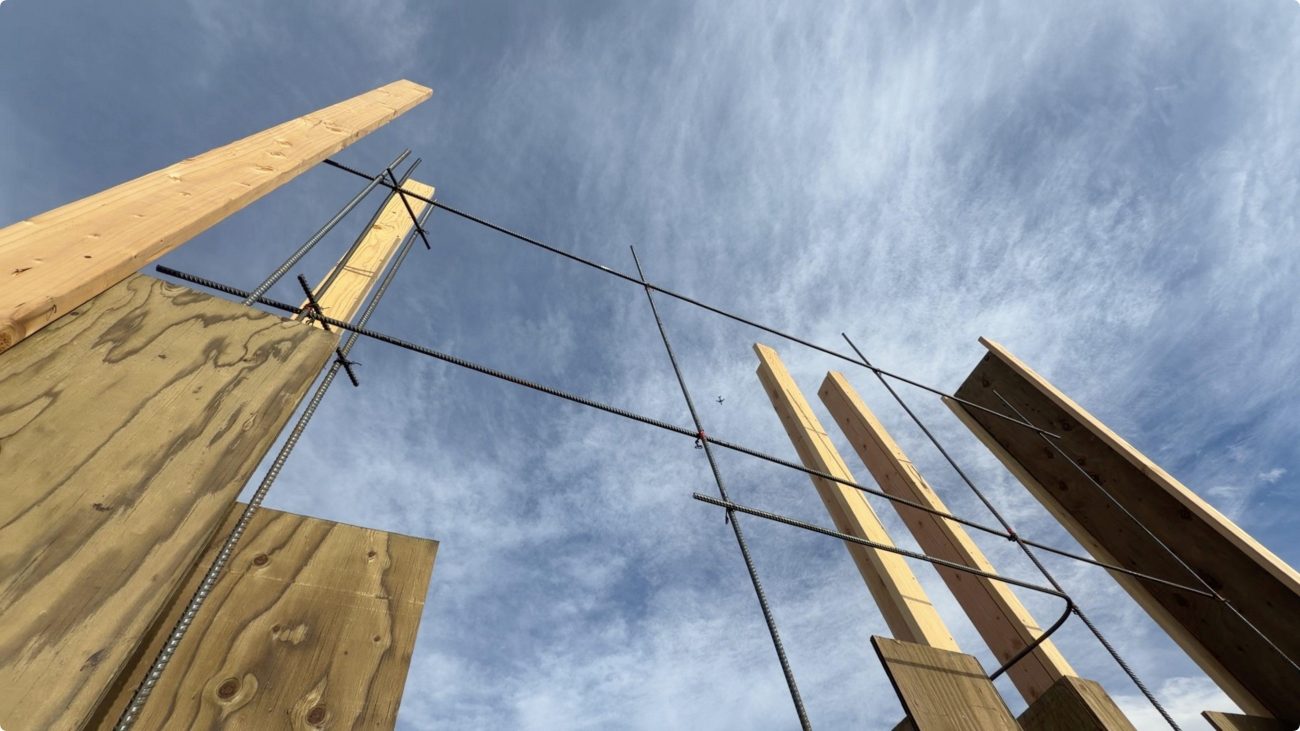
Forms
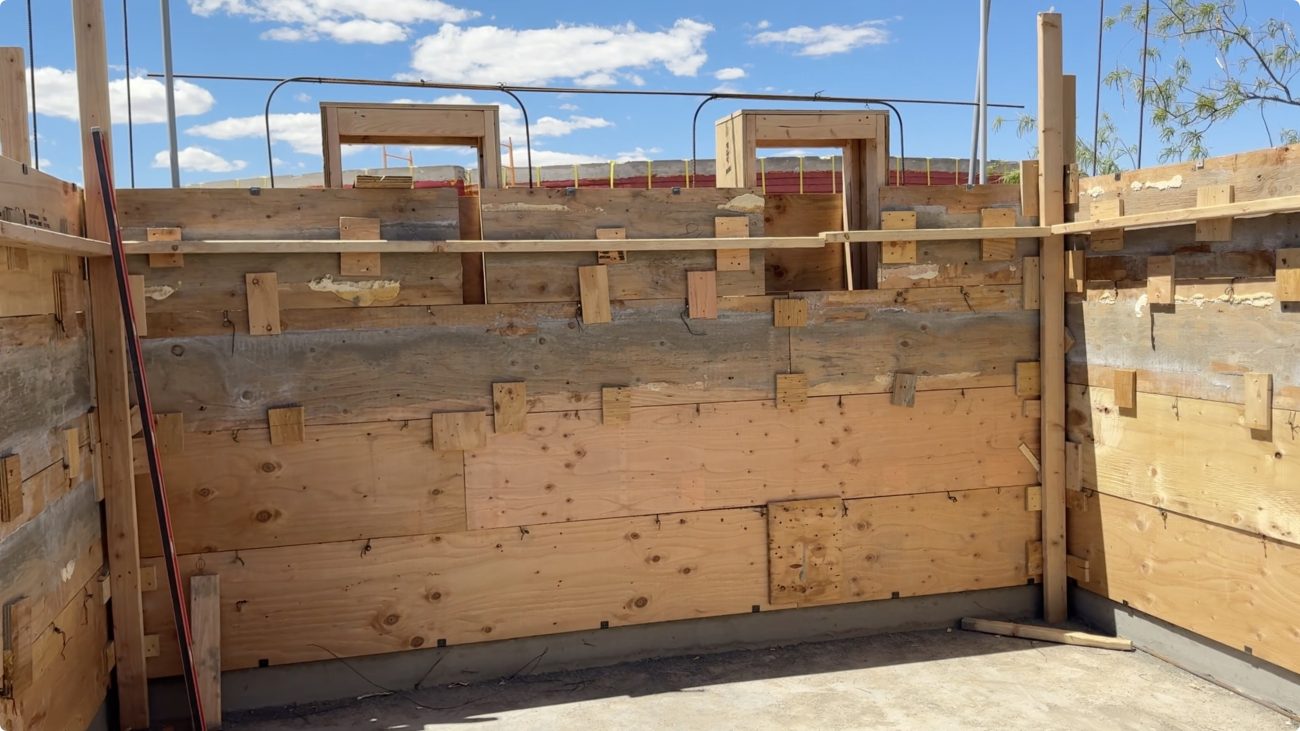
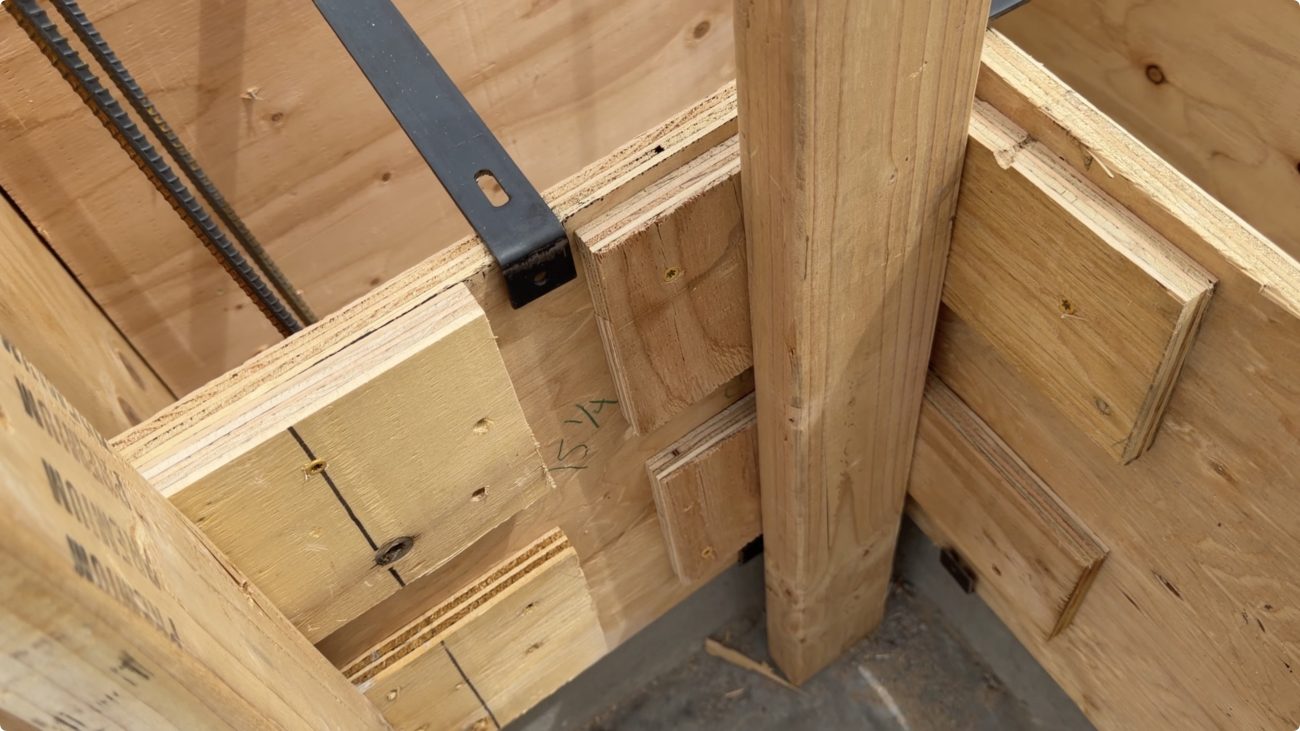
Lavacrete gets set in “lifts” or sections of wall 24” at a time. This allows each layer to cure and set before continuing up higher. They should be built out of 3/4” plywood then stiffened with a 2x4 whaler on the outside of the form.
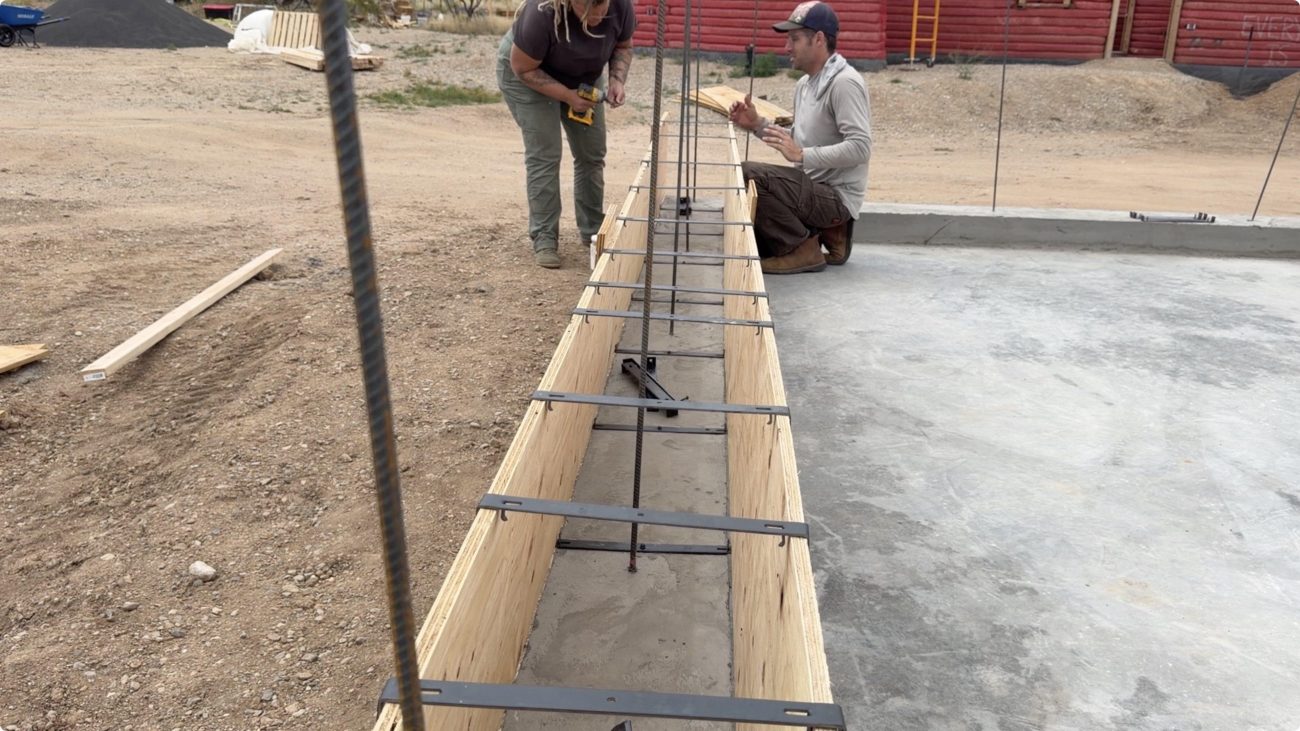
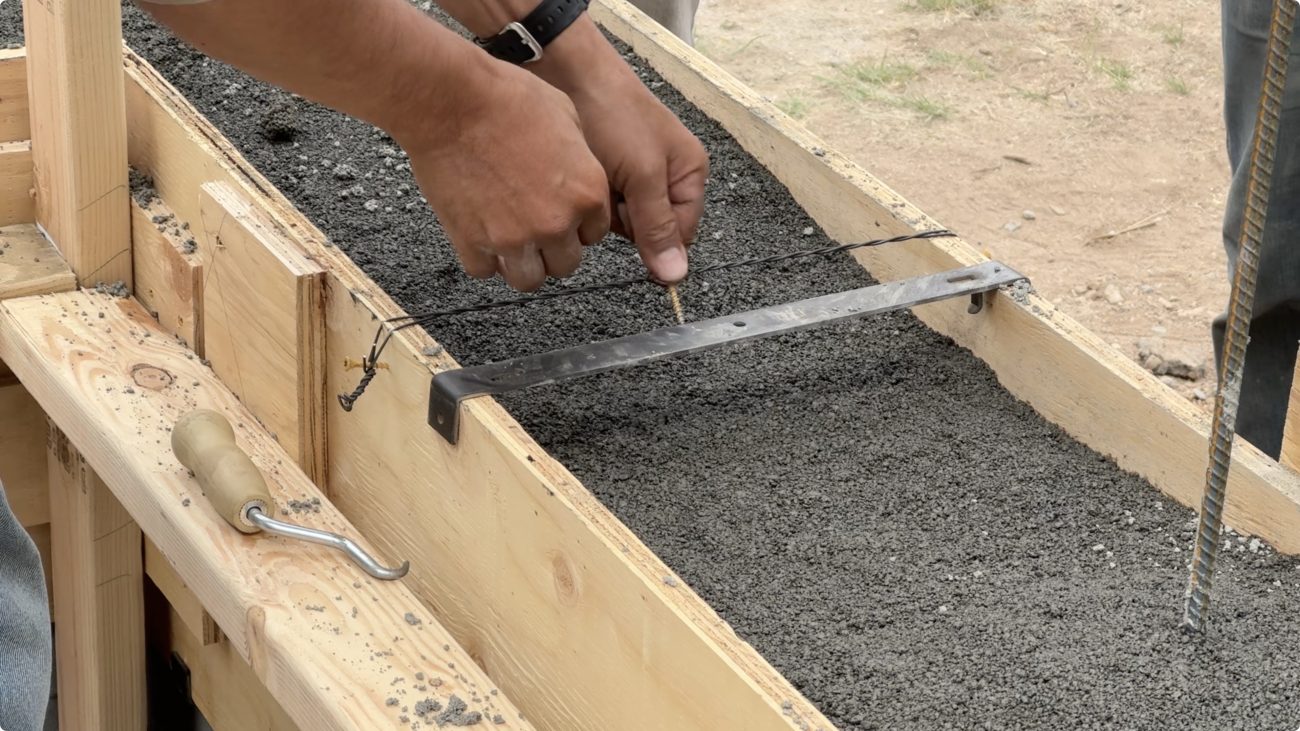
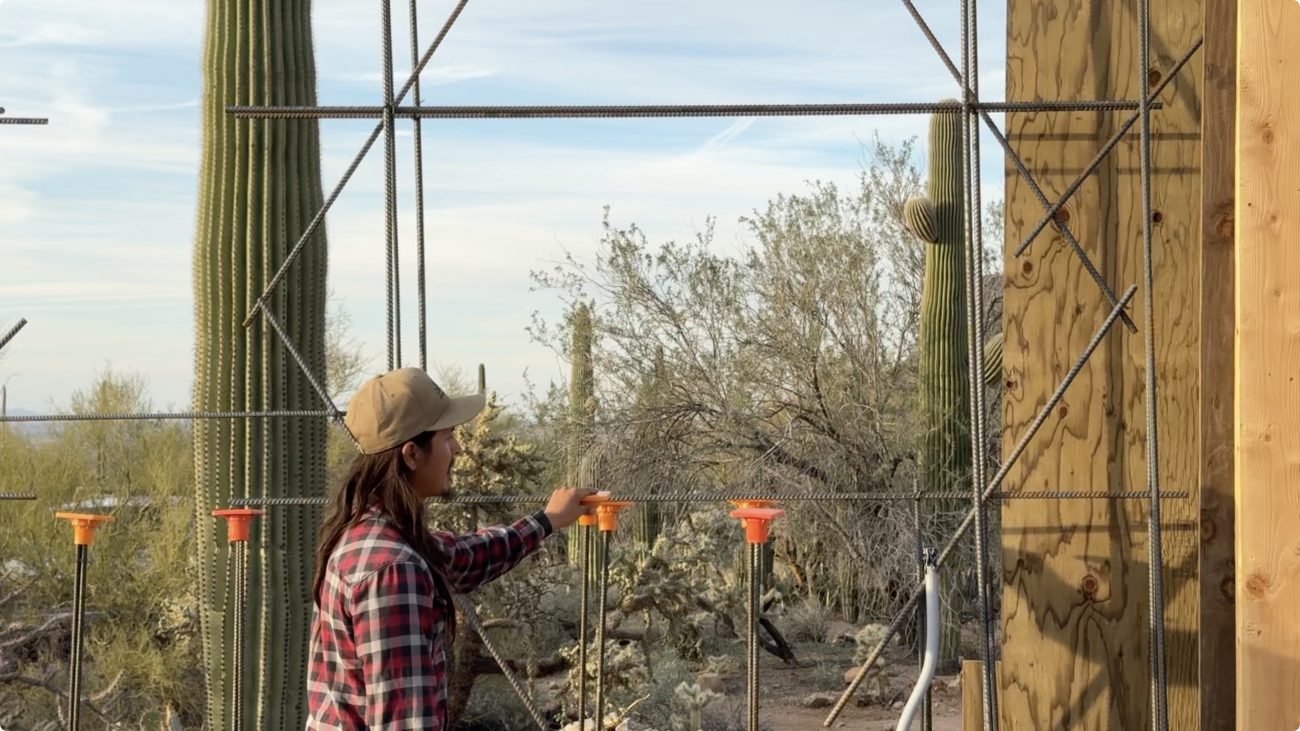
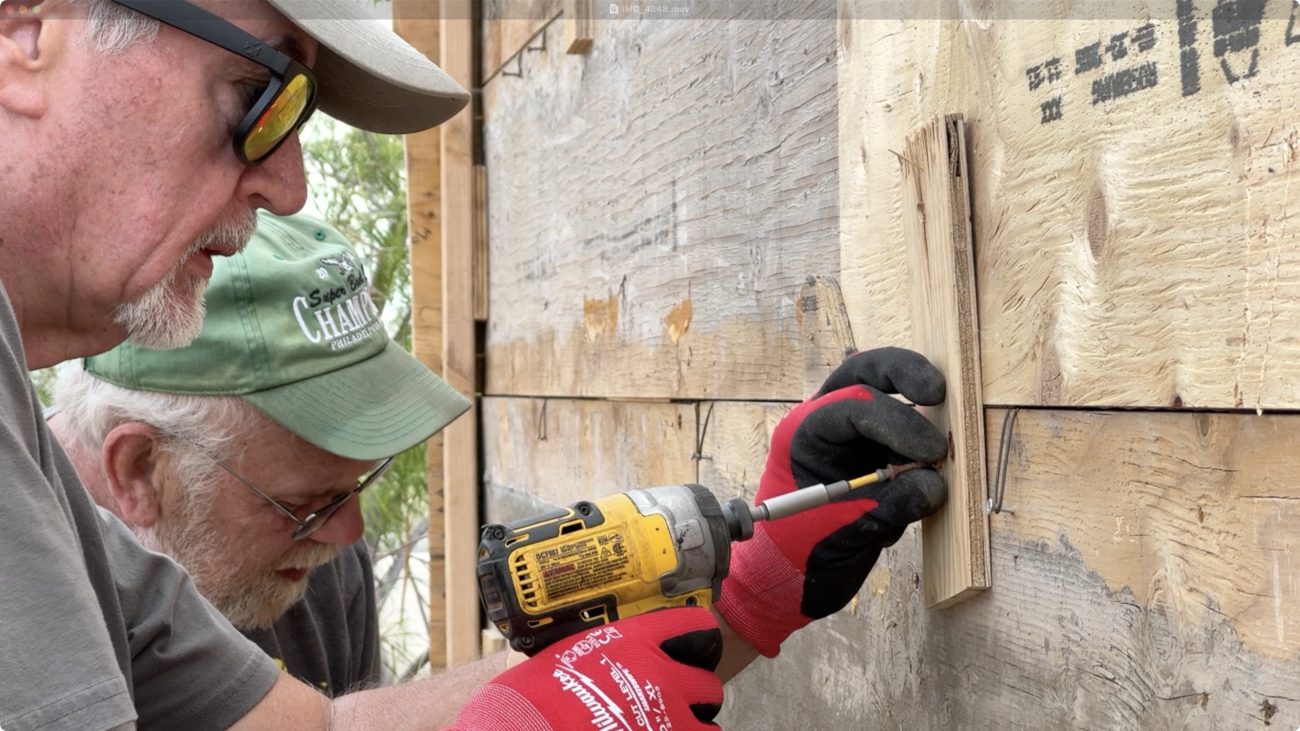
Use spreader clips as your foundation for the first plywood forms to set into, and then on top to temporarily hold the boards in place. Then connect each horizontal section of plywood together with "scabs" or scrap plywood the same height as the form board.
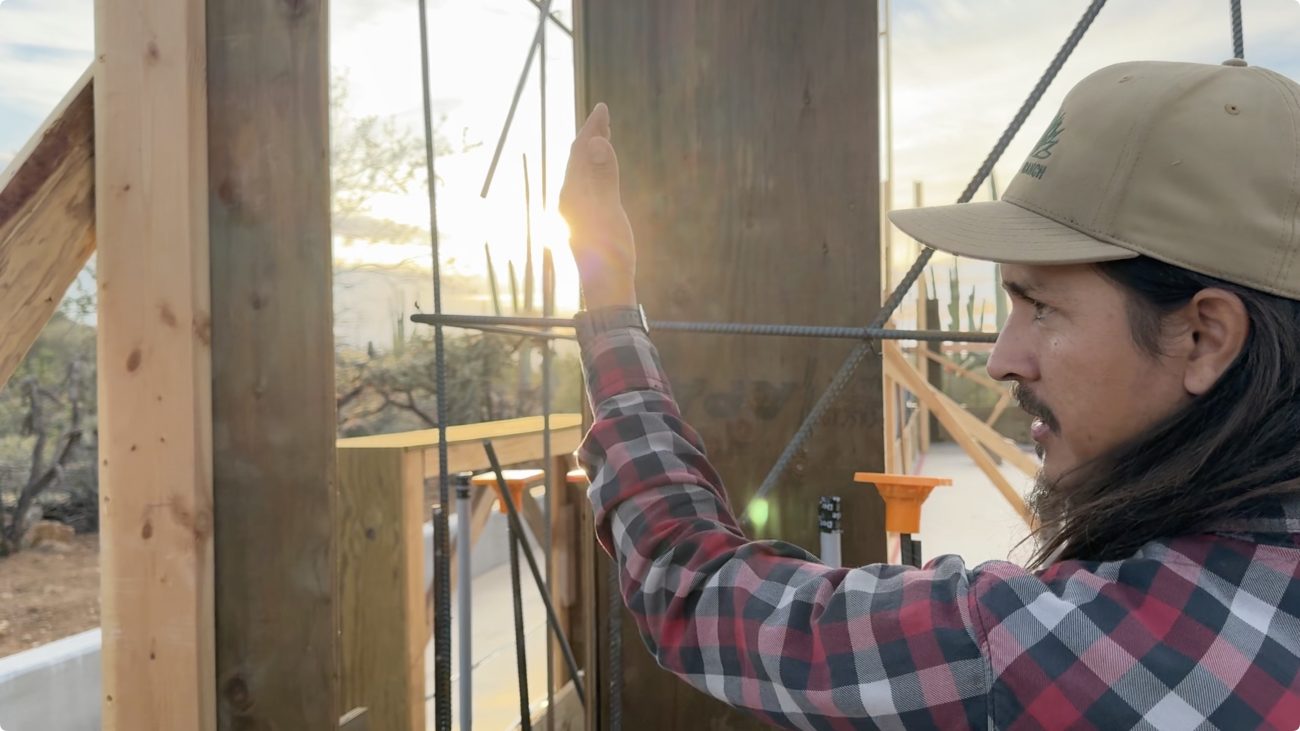
Corners can be built out of vertical 2x4's or 2x6's, and strong backs like angle iron can be used to keep the forms plumb.
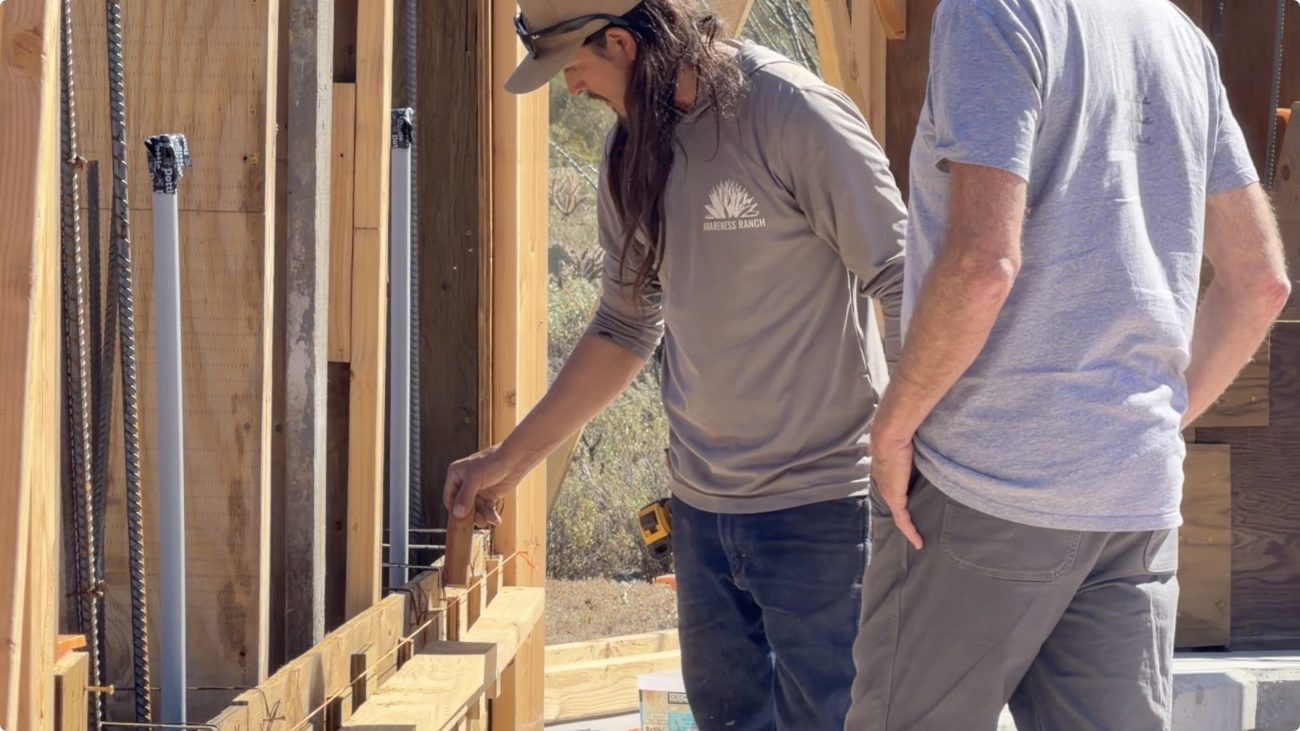
You can also place a mason's line to give yourself a gauge for the straightness of the wall, and install kickers where needed for minor adjustments.
As you complete your first lift and start to build higher, install tensioned bailing wire where each spreader clip sits on top, attach the next piece of plywood with more scabs, and move the spreader clips to the top of the next lift. Rinse and repeat all the way up.
You can choose to wrap the whole building with plywood, and remove at the end or "ping pong" each lift once you have at least two sections finished to save on materials.
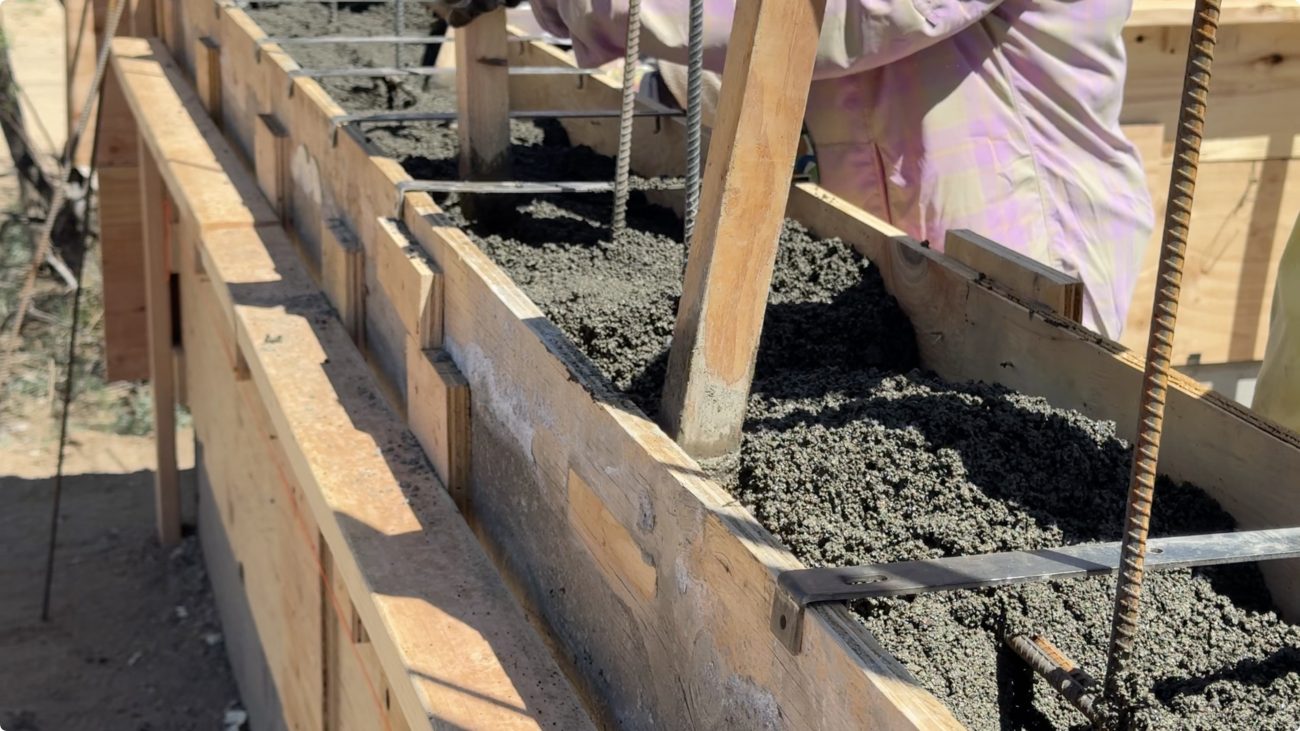
As each mix is put in place, it should be lightly compacted with small 2x2’s or custom mini-tamps made out of rebar and metal plates. Over-tamping makes the wall stronger but requires more materials, and makes it less thermally efficient. So the goal is to find the balance between strength and insulation.
The material has an insulation value of between .5R - 1R per inch based on the size of aggregate, how much you compact it, etc...
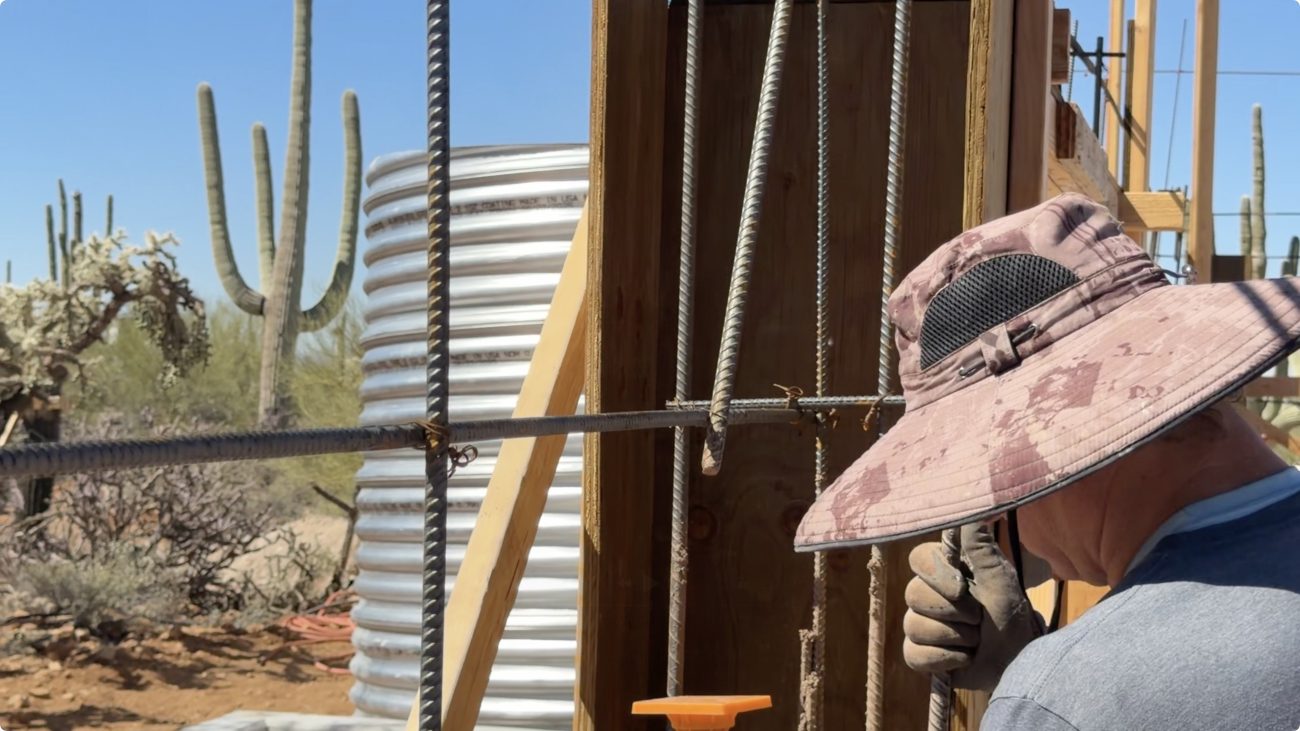
Reinforcement
To add tensile strength and structural rigidity other than compressvie strength, a rebar cage is recommended as the walls are poured.
Steel rebar is acceptable in dry environments, but can degrade in high humidity or coastal areas. For fully exposed Lavacrete walls like garden beds, consider hemp, fiberglass, or basalt rebar. They resist corrosion, and are more earth friendly products.
The amount of rebar needed can be added and engineered to suite most codes, but the adobe or plain concrete code are a good conservative guide. For most residential applications a 4x4 grid should be plenty.
Rebar reinforcement should also be used in the footer, for each corner, above and around doors and windows, and in the bond beam. All on a 4' grid.
Lintels or headers are easily created by just adding rebar above the form and filling like normal.
Tools
You don't really need fancy tools to build with Lavacrete. Here's a quick list of items you will want on hand.
- Mixer (vertical shaft or barrel)
- Shovels
- Buckets for mixing
- Wheelbarrows
- Circular or Miter Saw
- Drills & Impacts
- Levels
- Rebar Cutting & Tying Tools
- Simple small tamps (cut 2x4's in half or weld plates to rebar)
- Masks when mixing dry material
It's such a DIY friendly way of building, and the fact that the mix isn't flowable allows you to build very simple forms yourself to create these thermally efficient, highly compressive, naturally beautiful walls with Lavacrete.
But there are a few additional core techniques for foundations, door and window openings, and roofs.
Foundations, Doors & Windows
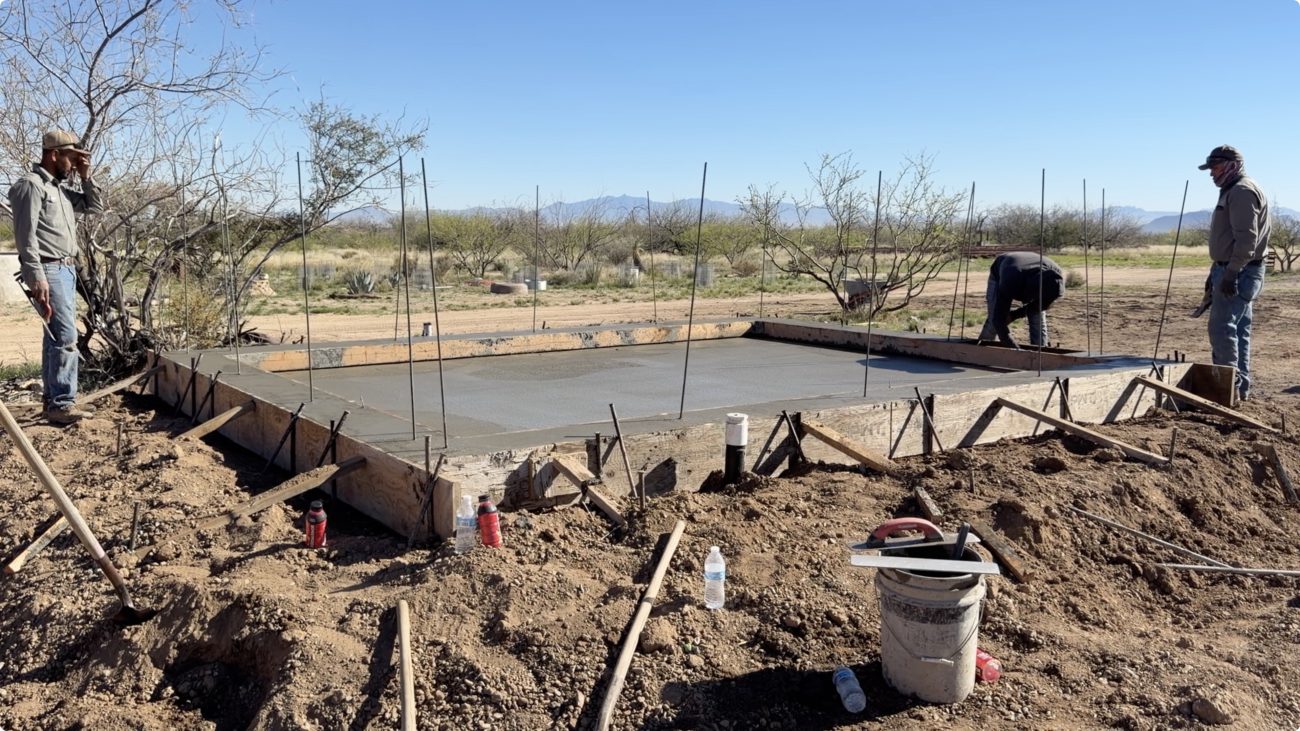
Even though lavacrete is lighter than concrete, it still needs support. Your foundation and footers will be critical to the success of the build.
12” walls need footers at least 2’ deep and 16" wide with 3 sections of rebar that connects to the foundation and is stubbed up every 4’ on center for the lava walls to tie into.
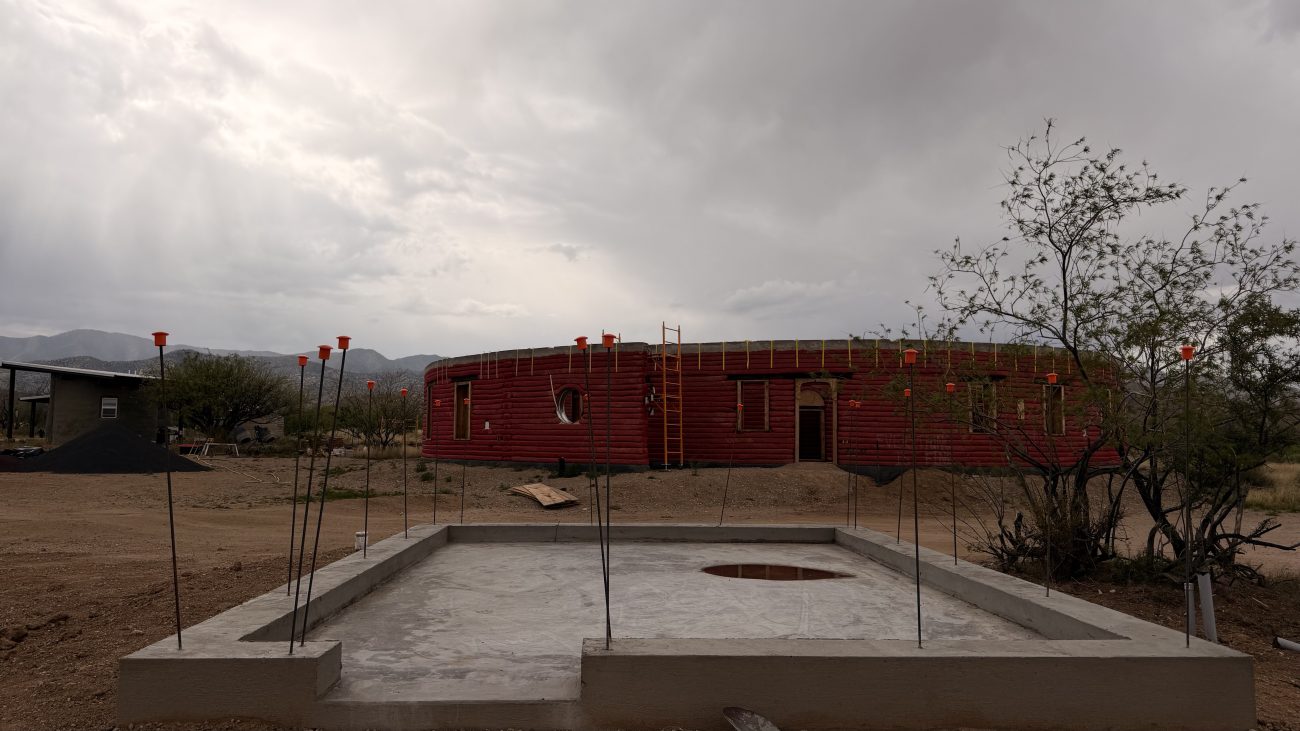
Because the material is porous, it's best to keep it off the ground with a 6"-12" stem wall.
At each corner and window add extra vertical rebar around the edges as well as continuous bent rebar joining corners.
For doorways you'll stop the 4' grid of rebar and add double vertical sections 12" from the opening on each side.
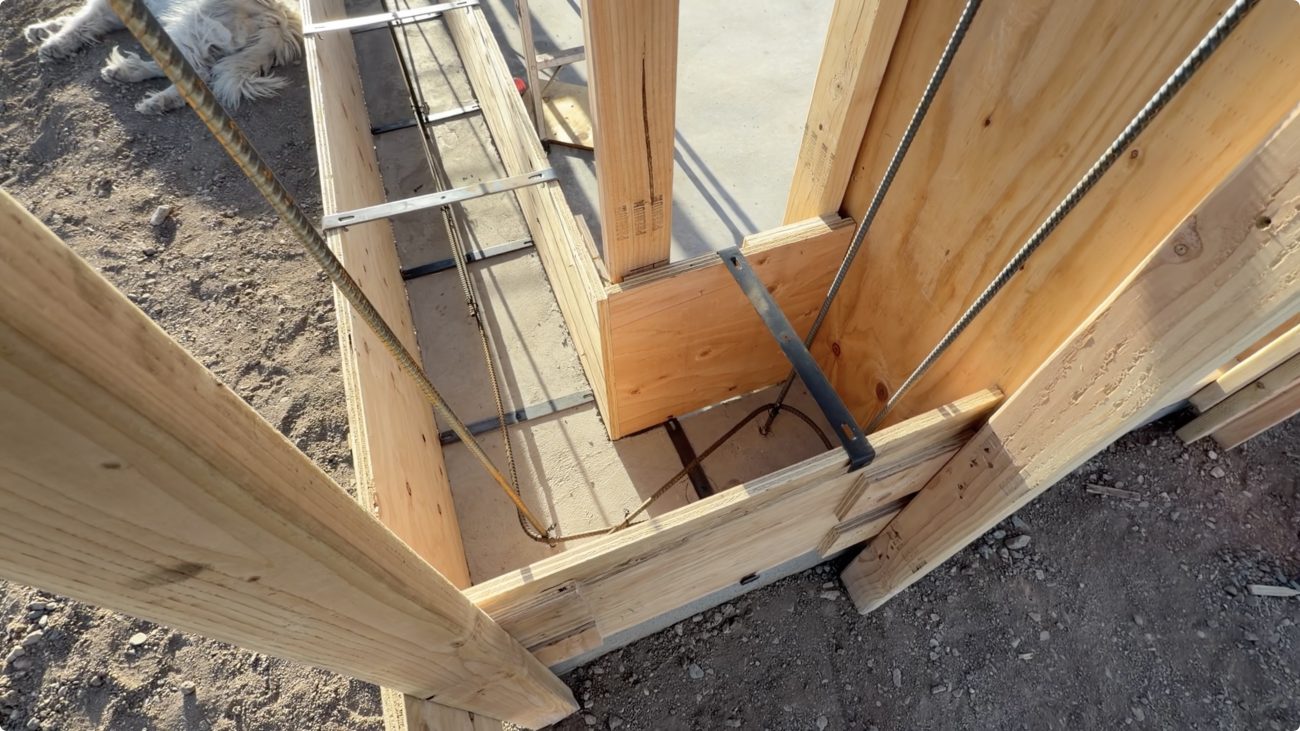
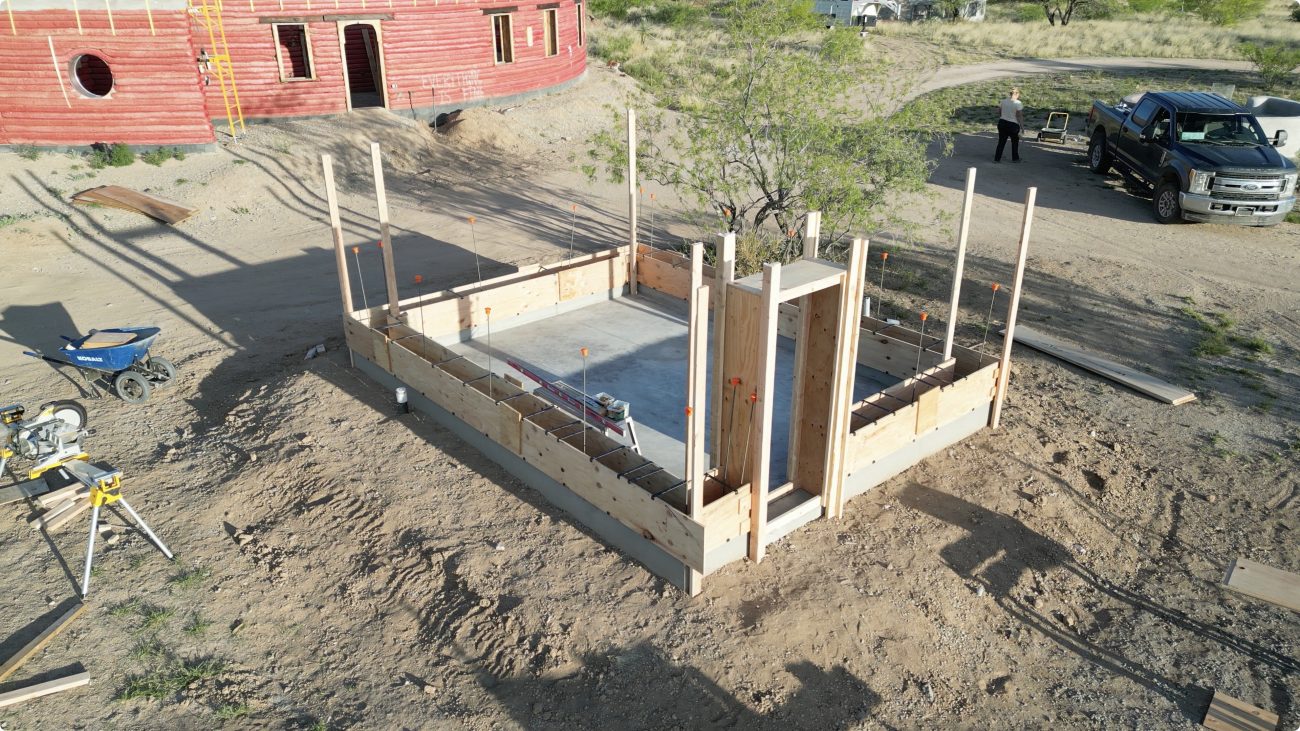
In order for the forms and lifts to work, you need stabilized corner forms built into place. This will allow you to use sections of the form and not have to build them the whole size of the walls.
You can do this with vertical 2x4's or 2x6's, adding scabs to the back of them, then screwing to the main formwork.
And of course, you will need openings in the walls, too. Doors and windows require planning and additional forms to interact with the main lift forms.
Curing & Form Removal
While Lavacrete becomes strong pretty quickly, when you can unwrap it will depend on your mix, how much you compacted the material, and if you used portland cement or lime.
For cement based projects, plan on leaving your forms on for 7 days before removing them. Lime, in contrast, can take weeks or months to harden so be careful during heavy rains.
Guru Das is just beginning to experiment with Mason's Cement which is a blend of portland and lime. Early tests show that it still needs more time to cure before removing forms. All in all cement fully cures in 30 days. Lime will continue to carbonate for up to a year. So choose your binder wisely based on your goals.
To remove plywood forms simply go in reverse. Undo all your whalers, strong backs, and scabs. Then start disassembling from the top down.
Be careful around corners, and keep in mind that plywood swells when it gets wet so it can get trapped in the material.

As you remove the forms, take care to trim the baling wire sticking out to be flush with the building. This is the only artifact you'll have left from the forming process.
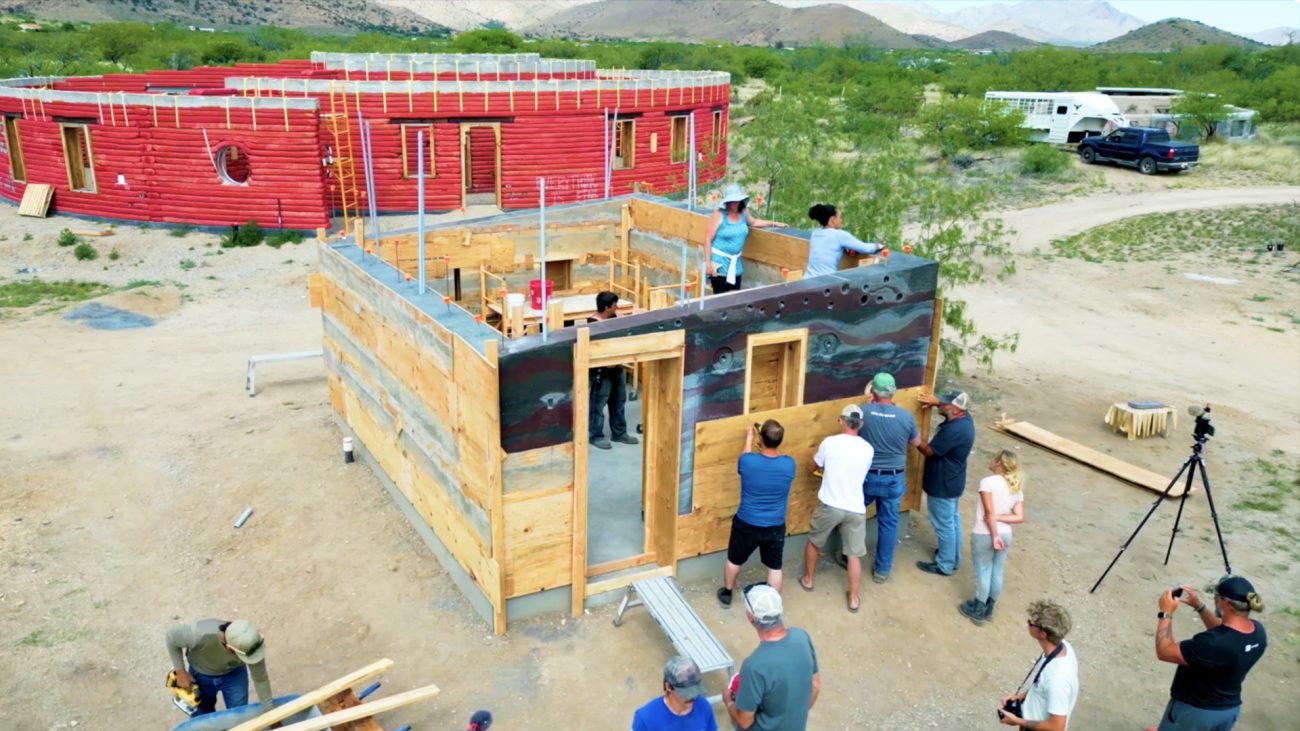
Unwrapping a Lavacrete building is super exciting, and best done with friends :)
Lavacrete Material Calculator
Figuring out how much material you need is tricky. So we've put together a simple calculator based on your project.
Finding Materials
While most items mentioned here are easily found at your local hardware store, there are a few that might send you on a bit of a hunt.
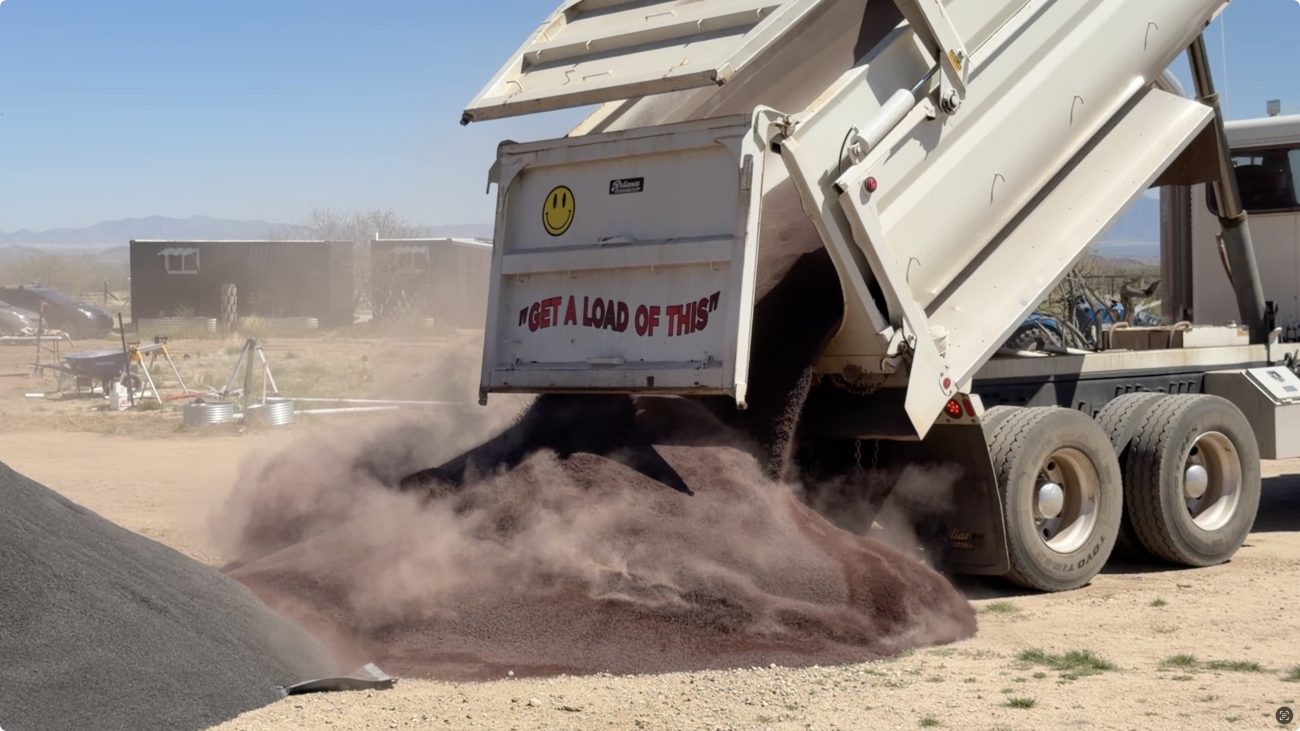
The most obvious one is the lava sand. Search within a few hours of your location for cinder or scoria mines/pits. We got ours from Perkins Cinders in Show Low, AZ.
You can get the material in fine screened red and black, and they delivered straight to our property over 4 hours away for about $100/ton.
The second is the spreader clips. You have to buy them specifically for your wall size, but we found Sandbaggy.com carries what you need for 8" and 12" walls - plus they're pretty cheap.
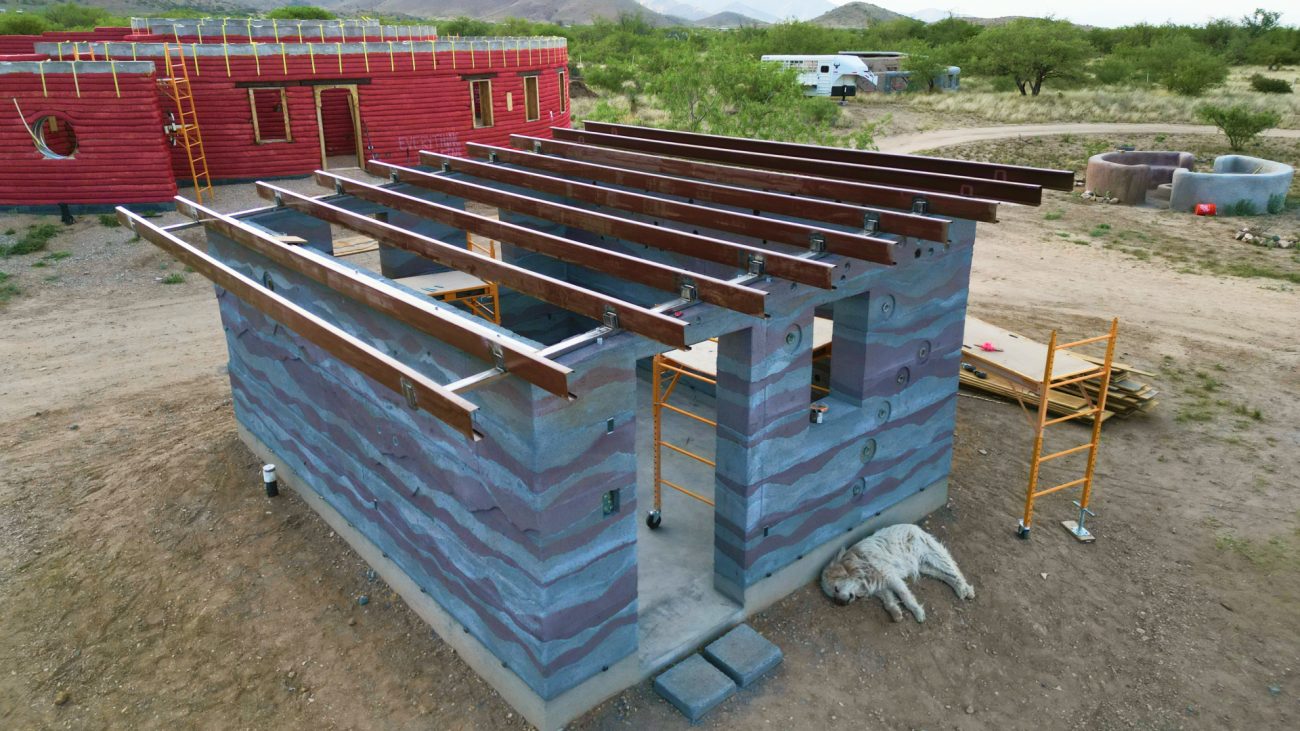
Step-by-Step Lavacrete Build
Over the last several months we've been hard at work on our own Lavacrete building with both Paul and Guru Das so that we can share all the details with you.
If you found this overview to be too simple and want to get into all the nitty gritty details of every single step, make sure you watch the entire playlist of our Lavacrete Utility Lodge. It includes the foundation work, wall design, glass art and niches, roofing, electrical, and more.
That's all for now, friends! We will continue to share more details about Lavacrete as we learn them :)
Want to help support our family?
Over the years we've created hundreds of articles + videos, replied to thousands of comments, and continue to create new content each week. Help us keep it going!
Apparel
Grab a fun, comfy t-shirt & help support our family.


About the Author
Jonathan Longnecker is the strongly opinionated tattooed and bearded half of Tiny Shiny Home. He loves making music, figuring out nerdy solutions, exploring the outdoors, and living off-grid.
comments powered by Disqus