Hyperadobe Solar Shed Office - Scratch Coat, Electrical Wires, Insulation & Ceiling Panels

It’s been too long since we’ve had a chance to sit and write down all the things that have happened since our last 30 More Days of Hyperadobe Solar Shed YouTube challenge. So, let’s just dive right in, shall we?
Connecting the roof and hyperadobe walls
The first thing we HAD to do was build the cob walls up the rest of the way to ceiling and close the structure in. Because of the 1:12 pitch of the roof there was just a lot of weird places to cover. It was way more cob than we realized, but we kept at it and finally made that connection all the way around. Huge day!
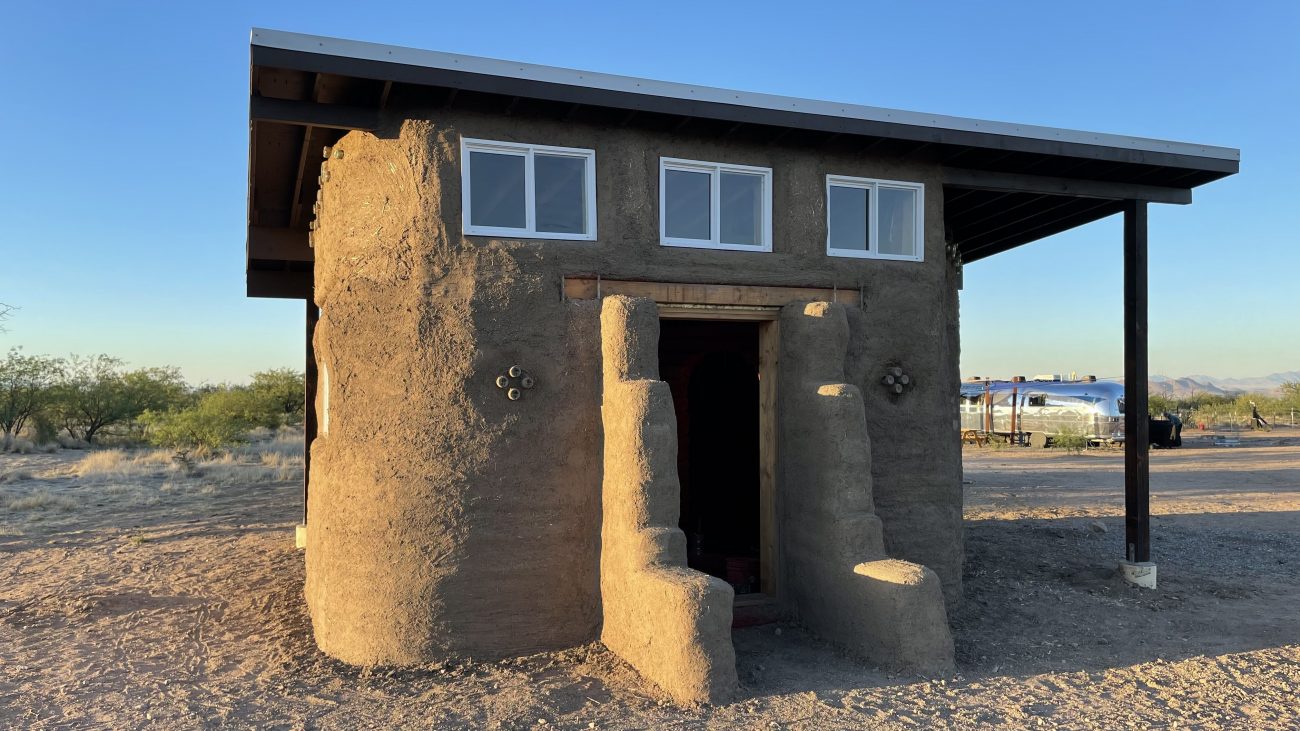
Installing windows in our earthbag shed
The next step was to finally install those windows we wanted to put in at the end of our 60 day challenge. We were a little worried about how the clerestory windows would fit, but everything went it with little fuss and leveled up nicely! We did have to trim some of the flange where our hurricane straps went over the rough frame openings, but we were shocked how quickly the windows were installed.
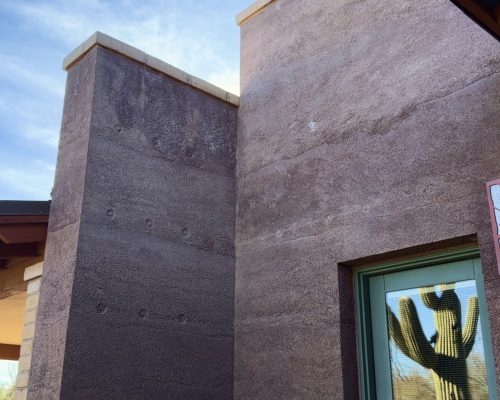
Exterior Scratch Coat
Next it was time to get our first scratch coat finished on the outside. This is a mixture of clay, sand, chopped straw, and water. As for our soil, the ratio we used for the outside scratch coat is:
- 3 parts native sifted soil
- 1 part clay
- 1 part straw
- Enough water to mix in to get the right consistency.
If you're doing a project like this, you'll need to test your own soil as everyone's is different.
Despite everyone’s suggestions to ‘just use the cement mixer to make the cob’, we opted for a more natural approach. We used a tarp and our bodies to mix the soil. Why? Good question. Mostly it was because that’s the way cob is supposed to be made. This is an ancient technique that has been used for centuries (though I’m sure they didn’t have tarps to use).
We wanted to experience the full effect of our hard work being put on those walls. The fact that we all touched every bit of soil that went into making this building is mind blowing. Our hands, our bodies built this! Just let that sit in for a moment. I still have trouble digesting the fact that a family of 6 with next to no building experience, created this structure.
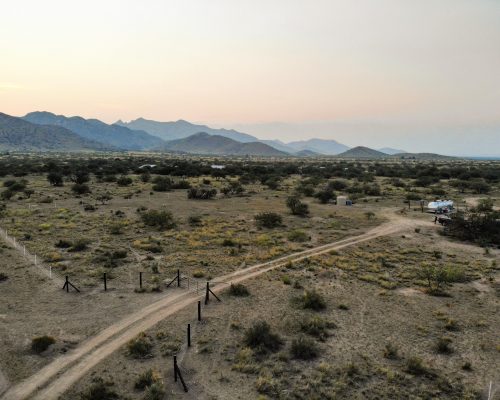
But that’s not the only reason we opted to forgo the cement mixer option. You see, we are completely off grid. No power source besides the solar on our Airstream and a little generator. So in order to run the noisy cement mixer, you’d also have to be running a noisy generator.
Two noisy, unnecessary pieces of equipment means we’d have to constantly be yelling at each other to hear one another, plus the use of more gas. No thank you! And honestly, it really wasn’t so bad. Yeah, it feels like a lot to do when you’re in the middle of the job, but there’s something to be said about getting uncomfortable, putting on your big girl panties, and getting your hands dirty to get a hard job done. We’re not afraid of work, that’s for sure.
Running Electrical Wires
After we got the outside done with the first scratch coat, we opted to leave our front door overhang until we finished up the inside. We’re in a bit of a rush to finish up inside so we can hook everything up and use it!
First things first, we needed to run all our Romex lines and get those all secured before we could begin the interior scratch coat. We choose to go with buriable Romex. We have seen power run several different ways in earthbag structures like this. We momentarily considered having all our wires run in a fancy conduit on the outside of the cob and bags, but we just really want a nice, clean look for this building, so under they go!
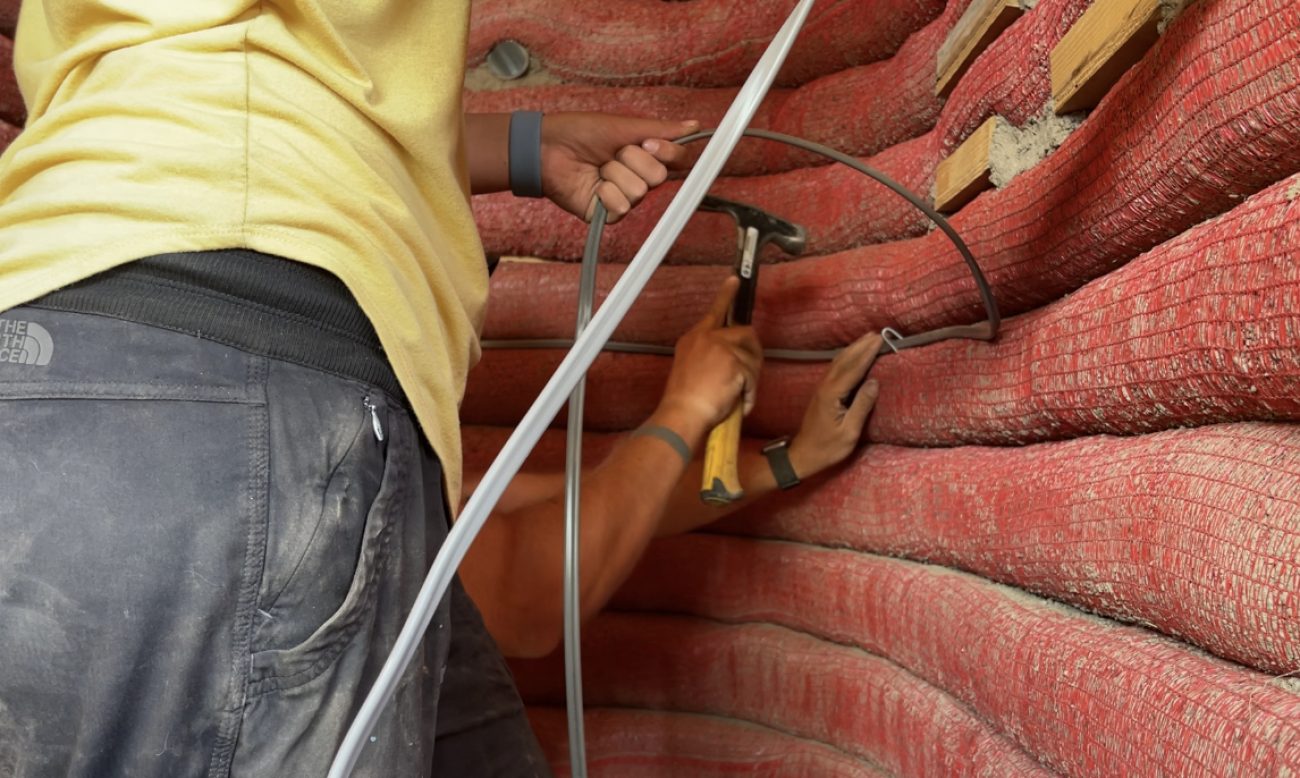
One thing we would do different next time is to NOT use the U-nails to secure the wires. That’s all we had at the time and we wanted to get it done. But a quick trip the following day to a big town, we picked up some cable staples and that was a game changer. Not only did they stay in the bags better, but they were specifically made for what we were doing. They were wide enough to not squeeze the wires and it was a huge difference in the easy of installing. Just do yourself a favor and invest in the cable staples.
Other than needing to chip away of few bits of bags near the outlets, we were ready to roll. Jonathan somehow thought this would be done in an hour. Well, spoiler alert. It took much longer. Here’s the video proof.
Interior Scratch Coat
Now comes the fun part. Covering all the bags on the inside of the building! We started with the circle. The kids were all in! We finished the circle in just two days. By this time of year, we were really starting to get up in temperatures throughout the day time and when you start hitting the earthbags with water before applying the cob, man did it get humid fast. We were just dripping the entire time, but it had to get done. With the promise of ice cream with each big task completed, the kids were all about it, kept up the entire time. I could not be more proud of them.
One thing that drastically improved our work flow at this point was investing in a hose splitter and extra hoses. This way there could be a hose in the room to wet down the bags before applying the scratch coat, and a separate hose at the cob making station. No more back and forth with the hose and waiting on each other to finish up with it. Streamlining your process like this will make things go so much faster!
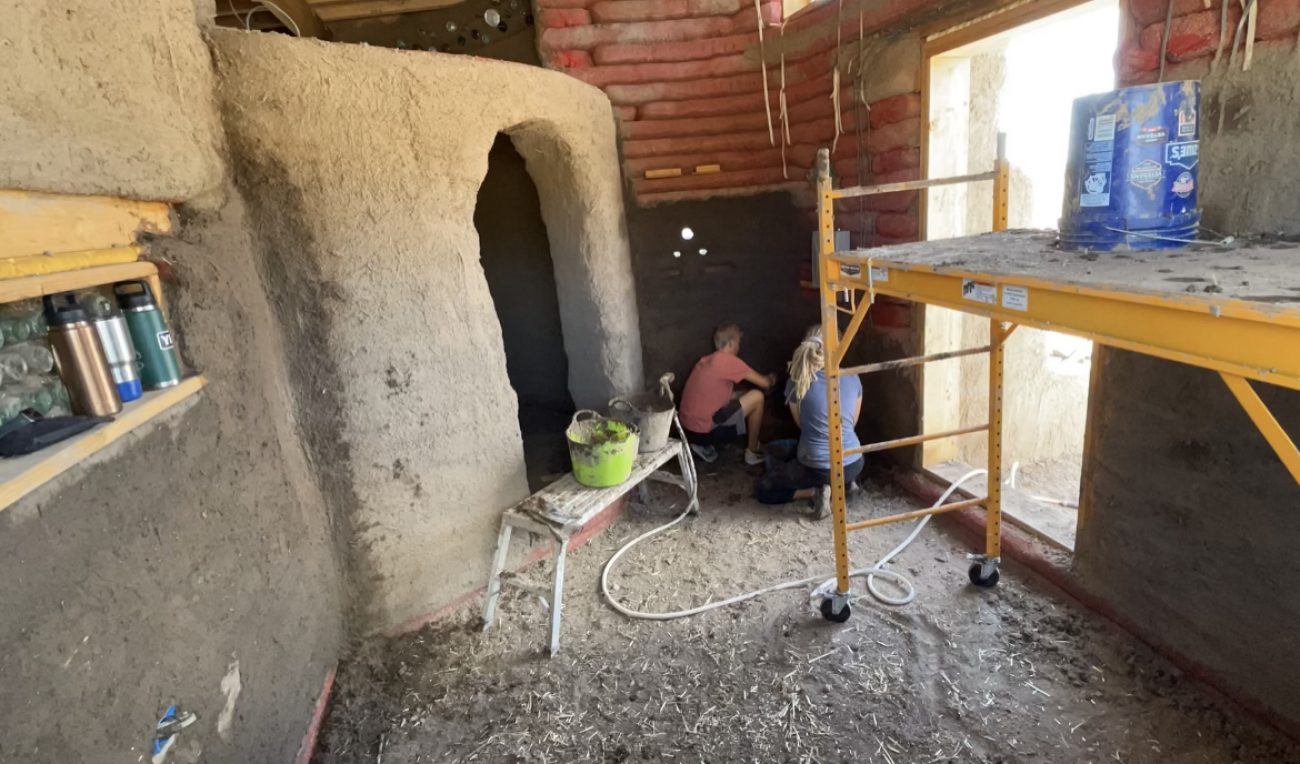
Next it was time to tackle the bigger office room. More surface area meant it really did take about twice as long. But we didn’t give up. It was really cool to see it all transform right before our eyes. No more red bags visible, it really changed the look, the sound, and the feel of the space. One thing we kept saying is it feels like a cave, but not in a good way. It was dark, and we panicked a little. The echo was also a concern. But remember, at this time we had not began work on our ceiling. That comes next and changes things for the better! In the video below, you'll see us finish covering the interior walls.
Insulation Day
We’ve been researching for months about how to finish the ceiling and what insulation to choose, and should we put vents in? It’s a lot to consider but we settled on denim insulation. Mostly because we needed it the day we were at Lowe’s and that’s all they had, but it was a strong contender from the beginning. If money weren’t an issue, I would have liked to use a wool insulation like Havelock Wool, but we are working on a budget and some things have to be cut back.
Now that we had all the insulation, it was installation day. You can watch that video here.
We were pretty surprised at how quickly it went up, and I LOVED that we could use our mesh bags to hold it up. We could have used less if we had cut the straps in half, but we had plenty of bags so it wasn’t a huge issue. We ended up doubling the insulation because it was only 3.5 inches thick and it needed to fit in-between our 2x8 rafters. The with was perfect with our 16” on center rafters and the doubling up of the insulation was perfect because it allowed about an inch gap between the roof and the insulation. We’ll likely be doing this step differently when we build our house, but just remember. THIS IS JUST A SHED/OFFICE! It’s not our living quarters, but rather our first build. We are learning so much on with each step we complete.
Okay, so insulation is up, time for the ceiling!
Negative Reveal Plywood Ceiling Panels
I’ve known how I wanted to do our ceiling for quite awhile. I wanted crisp, clean lines and a negative reveal. Our neighbor Mike gave us a great tip on a lumber yard in Tucson (Hood Distribution) and we got a sweet deal on 3/8” Birch Plywood. We bought 12 sheets and cut them down into 2’x4’ pieces (four panels from one sheet of plywood). Now, you may be asking, “what the heck is a negative reveal?” Great question!
We installed…we’ll call them perlins...in between the rafters every 2’ on center and painted them black along with painting every 4th rafter black, but in a staggered order. It may make more sense to just watch this video of our ceiling install.
So basically, a negative reveal is when you leave a space between each panel, and that negative space between the ceiling panels shows. It gives the ceiling a nice sense of depth. As long as you measure and make sure all the spaces are equal on all sides of the panels, it looks really great.
We opted for an 1/8” reveal which was roughly the size of two quarters taped together.

Yep, that’s how we got it done. Holding up quarters in between the panels for the entire ceiling. Dropping them with each move of the panel, one kid on quarter pick up duty, but we got it done. If you plan on giving the negative reveal a shot, my tip is to start in the middle of the room and measure, measure, measure.
It worked out so perfectly for us to use full 2’ panels on nearly every section we did. Oh, and one more tip! Get a really good quality glue! We used 3 tubes for this project. We glued each panel up and used 16 gauge brad nails to secure it.
Did we go overboard on the nails? Perhaps, but that’s how we do it around here. I can’t even begin to tell you how great it was to find a battery powered brad nailer. Saved us from having to buy an air compressor and use our generator to run it. It actually worked pretty good even though we would have rather had a Dewalt. Unfortunately all Dewalt’s brad nailers were out of stock EVERYWHERE! Even online!
Well, there you have it. That’s what we’ve been working on since our last Day 60 video. So what’s next? I’m glad you asked!
We’re in the middle of testing a finish for the ceiling panels. Once we decided on how we’ll finish them, we get that done, and then cob our walls up to the ceiling. THEN we’ll be able to begin our final coats of earthen plaster on the walls. THEN we’ll be able to start the floor. THEN we’ll be able to hook up all our solar power stuff!
It’s getting close, but there’s still so much work to be done. We’re here for it!
Apparel
Grab a fun, comfy t-shirt & help support our family.


About the Author
Ashley Longnecker is the fiercely independent tattooed and dreaded half of Tiny Shiny Home. She's a woodworker, photographer and maker of delicious baked goods. She loathes schedules and makes every day an adventure.
comments powered by Disqus