Fencing Part 2 - Closing in the Timeless Fence System!

The last two weeks may be the hardest we've ever worked! As the fencing workshop came to a close, we had a sobering revelation: there was still about 2/3 left of this fence to build - and it was all up to us!
Thankfully, we had great teachers in Moses & Polly from High Desert Homestead, and felt like we had a good handle on the process. That doesn't mean it wasn't hard, though! We spent two weeks working around the clock installing posts, running wire, and hanging gates. One of those weeks I took off work so we had more time, and the kids helped in rotating shifts (someone had to keep an eye on the puppy).
It was a gargantuan task, and looking back I couldn't be more proud of our little family, and how we pulled together to make it happen.
So what was the process exactly? Read on to find out.
Timeless Fence System
Oh wait, we should probably tell you what kind of fence we're building!
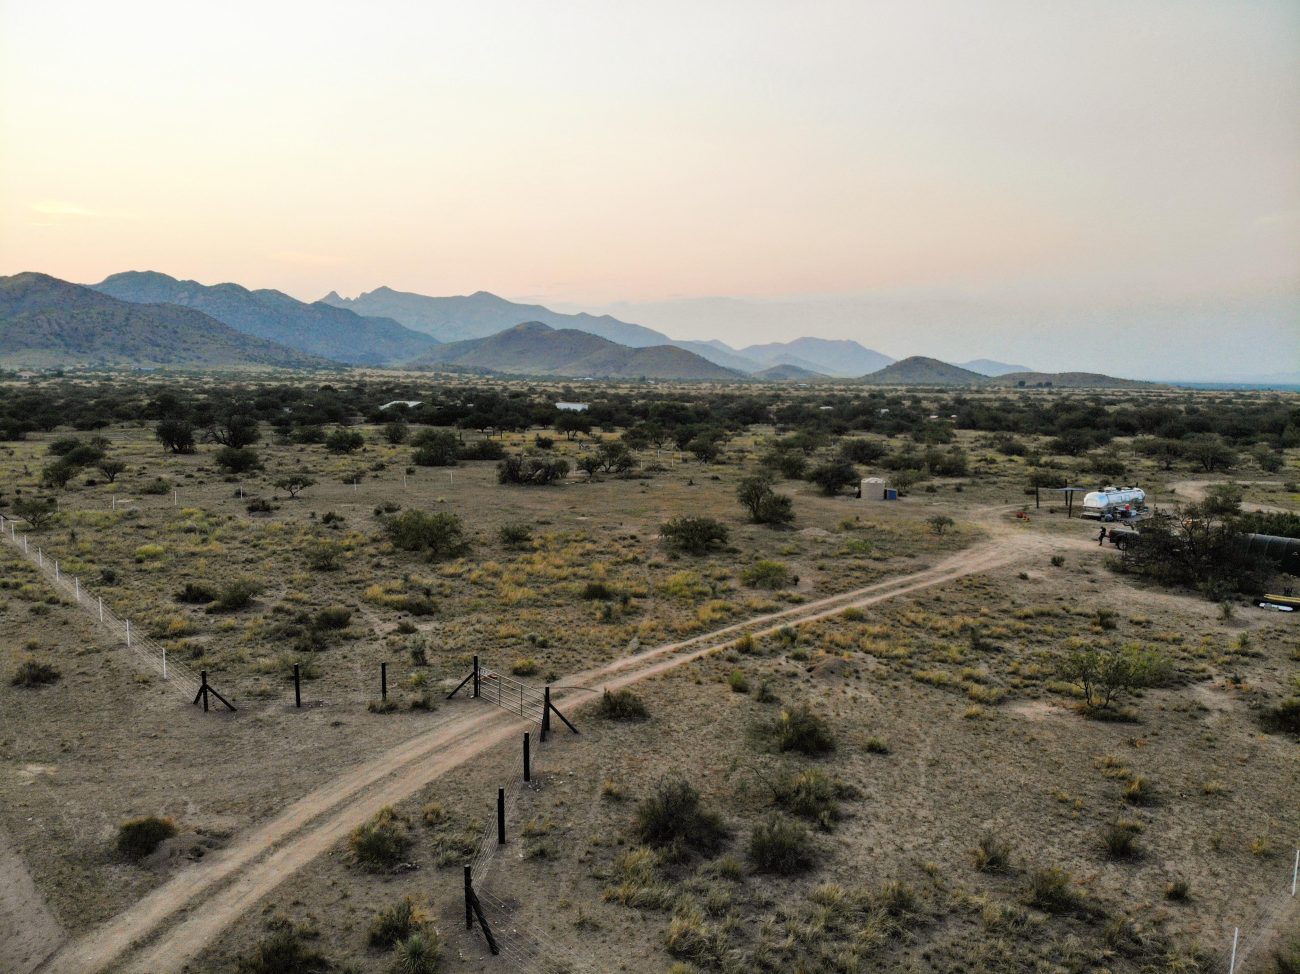
We have an irregular shaped 6 acre parcel that has 8 corners, so our fence project will likely be a little more complicated than most. That being said, we opted for a nine strand high tensile electric fence. This will allow us to keep out large animals like cows, but also smaller ones like coyotes or javelina.
Usually electric fencing can get expensive, but since the Timeless T-Posts act as insulators, we actually ended up saving money over a traditional barbed wire fence. We're working on a full cost breakdown, and will be sharing soon.
Corner Posts, Triangular Bracing, Timeless T-Posts, & Gates
The first major step in finishing our fence was to install all the corner posts and t-posts. This was pretty back breaking work, even with our gas powered auger and 8" auger bit.
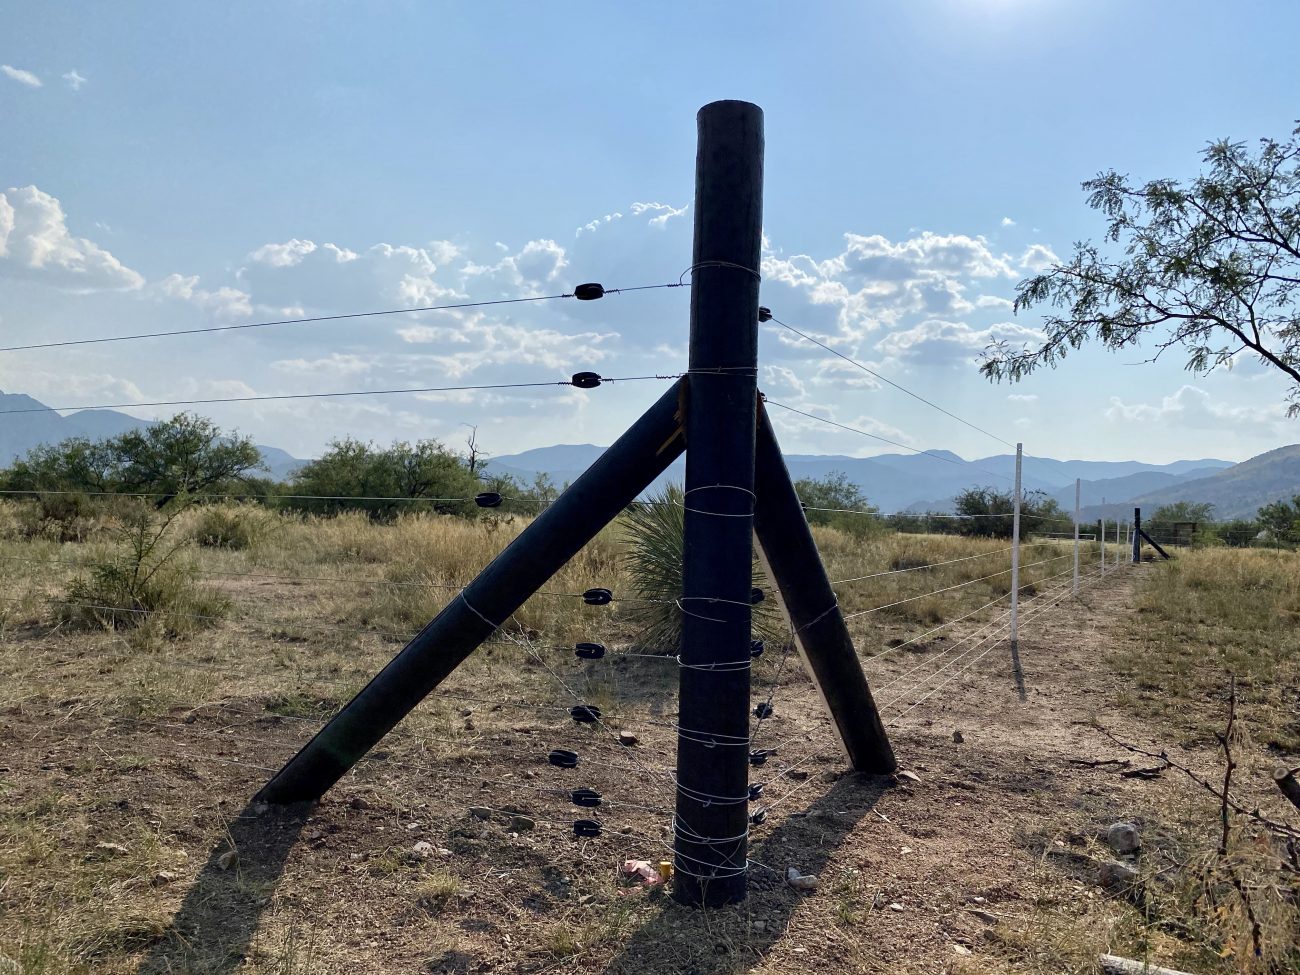
Triangular or "A" Bracing
Each vertical corner post also needed bracing. Moses highly recommended we go with a triangular or "A" brace style instead of "H" bracing. Turns out you use less wood and create a much stronger corner anchor so that sounded good to us!
Here's a quick overview of the process:
- Install your corner post 2-3 feet down using 1 bag of concrete
- Take a small piece of Timeless t-post, cut into the hole, mount to the face of the vertical post, and run a string from corner to corner
- Put your brace post at a 45 degree angle with the top about 44" from the ground
- Stand it up straight and move it back a bit to know where to dig your hole
- Make sure you use your string line to dig the hole in the right direction
- Auger down 4-5", then auger at a 45 degree angle
- Put the post in the hole and mark where you need to cut the end near the corner post also at a 45 degree
- Use a chainsaw to trim the angle on the post, finesse as needed until it matches up
- Use an 8" Timberlock lag screw to connect the "A" brace post to the corner post
- Take several feet of wire, using staple to secure, and wrap around the two posts completing the triangle
- Use a metal rod to twist the wire until tight
- Finally, put a bag of concrete in the angled hole and add water
You need a triangle or "A" brace post for each direction the wire will be running. This ensures you can tighten it, and the posts will stay in place.
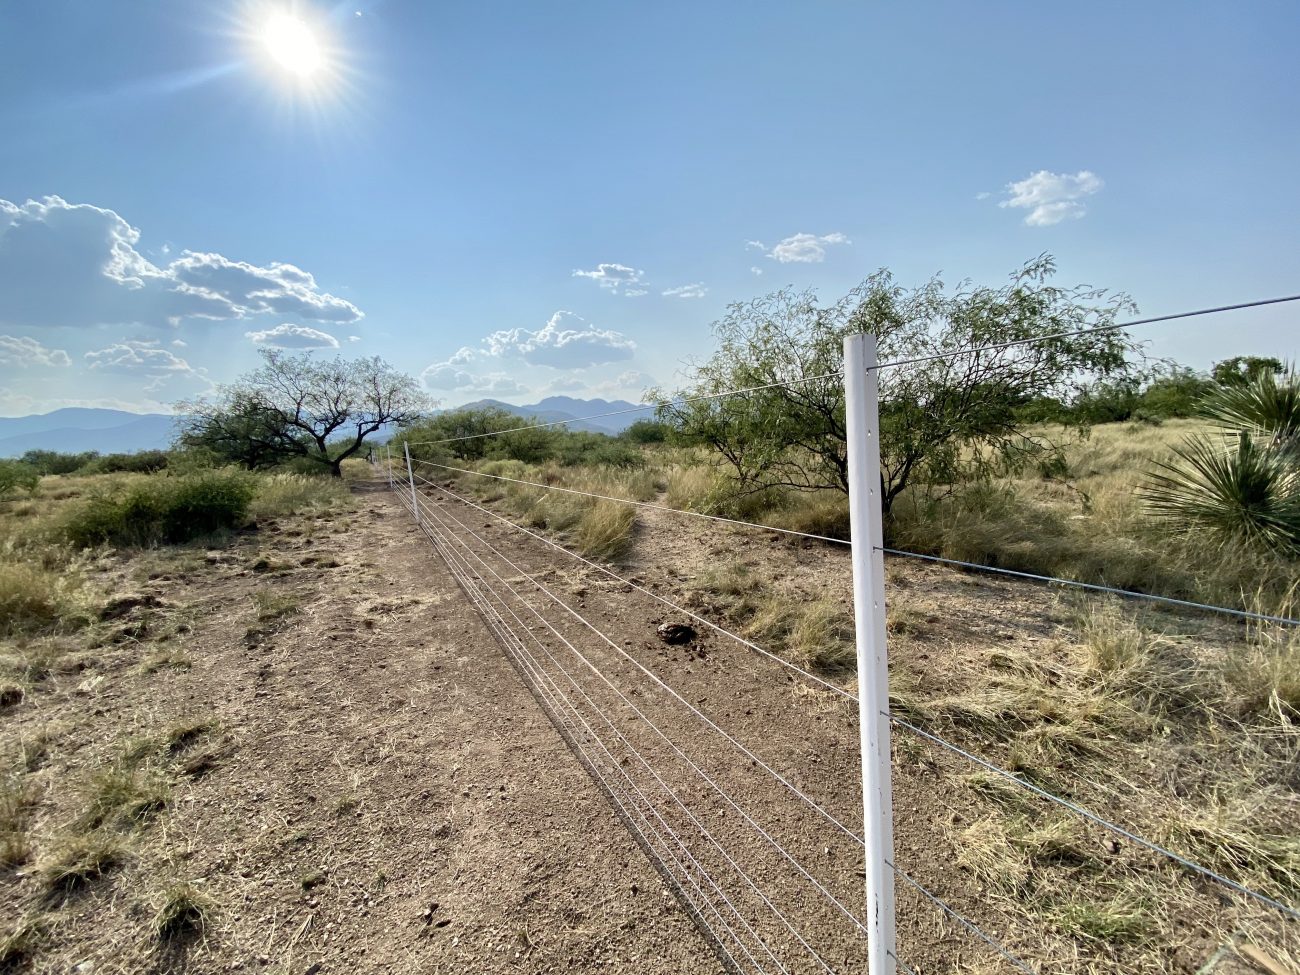
Timeless T-Posts
Installing the Timeless posts was a breeze for us. Using that same string line, we just marked 12" on the bottom and pounded them in to the right height. Thankfully our soil was pretty sandy and didn't provide too much resistance.
Most of the time I'd get it started with a 4lb sledge hammer, and then we'd use a T-Post Driver the rest of the way.
We had one run that went right up against a tree that we didn't want to cut down. So we just cut the Timeless post with a circular saw and screwed it right to the tree. Pretty cool!
Oh, and I almost forgot. For each triangle or "A" brace post you'll want to install a Timeless post here as well. Cut a few inches off and install at the same 45 degree angle - you'll use this to make sure your wire doesn't touch the wood once it's electrified.
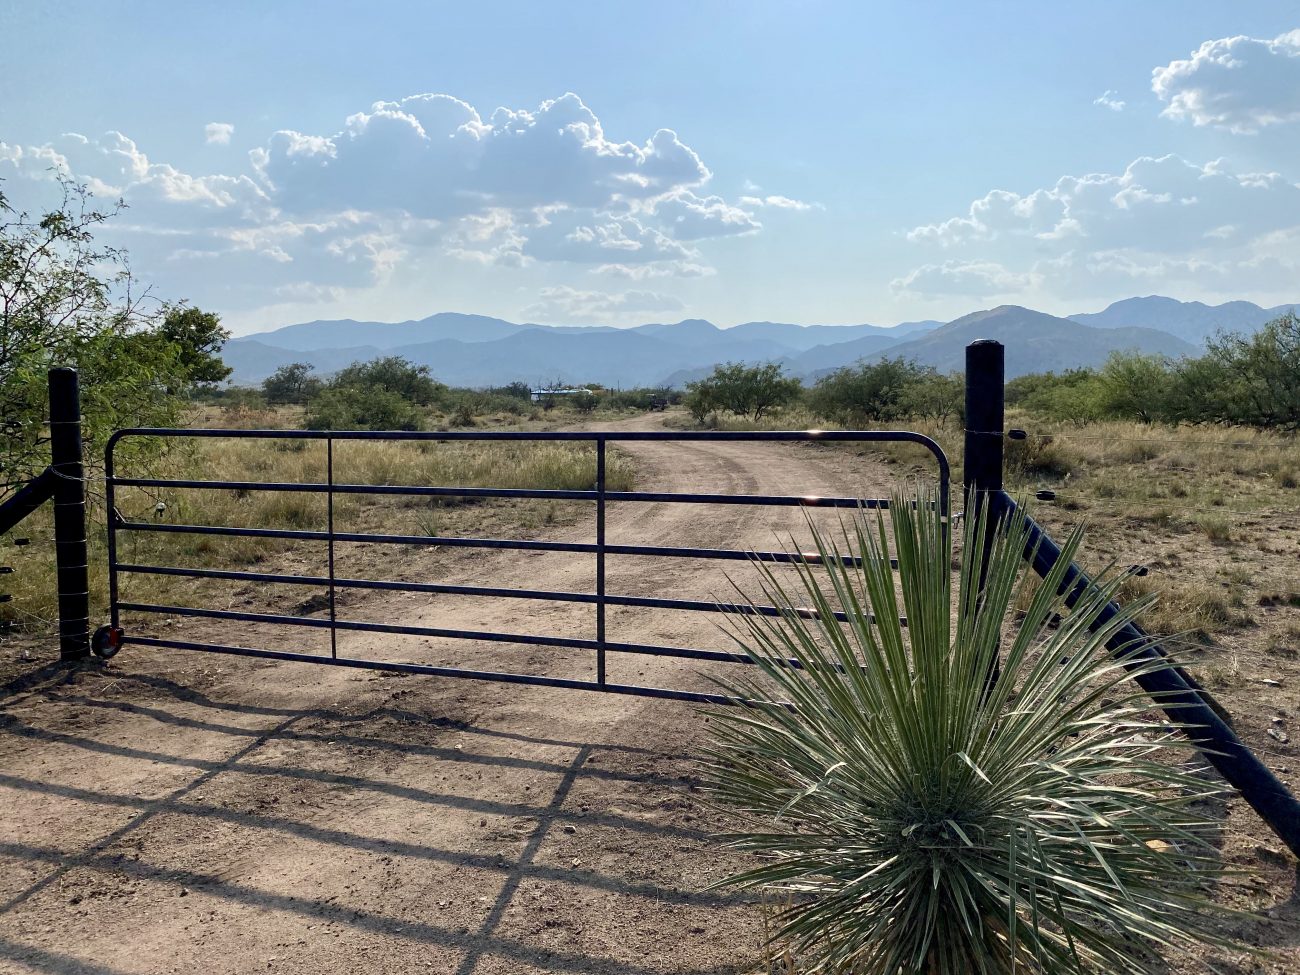
Hanging Gates
We decided we wanted three gates for our fence.
- Main driveway - 16' tube gate for majority of traffic
- Side utility - 16' tube gate for large equipment
- Small walkthrough - 4' tube gate for access to our other 5 acre parcel
For the two large drive through gates, we also decided to do "step-ins" which basically means the gate itself is inset from the main line. This is partly for function - large RV's, trailers, and delivery trucks can pull in off the main road while opening the gate - but also for aesthetics. Having an entry way just looks nicer.
We opted to use the wooden posts here to give it a more finished look and installed Timeless posts on the front of them to keep the wires insulated. Yes, we totally painted them black to match so they're invisible :)
Anyway, back to the gates! Hanging them was a lot easier than we thought, and the hardest part was really planning where the posts would go to allow for proper clearance. Here's the process:
- Make sure you corner post is properly secured (we put in two "A" braces with opposing forces so the gate wouldn't pull it out over time)
- Put your bottom gate anchor in and set the gate on it
- Lift the other end of the gate up until level and mark where to put the top anchor
- Install top anchor and adjust as necessary until it hangs level
Maybe one day we'll put in an automatic gate system, but for now we just make the kids open the gate when we want to get out :)
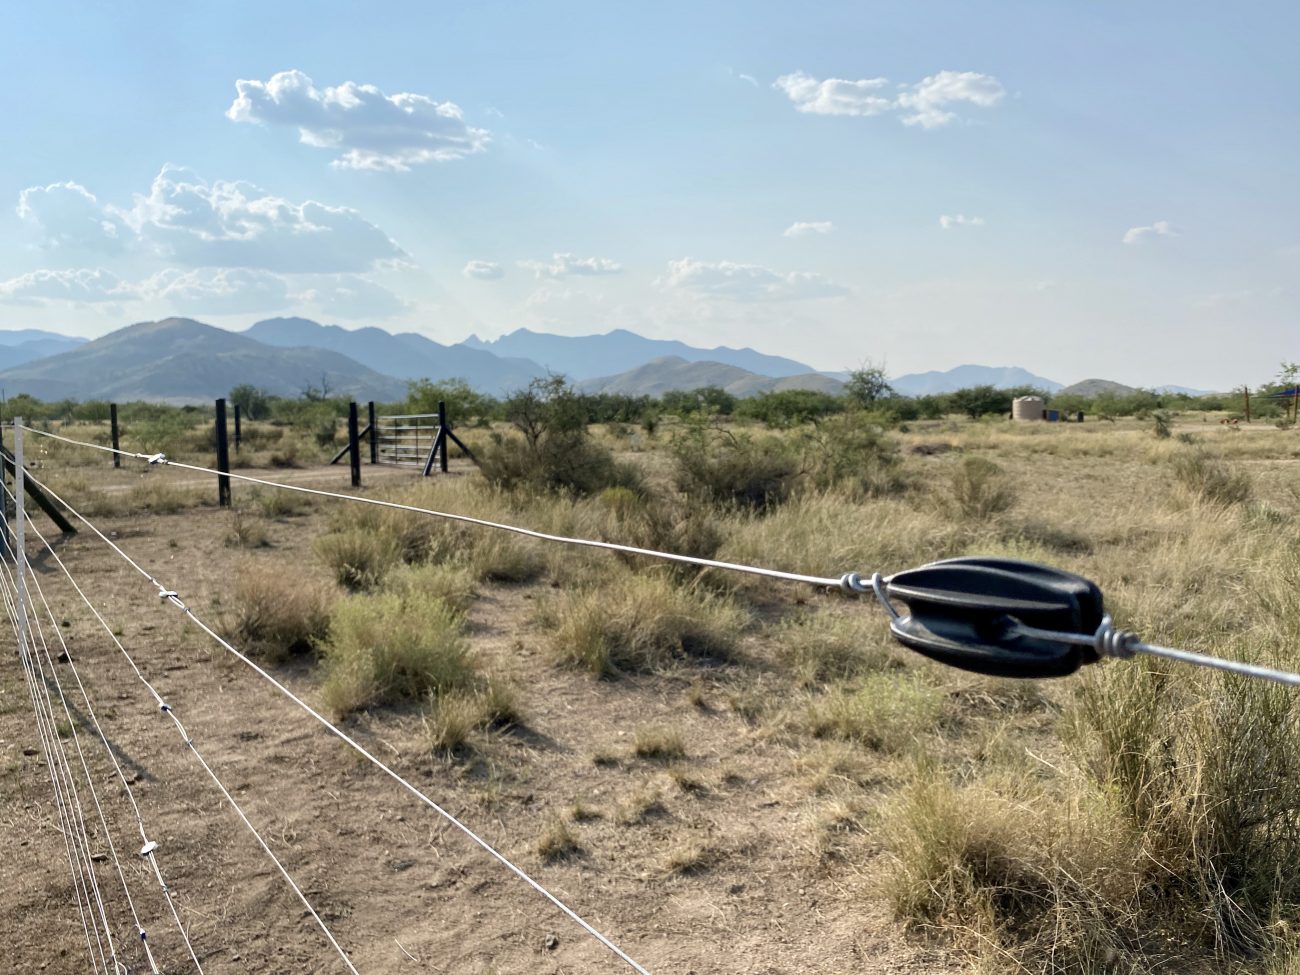
High Tensile Wire, Insulators, & Gripples
Somehow, the next phase was even more exhausting than the first. A lot of this was our fault - we went with decorative wooden corner posts instead of insulated Timeless corner posts. This meant we had to install insulators at every corner on every run for every wire.
Wrapping high tensile wire - even with a tool - is punishing. We did the math, and because of the insulators calculated 6 wraps for each wire x 9 wires x 13 runs = 702. Which basically meant our hands were limp sausages for a whole week.
An integral part of this system are Gripples. Weird name, but it actually comes from the fact that they "grip and pull" wire. Creative, I know!
You use Gripples and a Gripple Tensioning Tool to put tension on your wire after everything is wrapped and secure. These are really cool because if you ever need to maintain or repair your fence all you have to do is add some wire and Gripples, tighten, and you're good to go. No need to re-run hundreds of feet of wire.
Here's the process:
- Get yourself a Spinning Jenny. Otherwise you'll end up with a massive slinky situation trying to run the wire
- Install staples on your corner post at each interval you'll be running your wire. Ours were 9" - 9" - 9" - 6" - 6" - 6" - 3" - 3" - 3".
- Drill any additional holes necessary in your Timeless post - we had to create our last three holes as well as make sure the angled ones on the "A" brace were in line
- Run one wire at a time, threading through each Timeless T-Post
- When you get to the corner post, pull it through the staple and wrap it to secure it
- Cut and wrap in an insulator as close to the wooden corner post as you can
- Take the other end and wrap to the other connection in the insulator
- Go back down to the end where you pulled the line from, cut about 4' past the corner post and do the same thing (corner + insulator)
- Now you use that extra slack to cut the line and install a Gripple - pull it hand tight for now
- Repeat this for each line (in our case, nine)
- When all lines are run, you use the Gripple Tool to tighten the wire and create the tension evenly
Whew - do your hands hurt? My hands hurt just thinking about this. After two grueling weeks, we finally got the fence closed in. No more cows!!!
This a huge development and we're so excited not to have to worry about random bovines chewing things up or making ungodly sounds at 4 in the morning and waking us up.

Next Fencing Steps
Are we actually finished with our fence? Nope. No way. It's not electrified. Things are still a mess. And those dang tube gates are wide open for predators to sneak through.
This next week we have to:
- Pick up all our trash at each corner
- Go to each Gripple, cut and wrap again to continue the circuit and clean it up so the hanging wire doesn't touch the one below or above it. (That's like 200 more wraps if you're doing the math 😩
- Do some clean up clearing around the lines to make sure we won't have any limbs, grass, etc... touching the wire
- Use insulated copper wire to re-connect all the corners around the insulators
- Dig under the gates and run romex to continue the conductive electricity on the other side
- Hook up our electric fence charger
- Zap a few critters (joking - maybe)
- Paint any timeless posts on wooden posts so they're invisible
- Cut the tops off our wooden corner posts so they're all the same height
- Install hog panel on the tube gates to keep predators out
A Huge Step Forward
Finishing this fence has got us super excited. Why? Up to this point, every project has been focused around making the property livable and comfortable while we build out the homestead.
Basically it's all been prep work. The driveway was cut in so we could get deliveries and drive to our trailer easily. The water storage tank and solar powered pump house was installed so we could have easy access to water without transferring it every day. The shade sails were put up to give us shade and keep us cool during the summer. And the floating shou sugih ban deck was built for additional living space up off the ground during monsoon and snake season.
And this dang fence - well it's been the last huge piece of the puzzle. There are so many projects we haven't been able to move forward on until it was done.
Now that the prep work is done, and we're closed off, we get to dig in start creating our dream property. So many ideas - so many fun projects coming up. And we can't wait to share all of them with you.
If you're not already subscribed, make sure to sign up below so you don't miss anything!
Apparel
Grab a fun, comfy t-shirt & help support our family.


About the Author
Jonathan Longnecker is the strongly opinionated tattooed and bearded half of Tiny Shiny Home. He loves making music, figuring out nerdy solutions, exploring the outdoors, and living off-grid.
comments powered by Disqus


