Off-Grid Outdoor Shower Built with Hyperadobe Bags & Glass Bottle Bricks
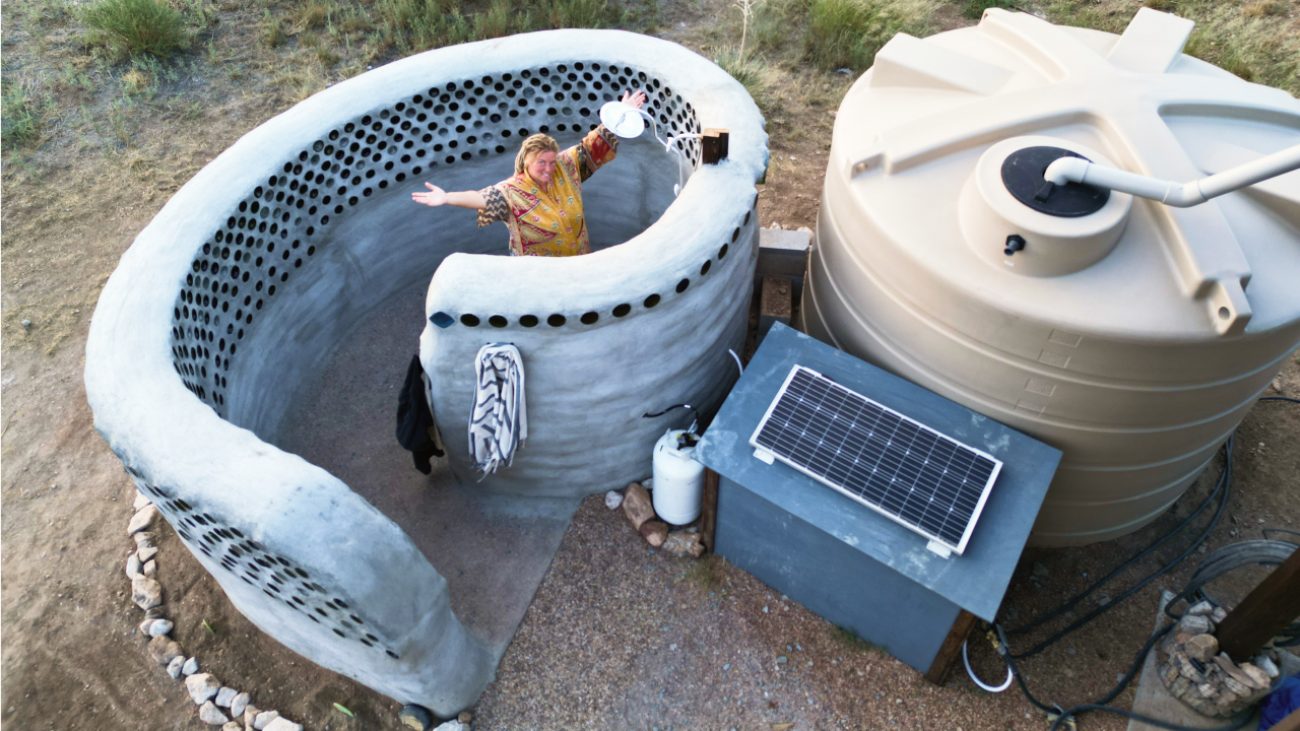
Our family spent the last month building an open air outdoor shower out of hyperadobe earthbags and glass bottles. So many glass bottles.
This was a fun little project that included our first exposed aggregate concrete floor, a drain that flows directly to our permaculture berm and swale, a ridiculous amount of glass bottle bricks, a multi day earthbag workshop, a portable outdoor water heater, and the fanciest shower head we’ve had in over a decade.
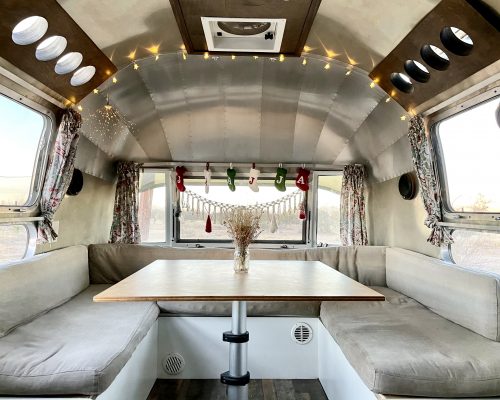
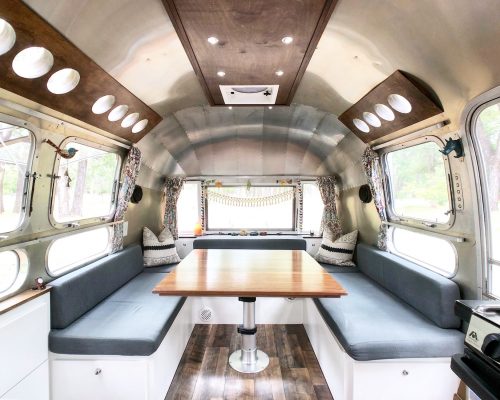
After showering in our renovated vintage airstream for the last 6 years we are ready to spread our arms, enjoy the view, and not have to wait on someone for a shower ever again.
The Design
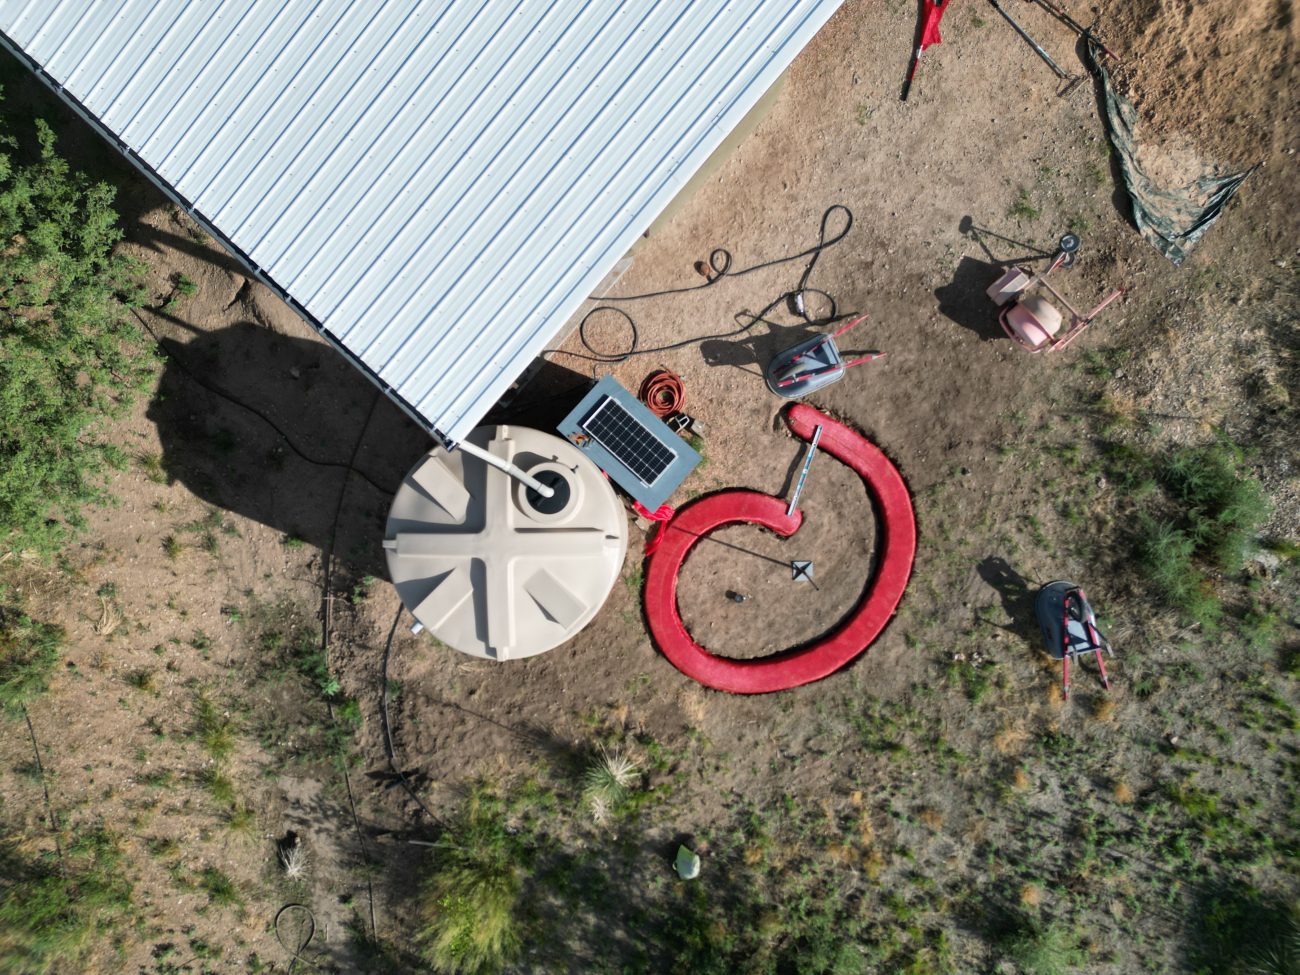
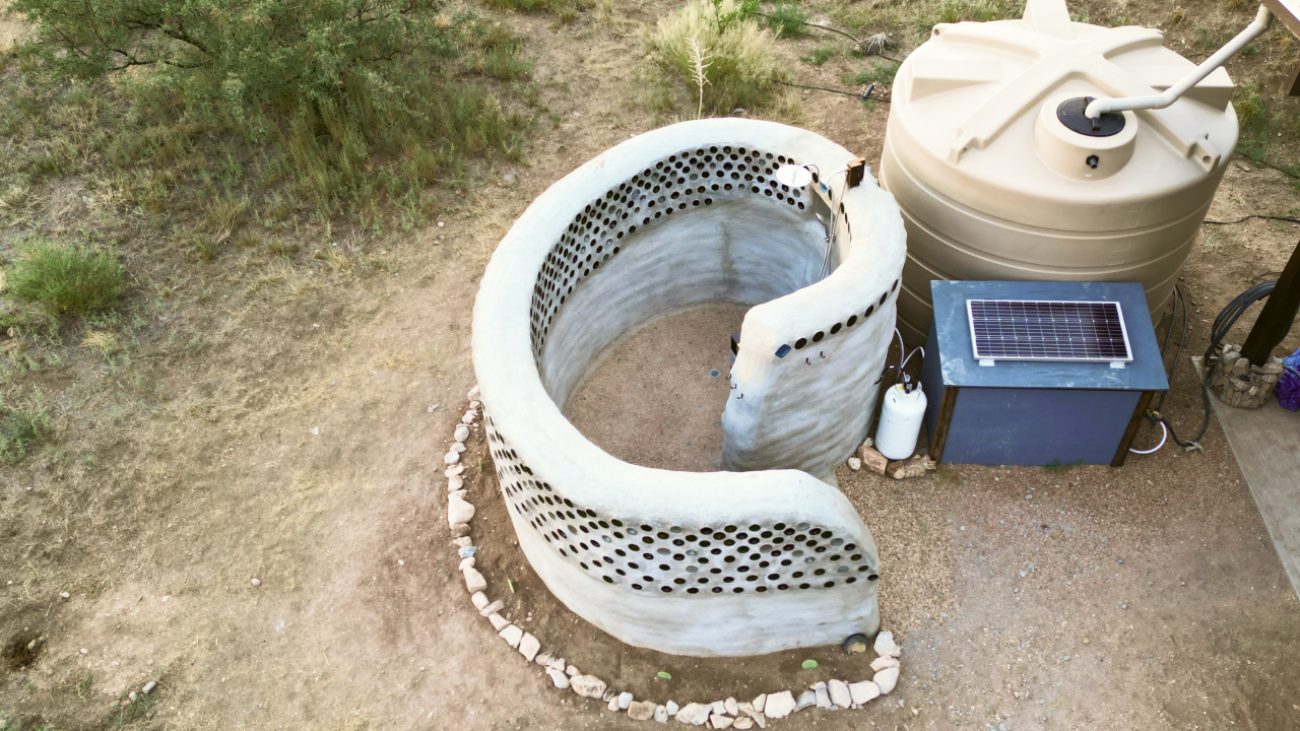
Our goal with this shower was to design a unique shape out of a single wall that would provide a killer view of our high desert homestead while keeping the person showering modest and protected from the wind. Using a natural curve we were able to make the wall very strong, turning in on itself to create an entry way and enclosed shower section
The Materials
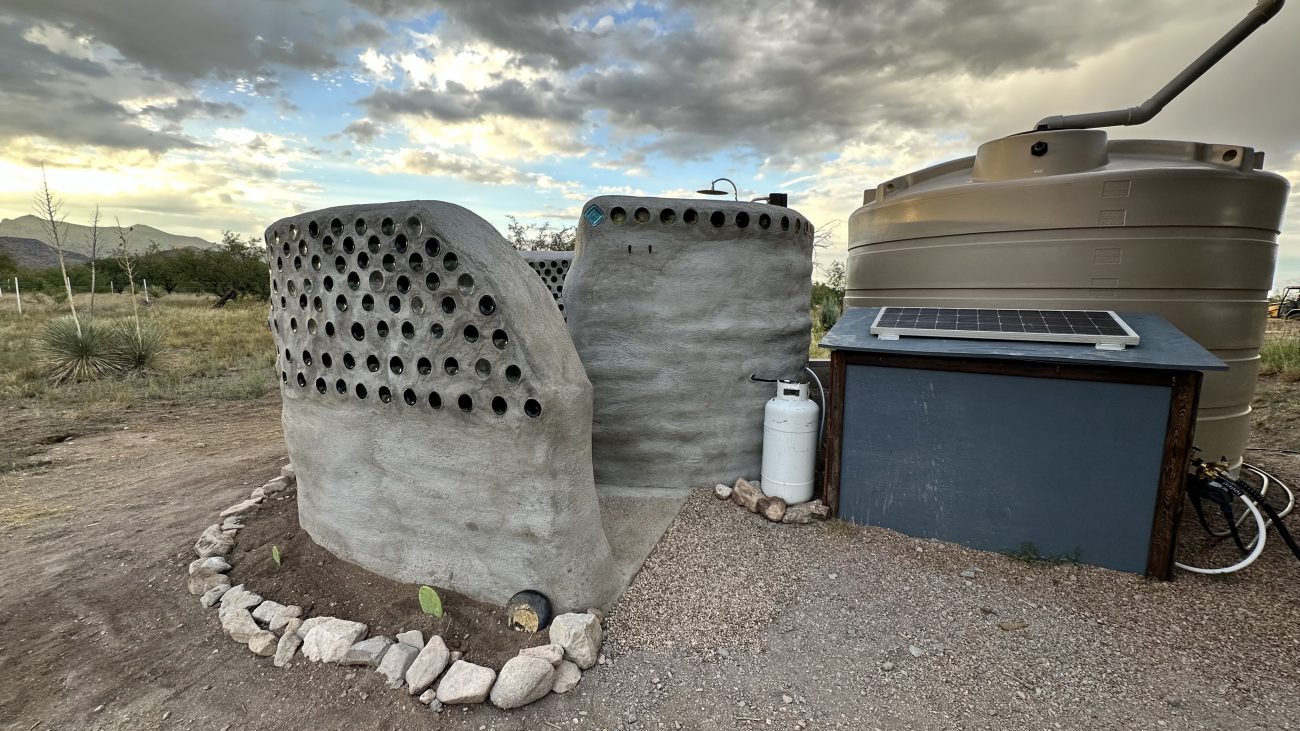
While the design of this outdoor shower is pretty unique, the materials are very simple. We're using hyperadobe earthbags for the base and recycled glass bottle bricks higher up on the wall.
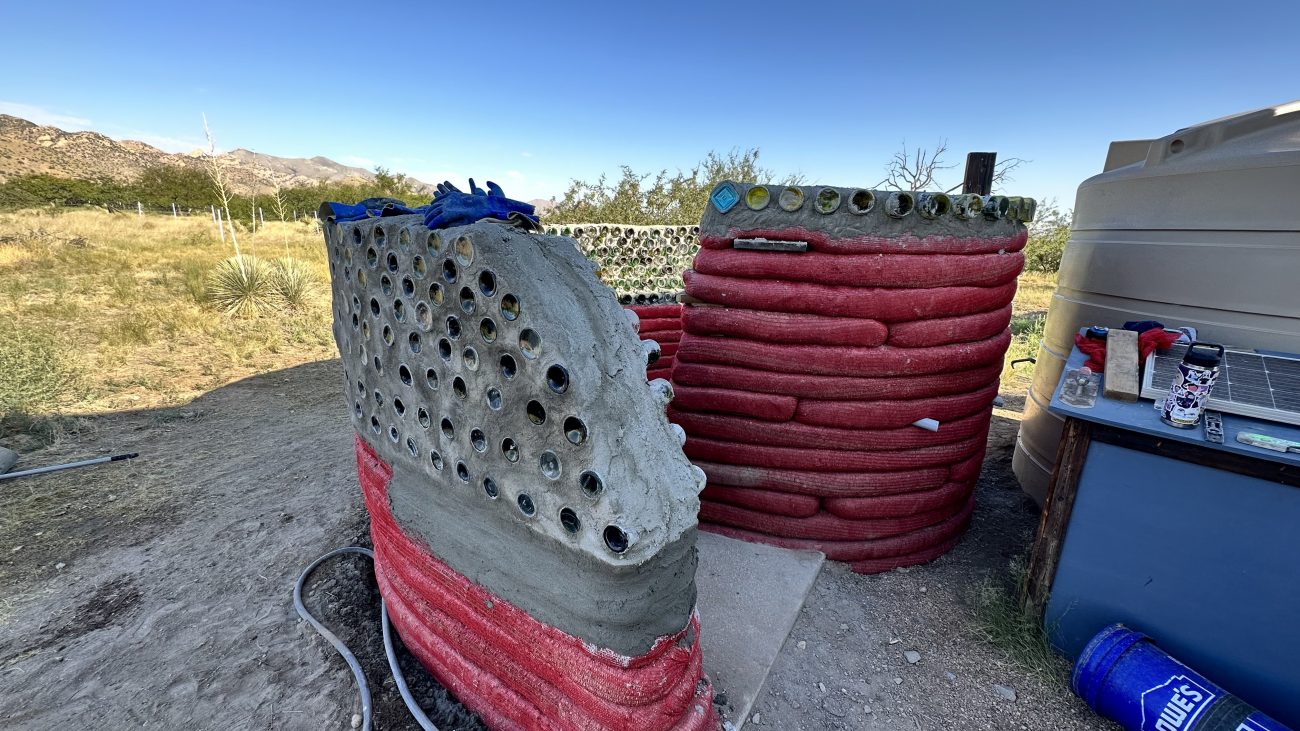
Hyperadobe bags are just a UV treated mesh tube that you can fill with water, soil, and clay or cement, tamp down, and turn into a super solid wall structure. So far we’ve used them to build a solar shed office, a chicken garden, a composting toilet outhouse, and we’ll be using them in our huge family home project starting soon. We really like them.
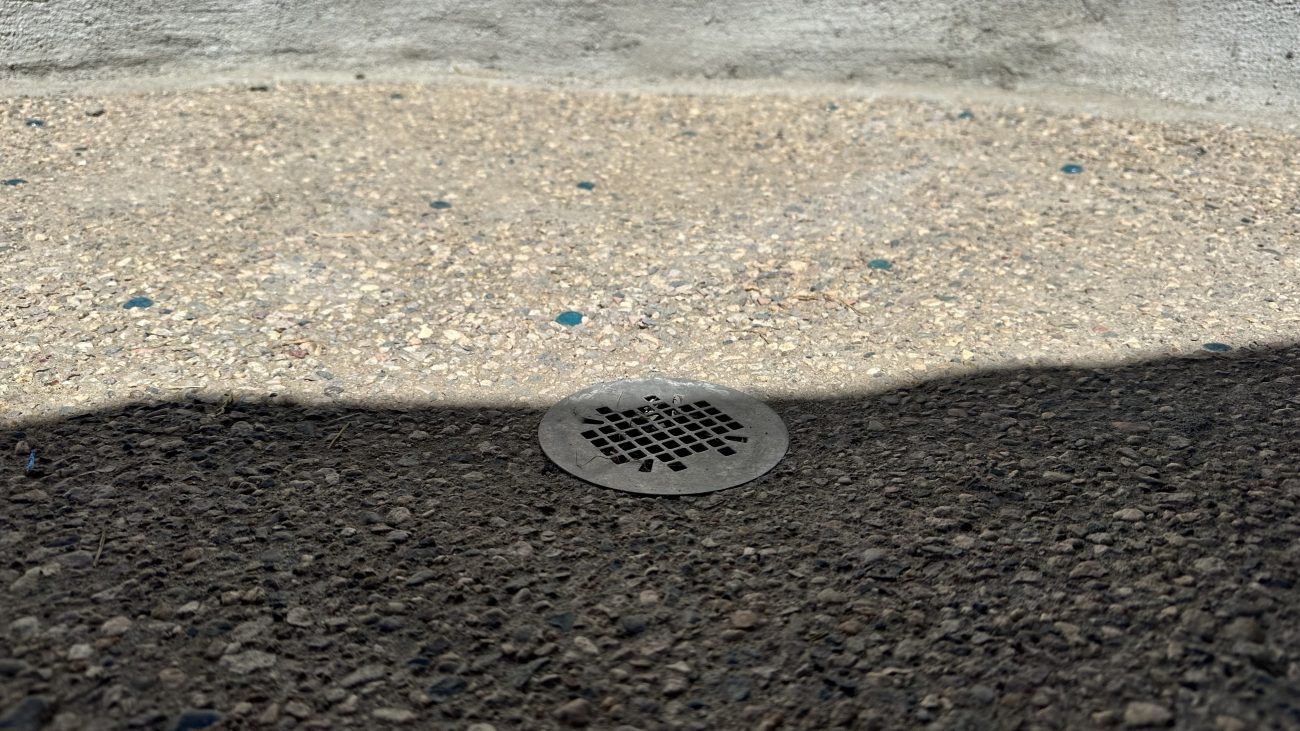
The floor of the shower is a simple concrete pad sloped to the center with a drain going out to our berm & swale. We decided to use exposed aggregate and glass beads to give it a different finish.
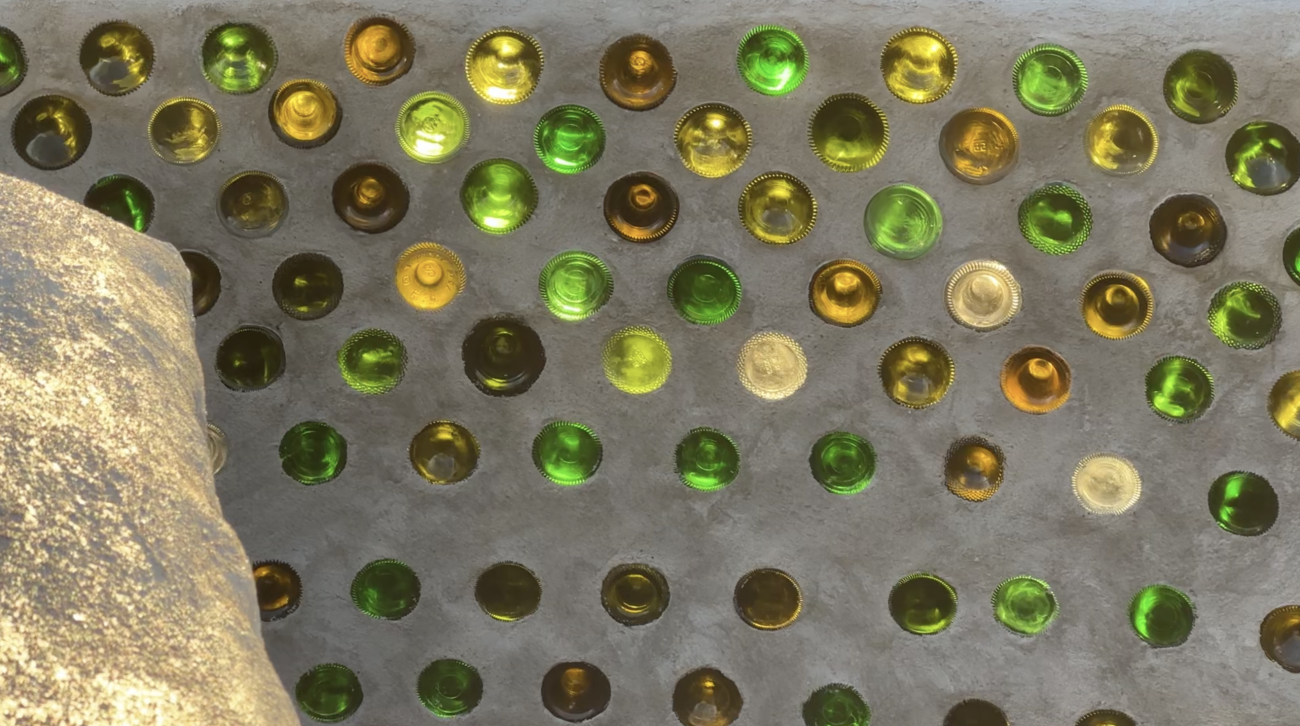
The star of this build is definitely the 700+ bottles that were cut, cleaned, taped together, and meticulously put into place to create a wall of light that shows off every time you're inside.
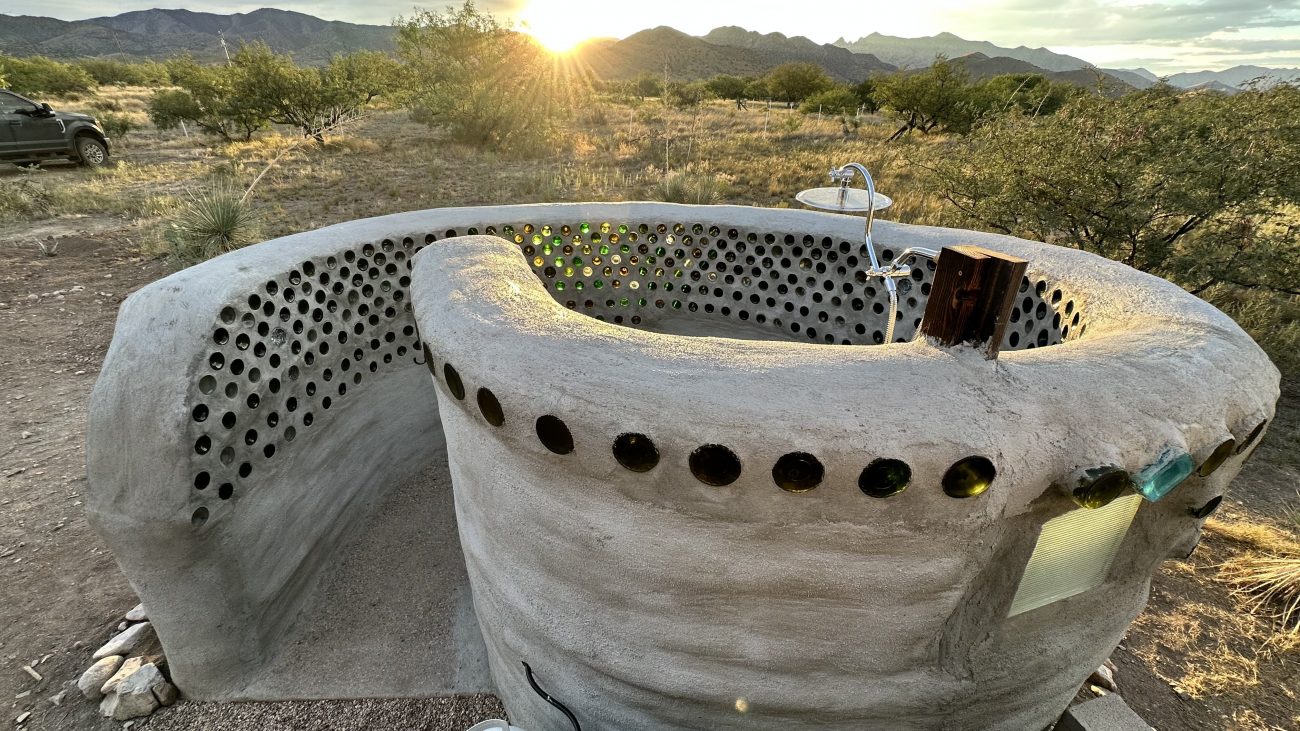
To finish it off, we used mortar between the bottles and a fiberglass one coat stucco and cement sealer to protect it from the elements.
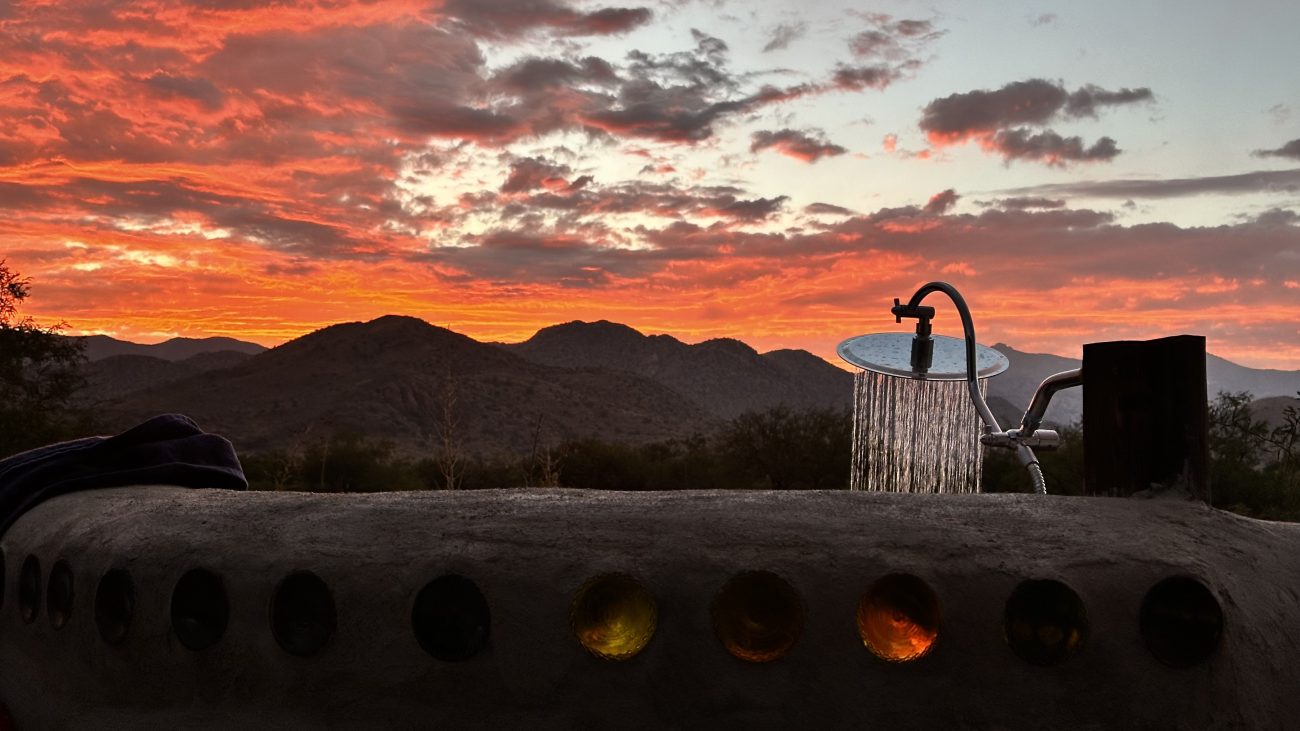
The Shower Elements
First off, to shower you need water! We strategically placed this outdoor shower right next to our rainwater catchment tank and solar water pump house. So we had pressurized water available close by.
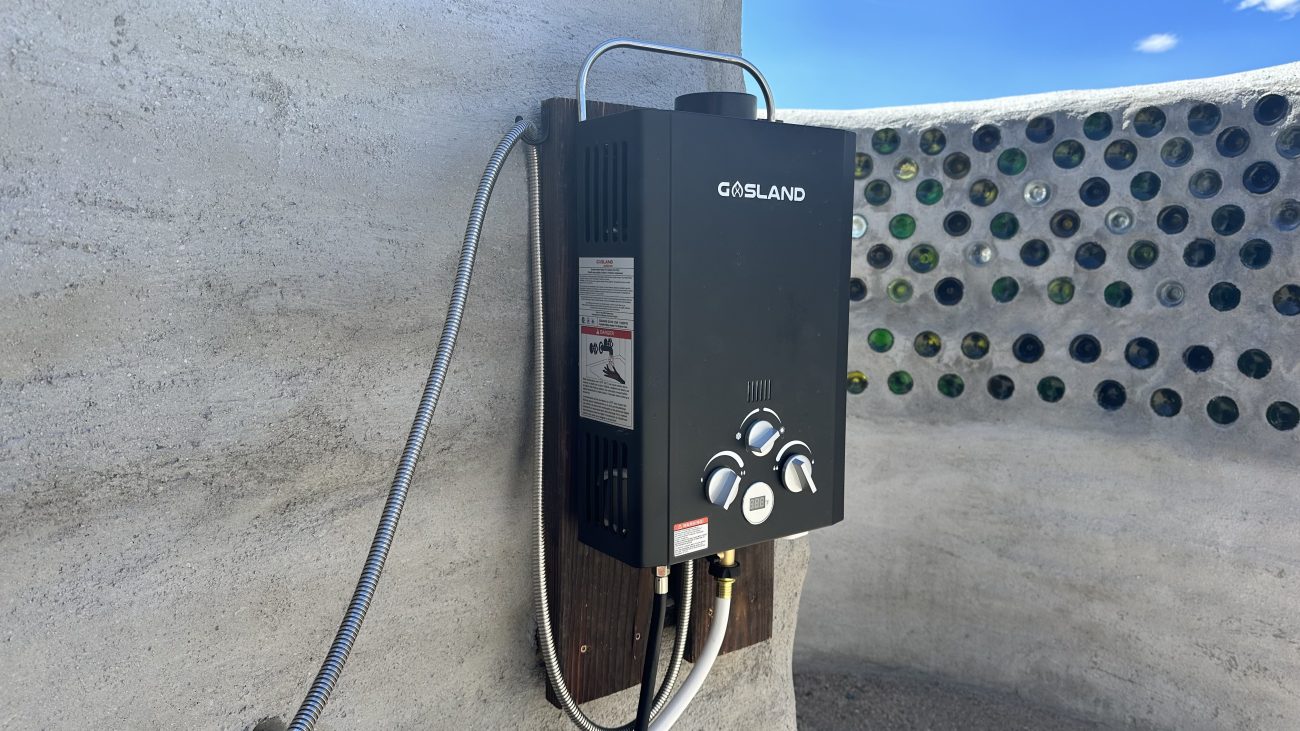
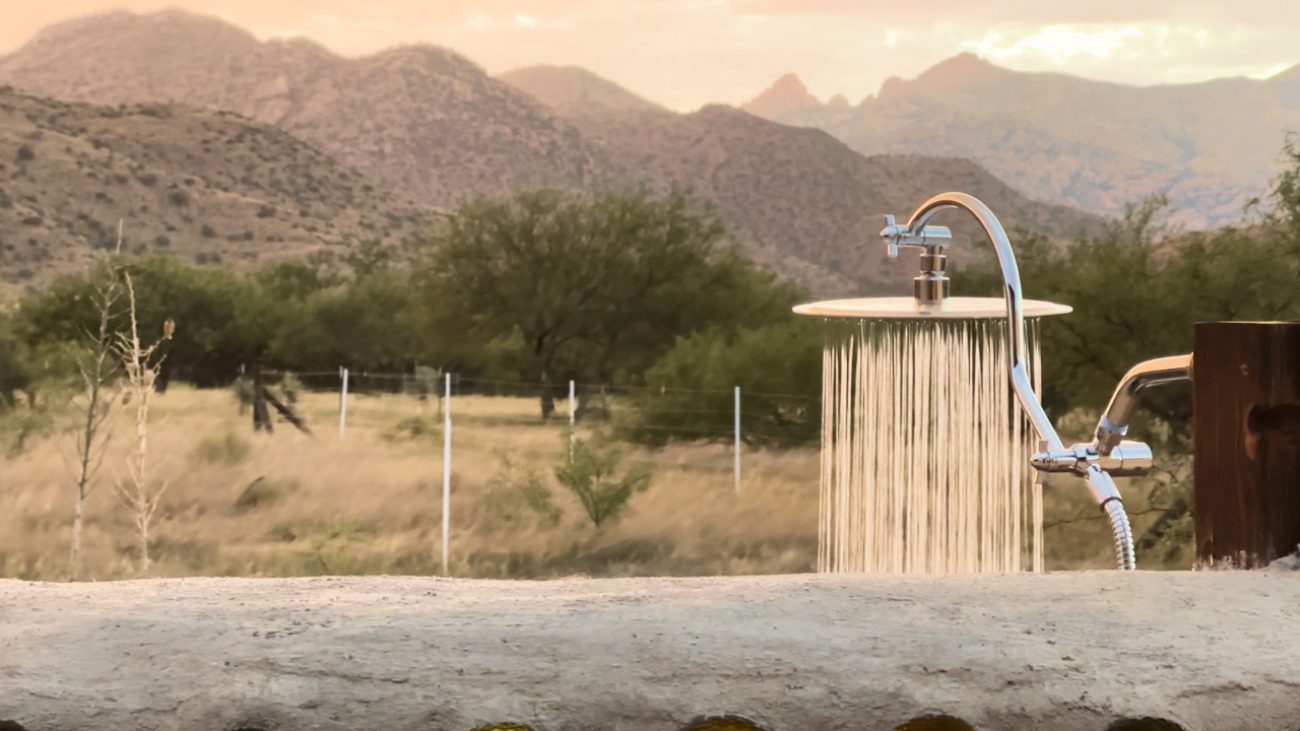
Then we used a portable outdoor on demand water heater connected to a propane tank to provide beautiful warm water as needed. Of course, we had to upgrade the shower head, too.
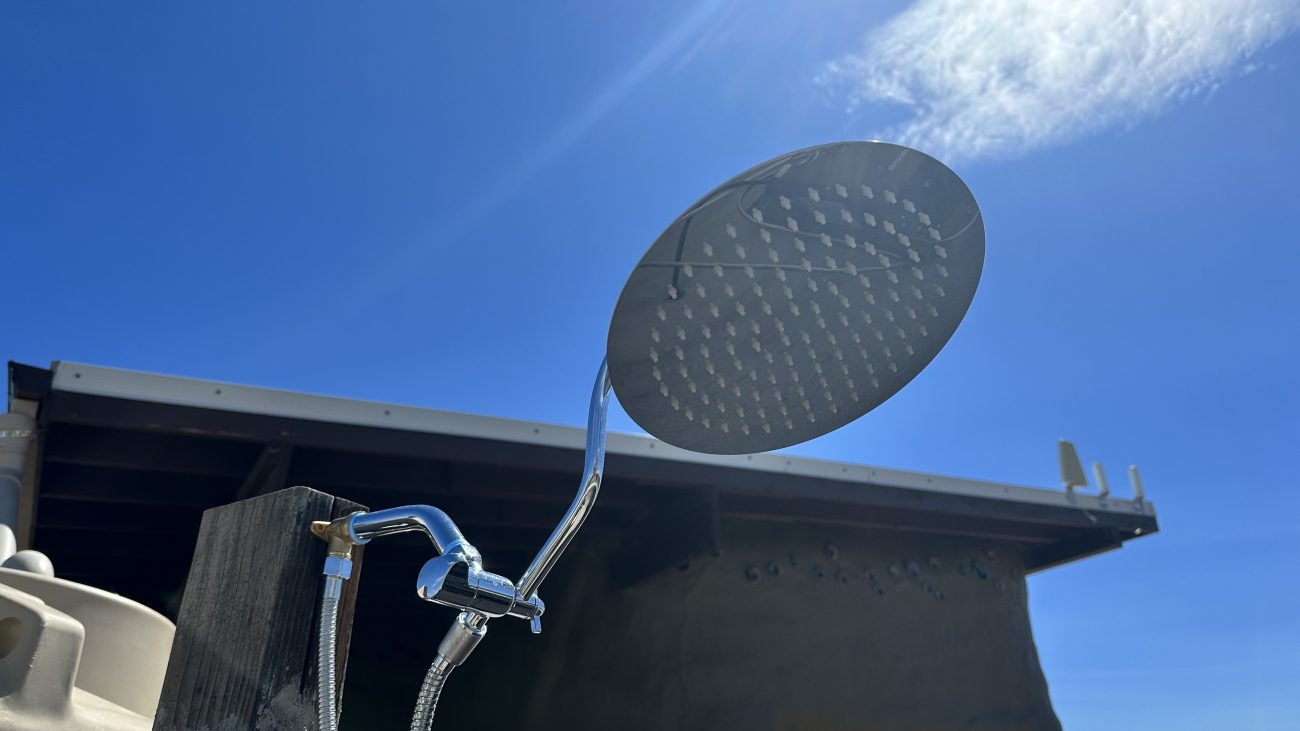
This rainfall disc and handheld wand should help us keep ourselves sand our dogs clean.
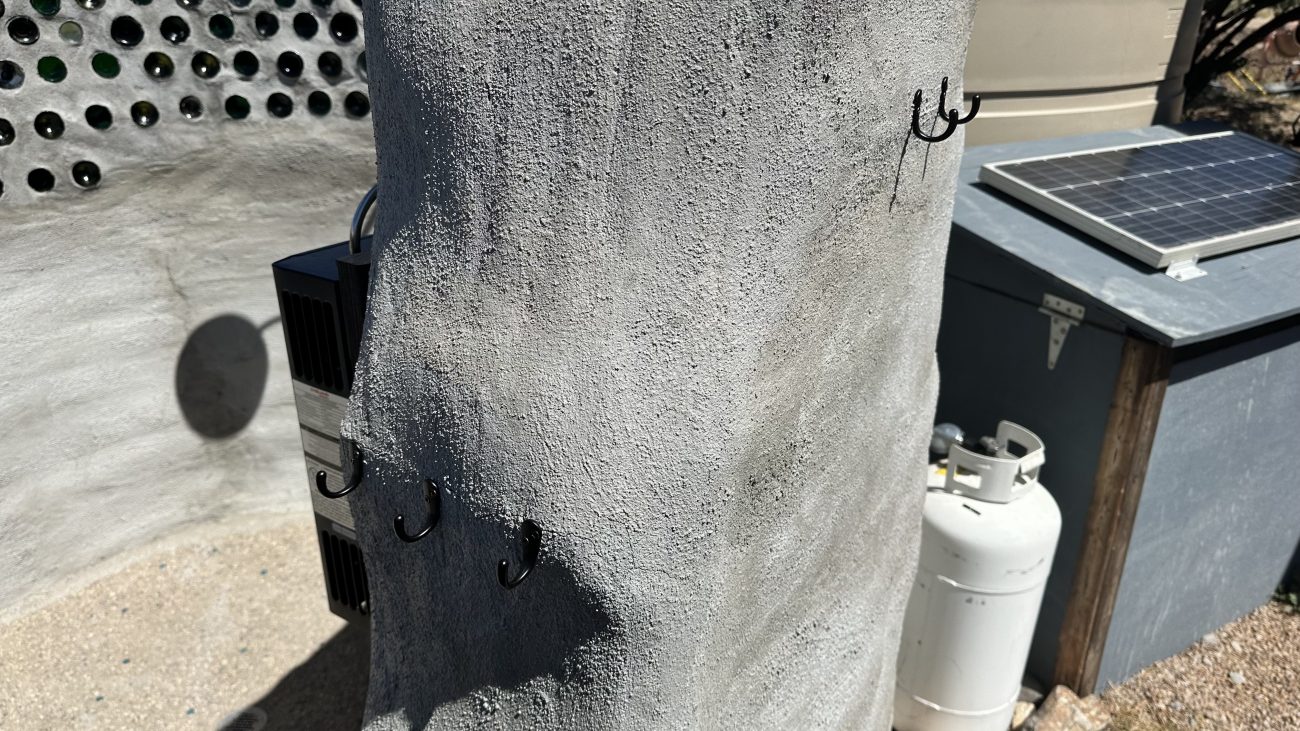
Finishing Touches
From there it was just a matter of adding some hooks for our clothes and towels, cleaning up around the outside, and enjoying our magical outdoor shower. It's going to be hard to go back to a regular shower again.

Cost Breakdown
How much did this life changing outdoor shower cost? Well, a little more than it should have. If we had gone with cob instead of mortar we would have saved a good chunk. But either way it was relatively cost effective.
Item | Cost |
|---|---|
Concrete Floor | $150.00 |
Drain | $9.00 |
| $50.00 | |
Recycled Glass Bottles | $0.00 |
Gorilla Tape | $65.00 |
Type S Mortar | $450.00 |
One Coat Fiberglass Stucco | $250.00 |
Sealer | $70.00 |
| $170.00 | |
Shower Head + Fittings | $70.00 |
Hooks | $10.00 |
Total | $1,300.00 |
Apparel
Grab a fun, comfy t-shirt & help support our family.
comments powered by Disqus


