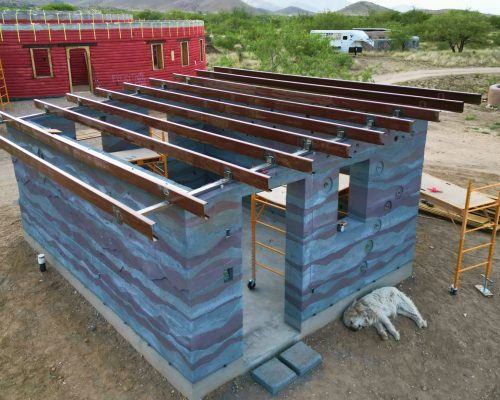
Solar Shed Office Part 4: Laying the First Course of Hyperadobe Bags
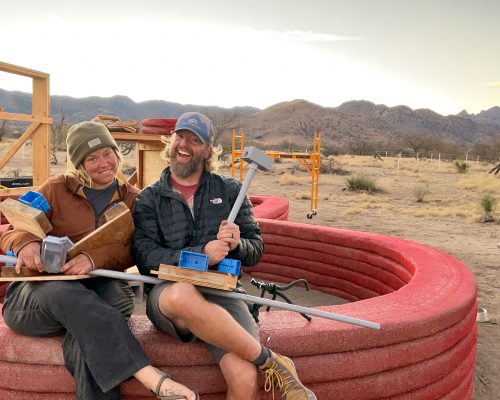
Hey, hey! Look who's laying bags for our solar shed office!
We're so excited about this phase. We worked so hard to get the foundation right and leveled, we've planned and researched, and now it's time to get to work! But first, let's talk about setting up a system so that laying the bags will go as smooth as possible.
Store Your Dirt Far Enough Away
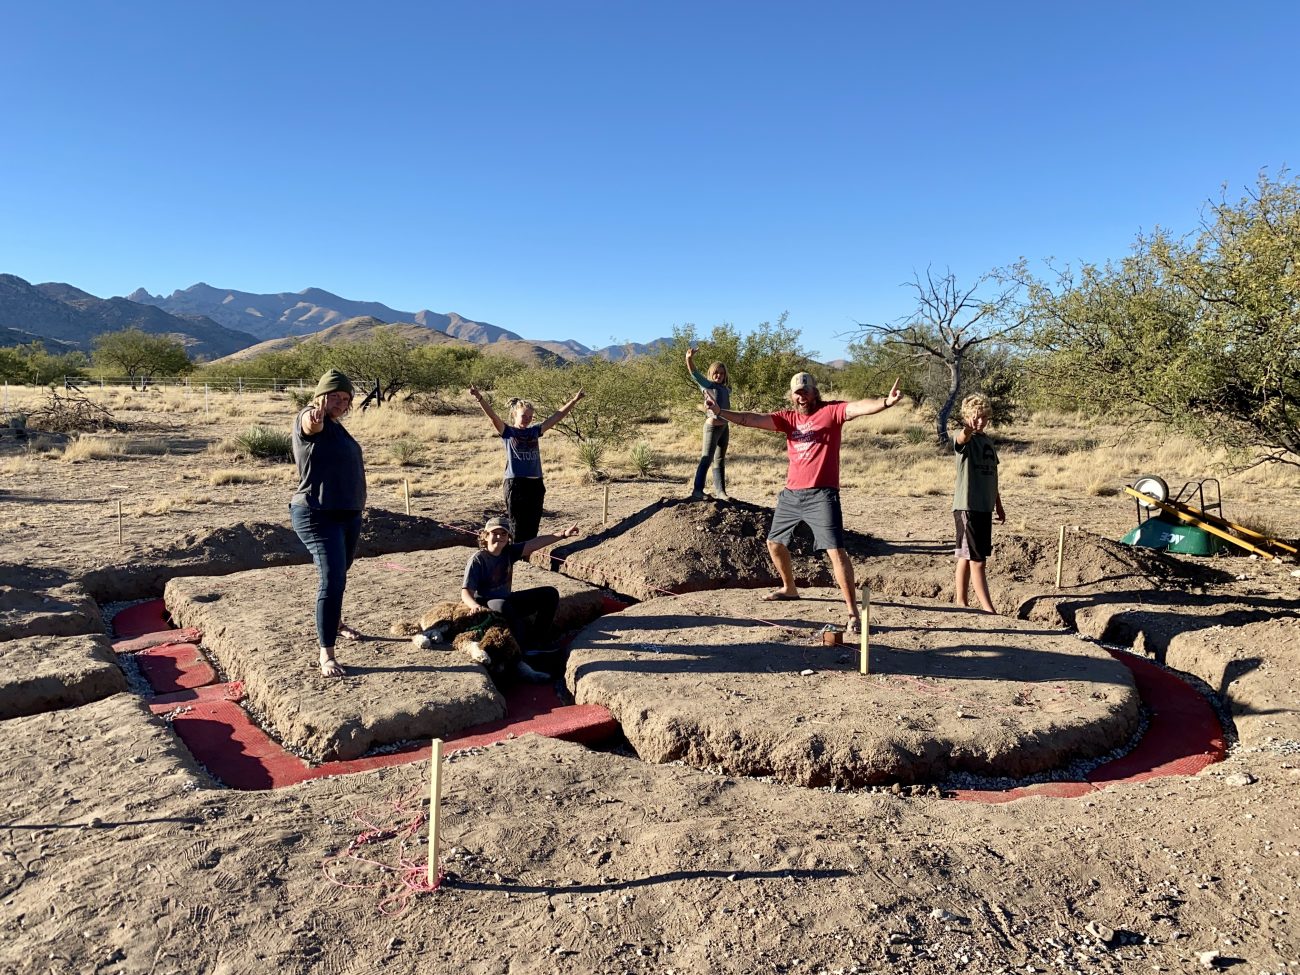
When we dug the trench for the foundation, we thought it would be helpful to keep the earth near the building site, turns out...you don't want to do that.
It's really in the way so now we've had to move the piles several times. Once to dig our buttresses, and once to put up our string line, and now we need to move it again to sift it. Save some time and hassle by not doing what we did. Put all the earth that you dig up into one large pile about 20-30 feet from where you're building.
We're still moving piles!
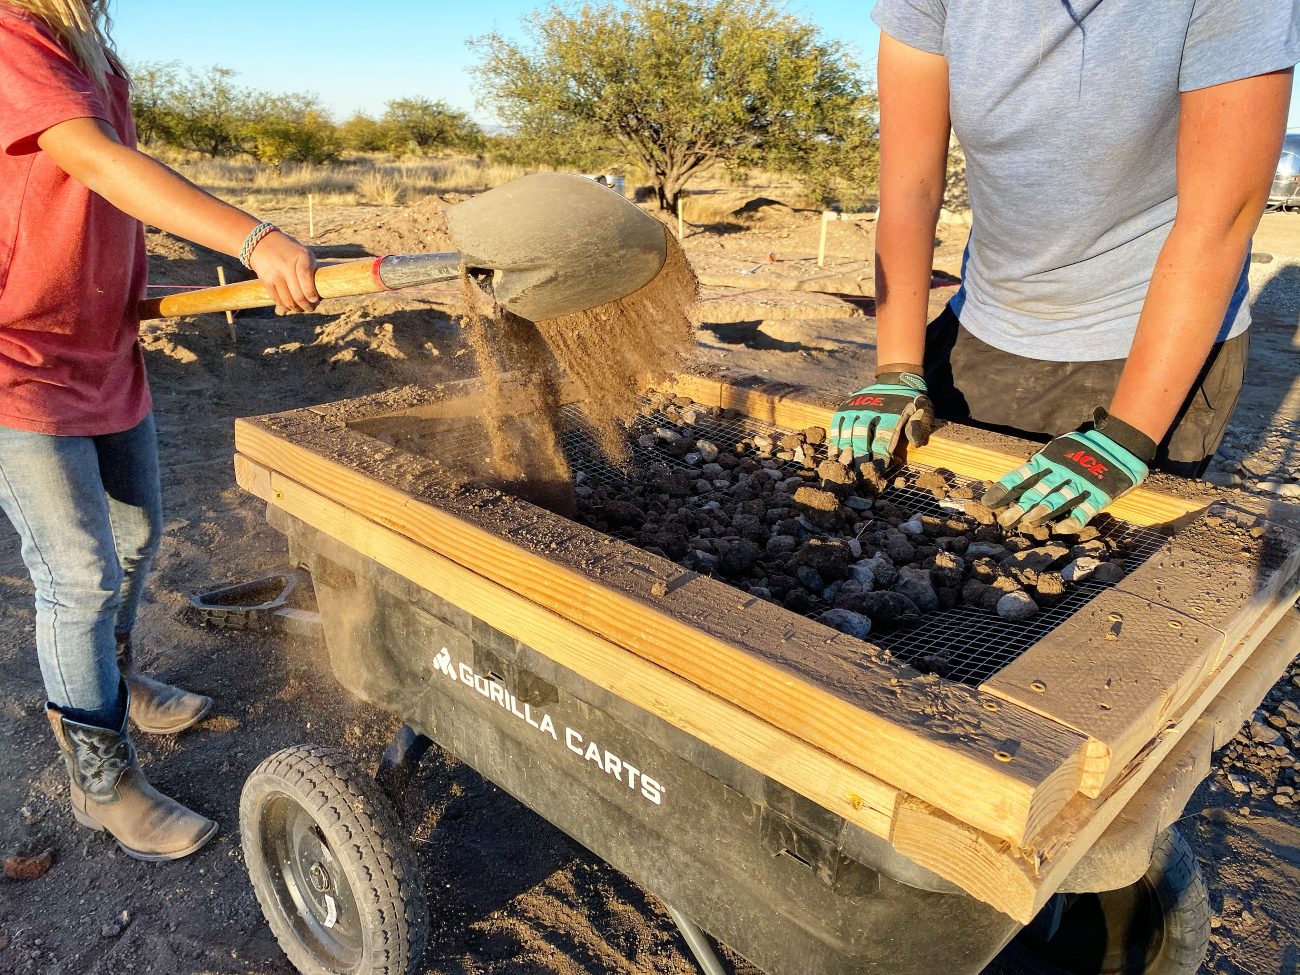
Filter Your Dirt Before Filling Bags
We built a simple sifter that fits directly on our Gorilla Cart using scrap 2x4s and 1/4" hardware cloth. This way we can sift the earth and get out all the big rocks. You don't want those in your bags! Just make a pile of rocks nearby to use on your next rubble trench foundation.
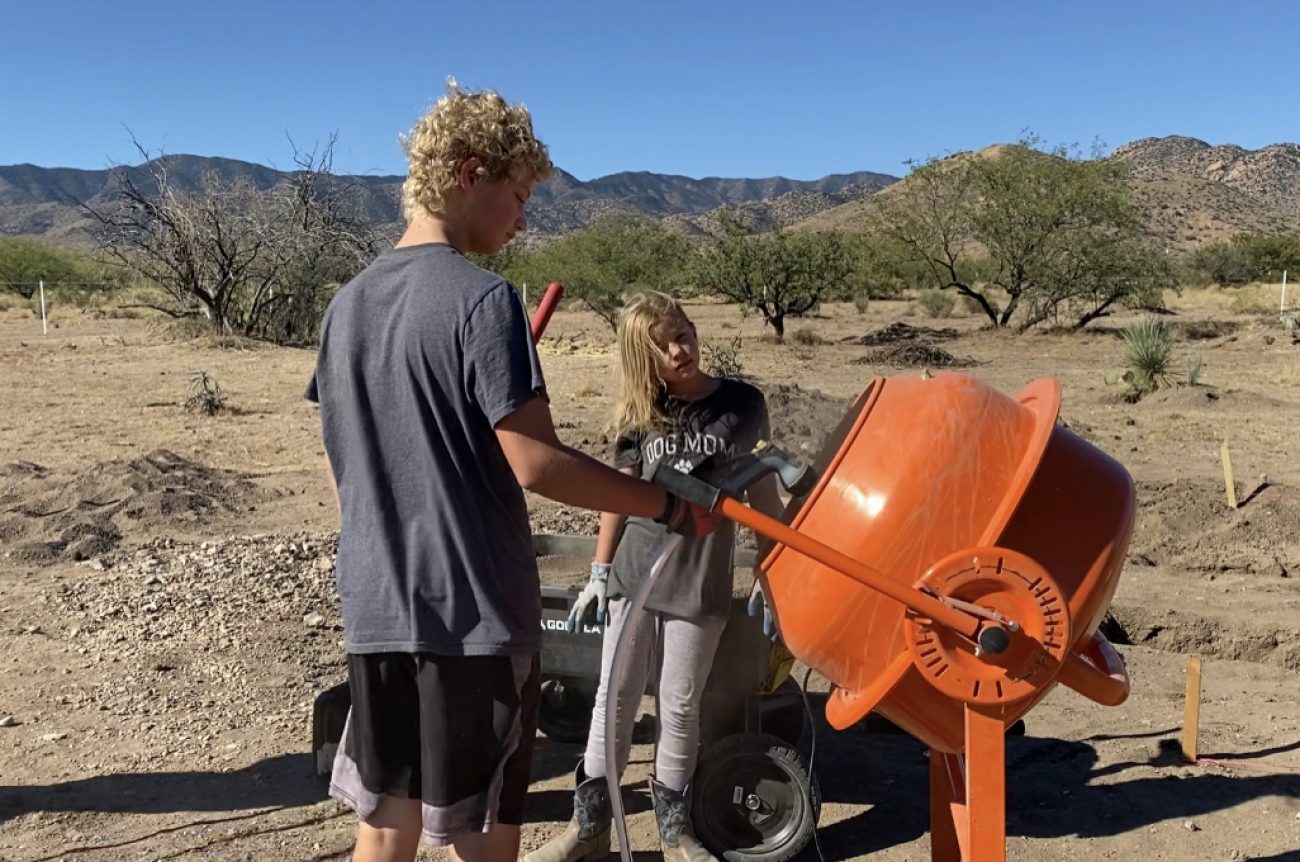
Use a Cement Mixer to Speed Things Up
For us, we knew we'd be needing to add a bit of cement to our native earth for these first several courses so having a cement mixer next to the pile of earth was a good idea. Though the cement mixer was a huge pain to put together, it works, and it's a huge time saver when you're working with this much earth and cement.
Have Access to Water Nearby
Lucky for us, the location we wanted to put our solar shed was near our water tank so we're able to just run a hose from our solar pump house to our cement mixer.
When we're working some other place that's not near the water tank, we'll likely invest in another IBC tote to refill nearby the job site so we can just use gravity to add water to the soil.
Having all of these things close together and near the building site was really smart. That's one thing we did right!
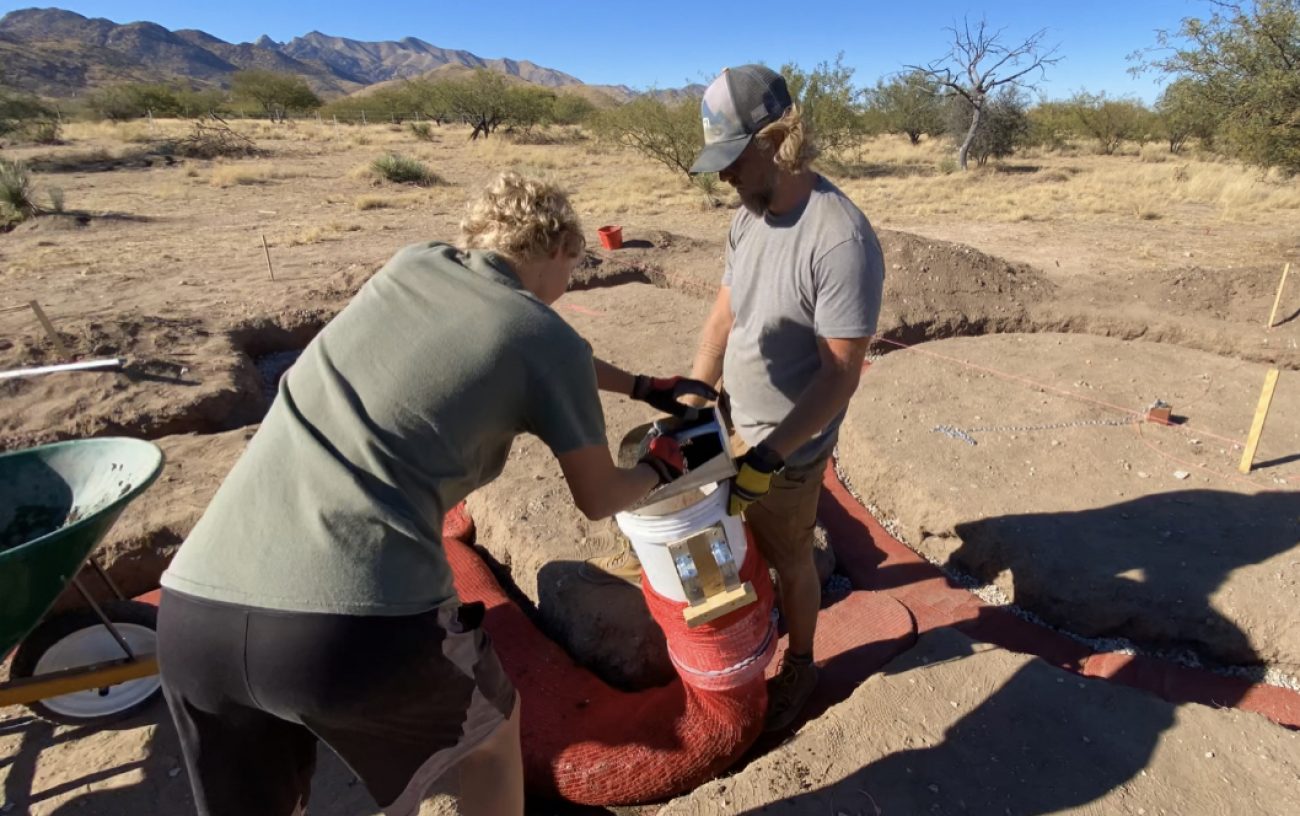
Bucket Delivery System for Earthbags and Hyperadobe Bags
Some other things we did right were creating this bucket system that will eventually be on a hand cart once we're laying bags above ground level.
We just cut two buckets and put them inside each other, added some duct tape and voila, we have a sweet delivery system for getting the soil into our bags. Having the extra length of the second bucket means that we are able to cinch around 45 feet of hyperadobe bags onto the buckets. That's a lot of bag!
Create a Plan & Process For How You'll Lay Your Bags
Assigning jobs to the kids was also a key to a smooth operation. We had two kids manning the cement mixer and mastering the art of a perfect mixture of water, earth and cement. Then one person holding the bucket and two people filling the bucket.
If you're good at math, you'll realize that we still have one person unaccounted for. That person was in charge of watching the dog. Yeah, we have a 6 month old puppy that thinks it's cool to destroy anything inside, eat poop, dig in a compost pile and eat cement. So, yeah. One person had to watch the dog.
But we all switched jobs so that everyone could learn each aspect of the job and now everyone knows how to get the right consistency of earth, fill the bags, and how to keep a puppy safe.
What We Did Wrong on our First Earthbag Layer
We knew we needed some type of elastic around the bucket, but all we could find were some bungie cords with the soft rubber hooks. Turns out, you DO NOT want to use these! We tried it on the first bag, and it worked great for sort period of time, until the hook got stuck in the bag and ripped it! We had to remove some of the soil from the bag, tie it off, and start another bag. Not a huge deal but we won't be using bungie cords again.
Thankfully I remembered that we had a couple of extra exercise bands in the garage and that was just want we needed! We simply tied up the band to get the right size and pressure on the bags. Now we can simply add the soil through the bucket, and the weight releases the bags at the right time.
Make Sure to Tamp as You Go
The biggest lesson we learned was you don't want to wait too long to tamp these bags. Because they are not the typical CalEarththat polypropylene bag, but are net bags the dirt is exposed to the air faster. We laid the dome bag first, and waited to tamp until the entire circle was laid. Big mistake. A lot of the soil was drying out and it made it really hard to tamp it down. Being that we're also adding a bit of cement to the mix, we need to be tamping these bags as we go.
What worked really well was to tamp slightly as we went, then once we're a good 10 feet along go back and tamp the first part harder. Then, once the course is complete, go back for a final tamp on the bag. We used that system on the rectangular part of our building and it worked much better.
I'm finding it really hard to explain exactly how we're doing this, so perhaps watching the video will help. Once you begin laying the bags, you'll get a feel for what is right and what isn't.
I absolutely love this process. I love that we are touching every single part of this build. We dug the earth, we added the water, we filled the bags, we tamped them. Our hands are involved in every part of this build and that is a huge reason of why we're choosing to build this way.
We hope that we can show you all we learn so that you too can feel confident building with hyperdobe bags. We are learning a lot, but there's still so much to figure out. We're excited that you're following along and part of our journey. Thanks for your support and love. We feel it.
Apparel
Grab a fun, comfy t-shirt & help support our family.


About the Author
Ashley Longnecker is the fiercely independent tattooed and dreaded half of Tiny Shiny Home. She's a woodworker, photographer and maker of delicious baked goods. She loathes schedules and makes every day an adventure.
comments powered by Disqus