Solar Shed Office Part 5: Door Frames, Cleats, & Laying Multiple Courses Above Ground
After quite a few detours including goats, a guard puppy, the holidays, and new baby goats twins, we are officially back at it on the hyperadobe solar shed office. We started by making a plan to build a strawbale rectangle building, and changed it to a combo rectangle & dome hyperadobe building. Then we dug the foundation, and started laying the first courses.
Since then we’ve been steadily adding courses, but didn’t have much to write about. I mean, you can only talk about laying bags so many times, right?
But we finally reached a height where we had to start making some decisions and changes.
Deciding on Windows and Doors
That’s right, we reached a level above ground that necessitated some big decisions we had been putting off. Specifically our doors. Our original plan was to have a main entry door on the rectangle, a door into the dome from the rectangle, and a secondary back entry door into the dome. The idea being that if someone were to come visit and spend time in the dome room they would have total privacy and a way to get in and out without disturbing anyone in the office.
Like most of our projects, we realized we were over-complicating things. This is a tiny > 200 square foot building. It needs to be simple and cost effective. And realistically speaking, trying to fit 3 doors that open and close in an area that small wasn't physically possible!
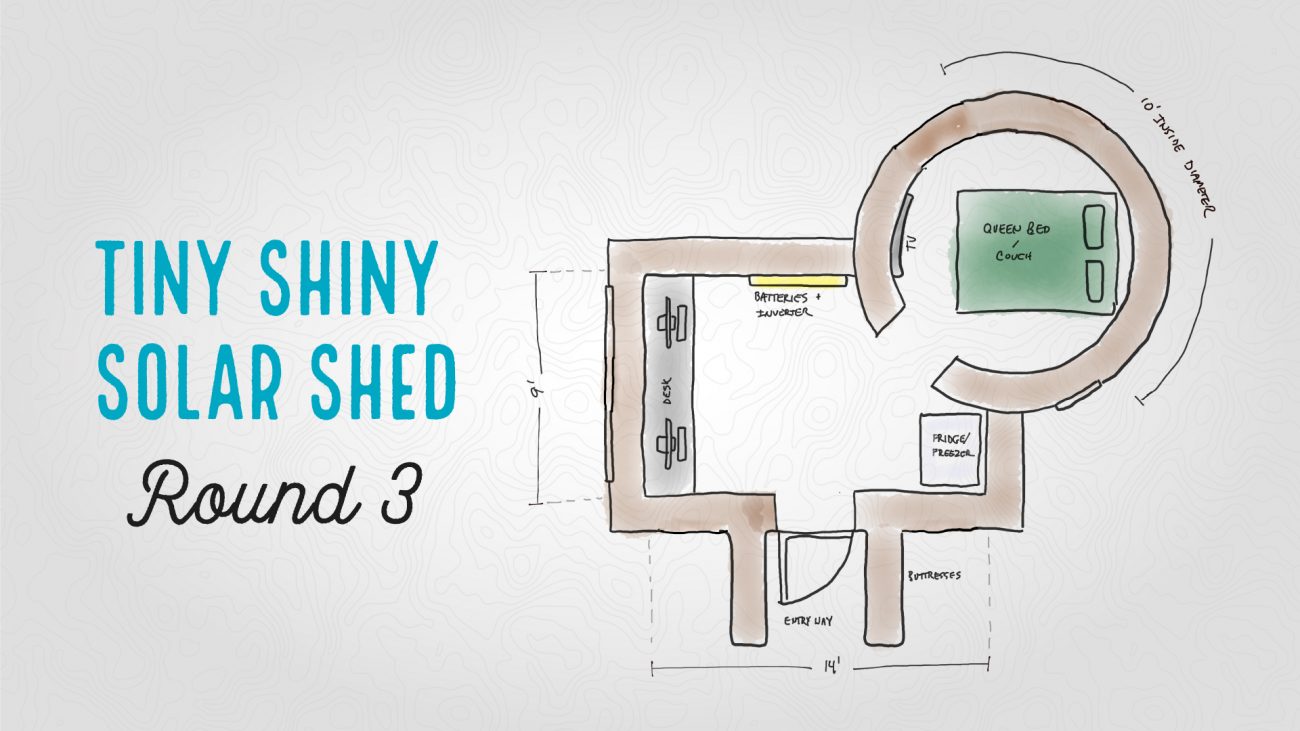
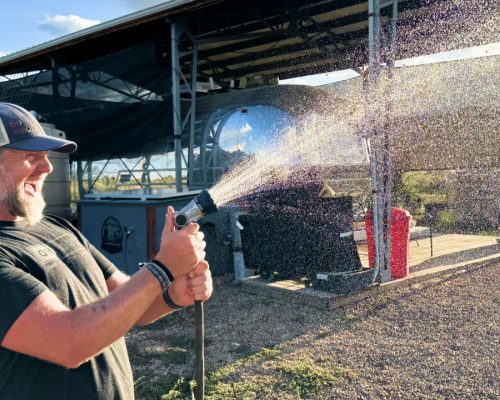
So the new plan is a single entry door on the rectangle. For those worried about an emergency escape from the dome, we’re going to install a 24” window with plenty of room to jump out if needed.
The entry way was also simplified to an archway without a door. We figure we can hang a curtain or something for privacy if needed.
For windows, we also seriously downsized. We are still going to splurge on a large vista window behind the computer monitors, but other than the window in the dome, any other light we let through the walls will be built with glass bottle bricks. This will give us more usable wall and floor space as well as keeping the temperature regulated more easily.
While we discussed creating custom windows and doors, we also decided that for this project we needed to - wait for it - keep things simple and buy off the shelf. We’ll have plenty of opportunities to do crazy custom stuff on other earthbag buildings on the property. But this one needs to go up as quickly as possible.
So after a quick trip to Lowe’s, we had all our rough dimensions to work from. Time to start making door frames!
Building the Door Frame & Dome Entryway Form
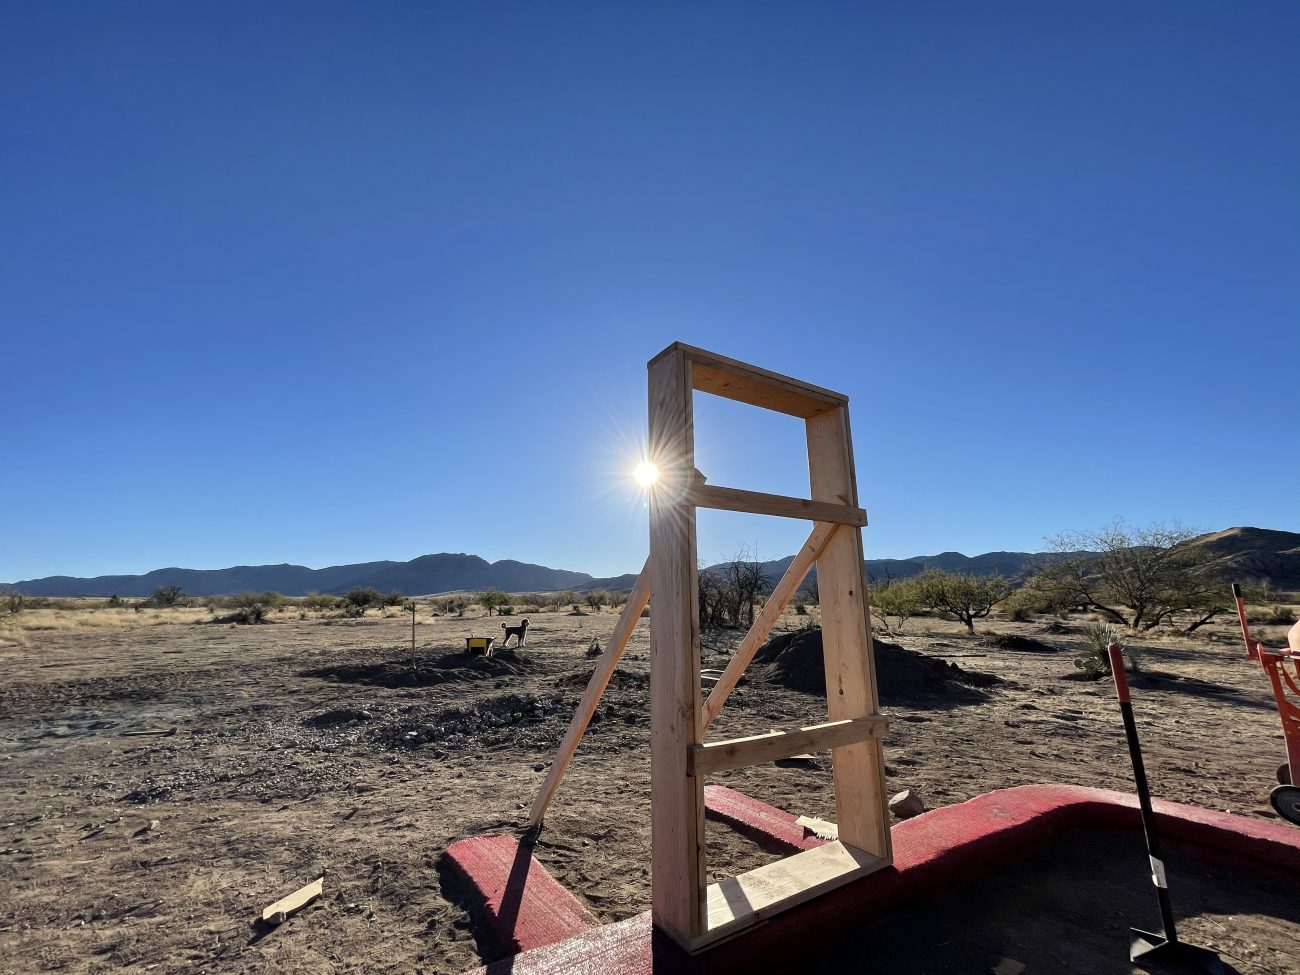
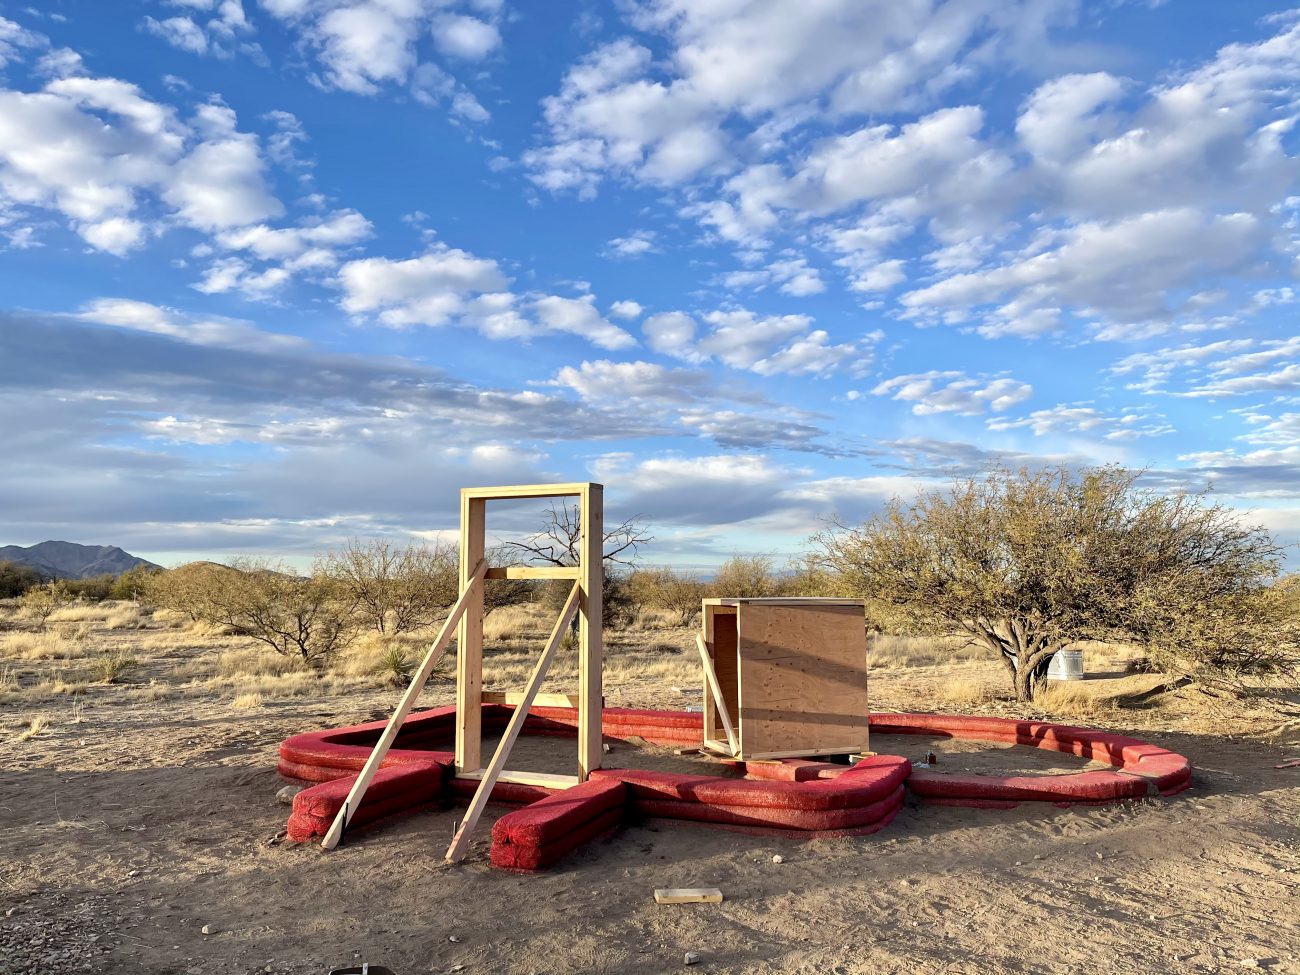
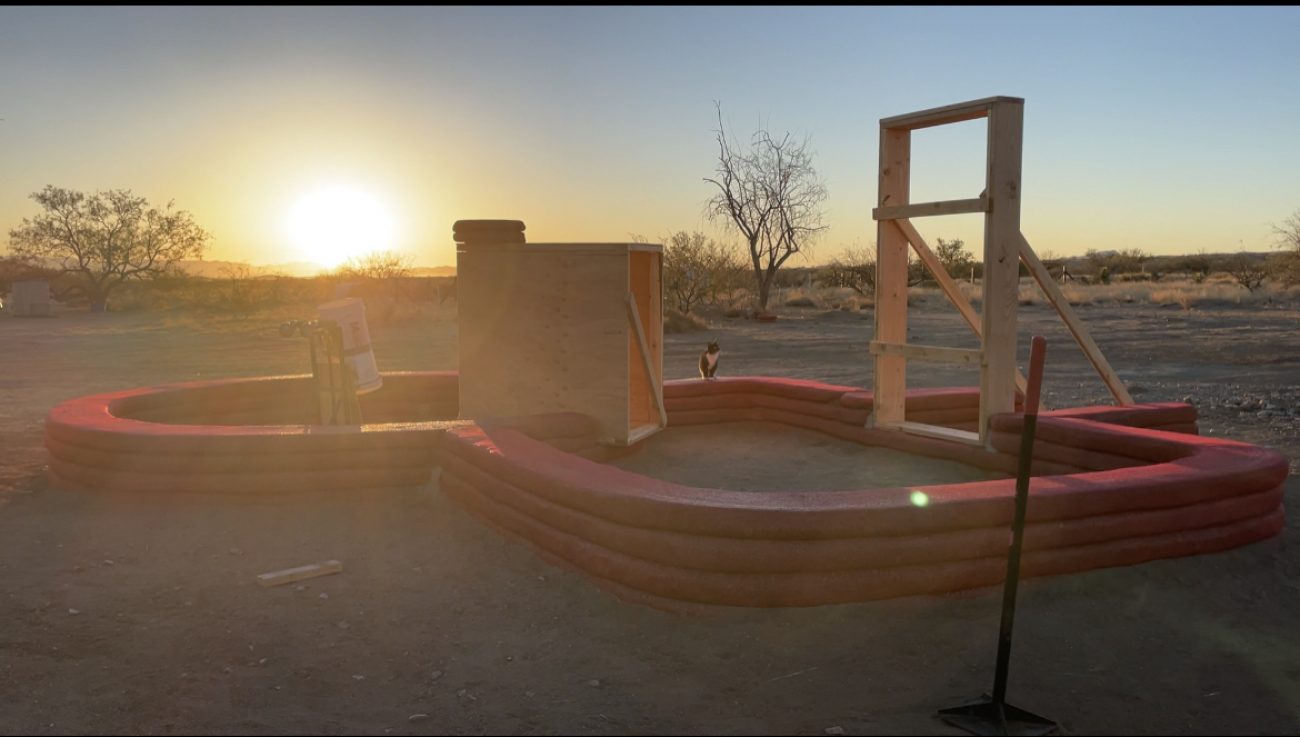
Armed with our actual dimensions, we started with the rough opening door frame. We stacked 2 2x10’s in an interlocking pattern making sure to support the top with both. We’ll add a lentil later as well. The frame was staked down into the hyperadobe bags, stabilized with some angled 2x4’s, and locked into place with cleats. More on cleats in a minute.
The dome entryway didn’t need a permanent frame, but a form that we can remove later. We used simple 2x4’s and 5/8” plywood to construct a 48”x32”x48” box that the bags can butt up to.
There’s still some discussion over here about whether we need additional buttresses on each side of this opening - we’re even considering making the circle go straight up like a cylinder instead of being a dome and putting a lentil over this entryway, and just a roof in line with the office side. What we don’t want is a doorway or nearby wall that might cave in. Still doing research, and have to decide on this very soon to keep moving forward.
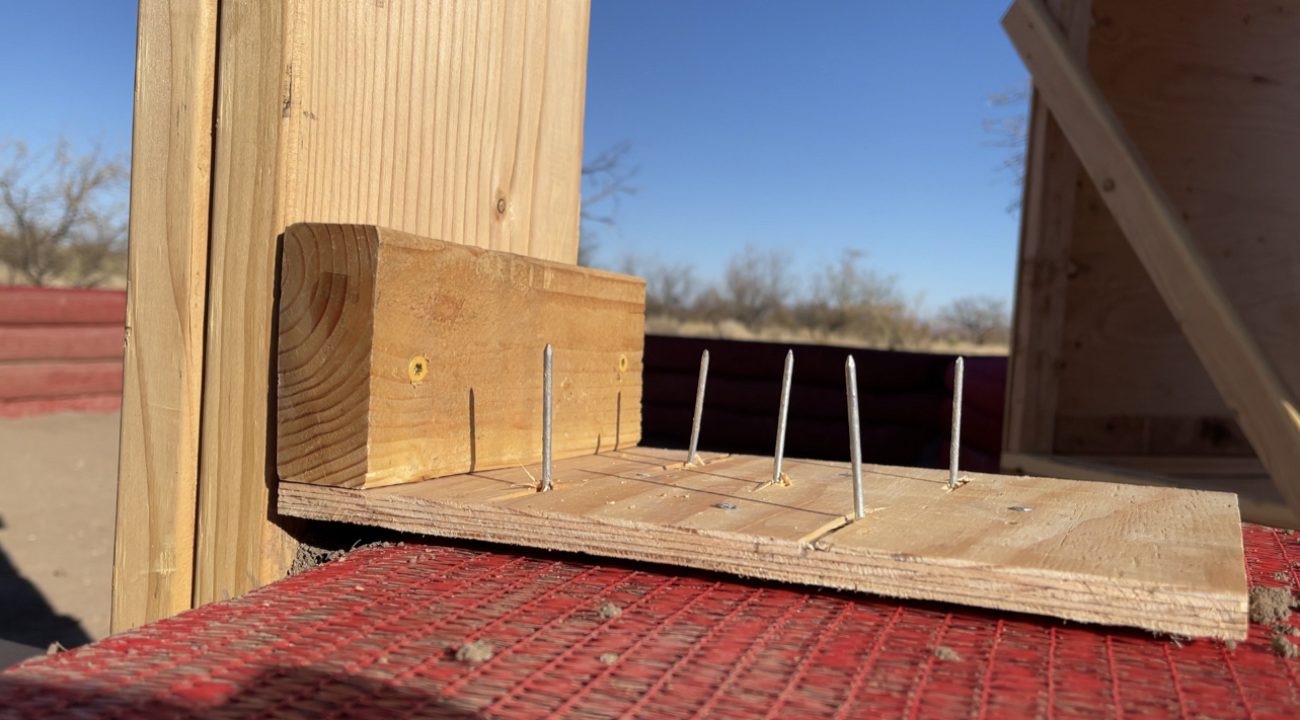
Cleats
In earthbag or hyperadobe building, cleats are a great way to mount door and window frames into your bags. You take a small piece of plywood and screw a 2x4 to it. Then you drive nails into the plywood so they come out on both sides. Butt the end of the 2x4 up to the door frame, pound it so the nails lodge in the lower bag, and screw the 2x4 into the frame. Then as you lay the next bag on top, it will also let the nails lodge into it and create a locked anchor.
We’ll add cleats every couple of layers to each side of all the door and window frames to ensure everything is nice and tight.
More bags, above ground level
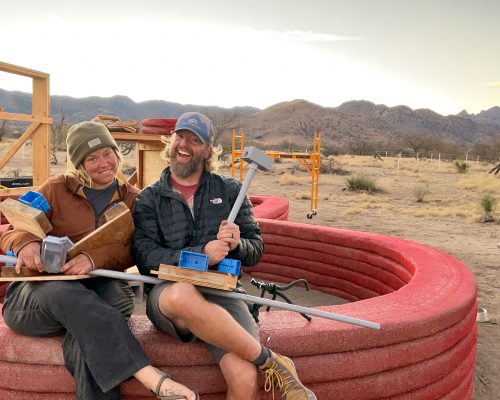
With all (most) of our decisions made, we could finally start laying bags again! It was around this time that we really started to hone our process, get faster, and require fewer people to do the work. You may remember when we started, all 6 of us were going at it - sifting dirt, moving it to the mixer, mixing it with cement and water, and filling and holding the bags.
Here’s what sped things up:
- Sifted dirt beforehand so a large pile was there and ready
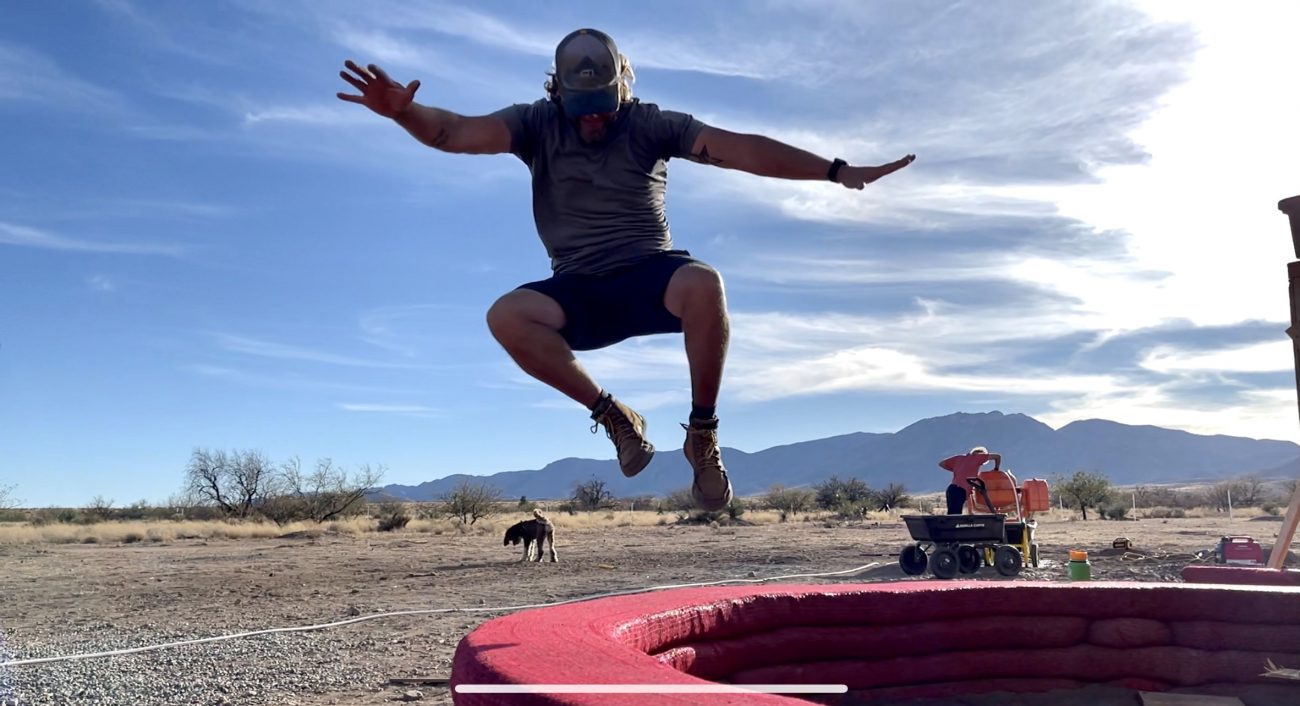
- Moved the cement mixer right next to the pile so only one person was needed to add dirt and water
- Got up high enough past the foundation that we could remove the cement from the mixture and simplify to dirt and water
- Got a better dual-wheeled wheelbarrow that would’t fall over when transferring from the mixer into the cart
- Built a bucket and dolly delivery system that allowed a single person to add dirt to the bags without having to hold the bucket all the time - we’ll have a full video and article on this soon detailing how we made it.
This combined with the fact that putting the doorways in meant less bags were needed helped us really speed up each level. Currently we are 4 courses above ground. If you add in the 3 below ground, we’ve already gone up 7 courses or nearly 3 feet!
Next Steps
Even though we’re in full bag mode, we are already planning our next steps. We have to
- Decide on where electrical outlets, lights, and switches will be, begin planning to run wires for outlets
- Fill the interior ground up to the floor level, and decide what kind of floor we’re going to make
- Decide if the dome will be a dome or cylinder - this will greatly affect the entryway and roof for the circle portion
Whew! We’re getting excited about our progress now that we can actually see it out the window of our Airstream. Lots more coming soon, friends!
Apparel
Grab a fun, comfy t-shirt & help support our family.


About the Author
Ashley Longnecker is the fiercely independent tattooed and dreaded half of Tiny Shiny Home. She's a woodworker, photographer and maker of delicious baked goods. She loathes schedules and makes every day an adventure.
comments powered by Disqus