Fencing Part 3 - Connecting Electric, Securing Gates, & Cleaning Up
Well friends, we've finally made it to the end of our fencing saga! It's been a long 5 weeks of back breaking work in the punishing Arizona summer sun. But we are so excited to be wrapping this one up.
We started by running strings at each corner post and clearing any trees, bushes or grass that would get in the way of the fence. Then we prepped and set all our corner posts in preparation for our fencing workshop.
Finally, we had to finish installing the corner braces, running the high tensile wire, and hanging the gates to get everything closed in to keep those dang cows out.
Which brings us to the final few steps in the process. Connecting the electric, finishing the gates, tying off the Gripples, and cleaning everything up.
Like I said, it's been a long 5 weeks! Let's take a look at how we finished up.
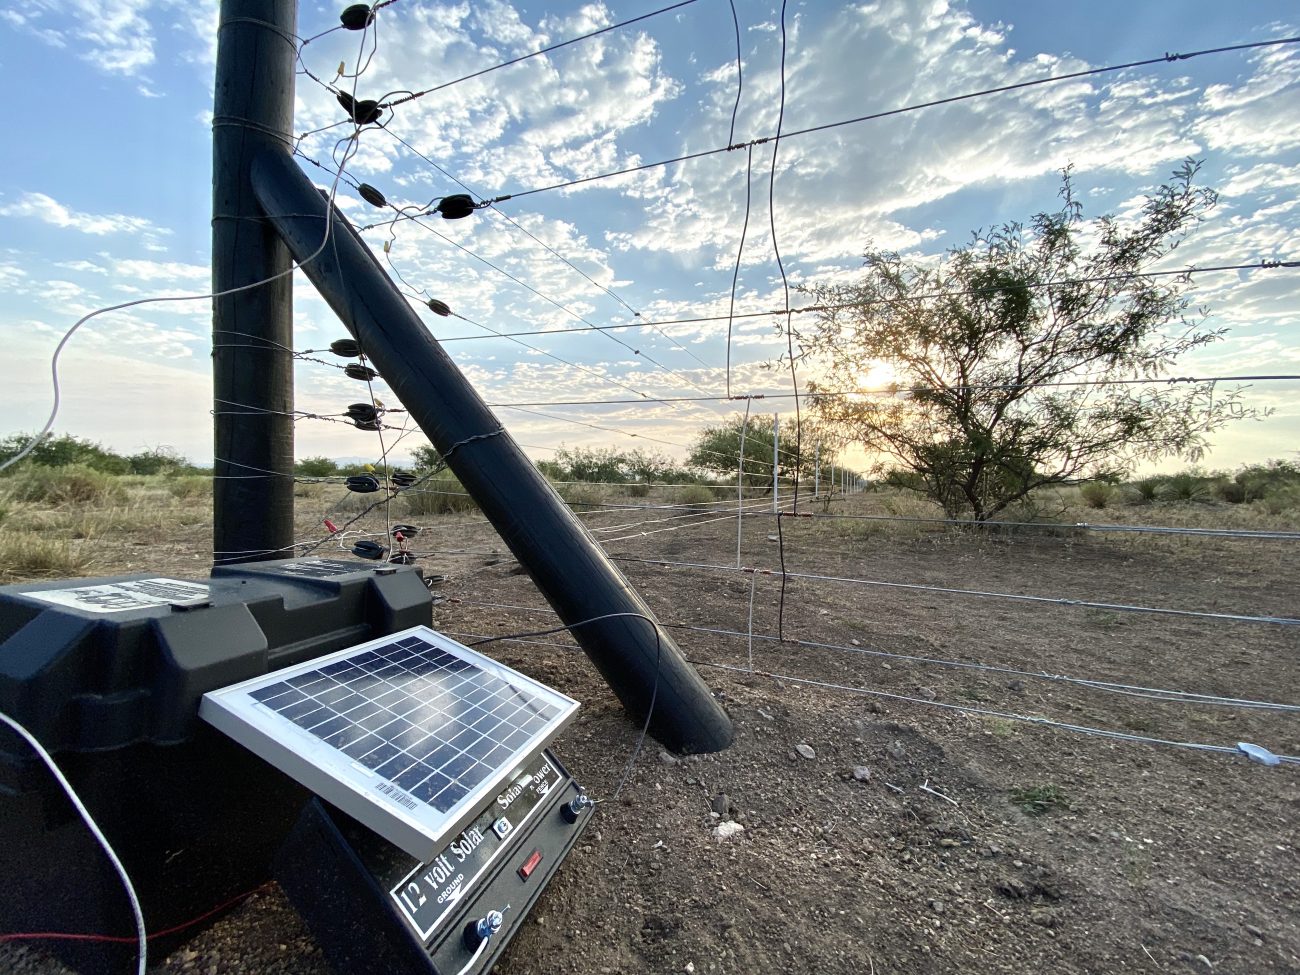
Connecting the Solar Electric Fence Charger
Moses from High Desert Homestead recommended this 2 Joule 12 volt Solar electric fence charger from Electra Mfg. It's a super simple, no frills system that only provides a shock if both the hot and ground wire are touched at the same time.
All you have to do is connect the hot lines together and the ground lines together - then hook it up to a 12v marine battery. Your fence is energized!
Well - almost. Because we chose to use wooden corner posts and insulators, that meant that we needed to make sure the current continued past those corners and gates and energized the fence all the way down the line.
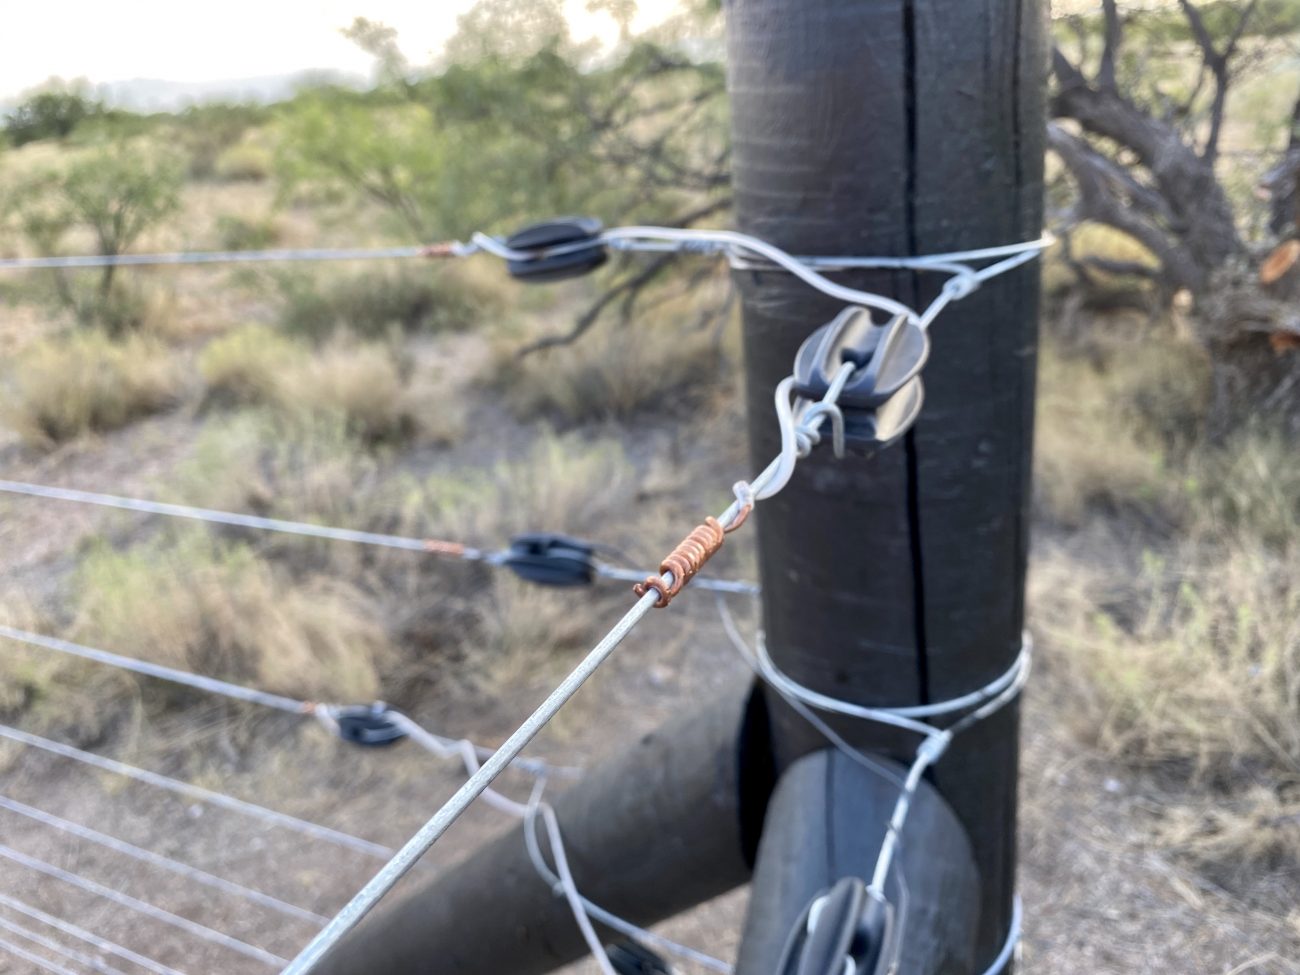
So at each corner we used 12 gauge insulated copper wire to jump from the live part of each line on both sides of the insulator.
For gates, we connected underground Romex to a hot and ground on one side, dug a trench for the wire, and reconnected on the other side of the gate. Then we had to jumper all the hots and grounds together again so that all 9 wires would be energized.
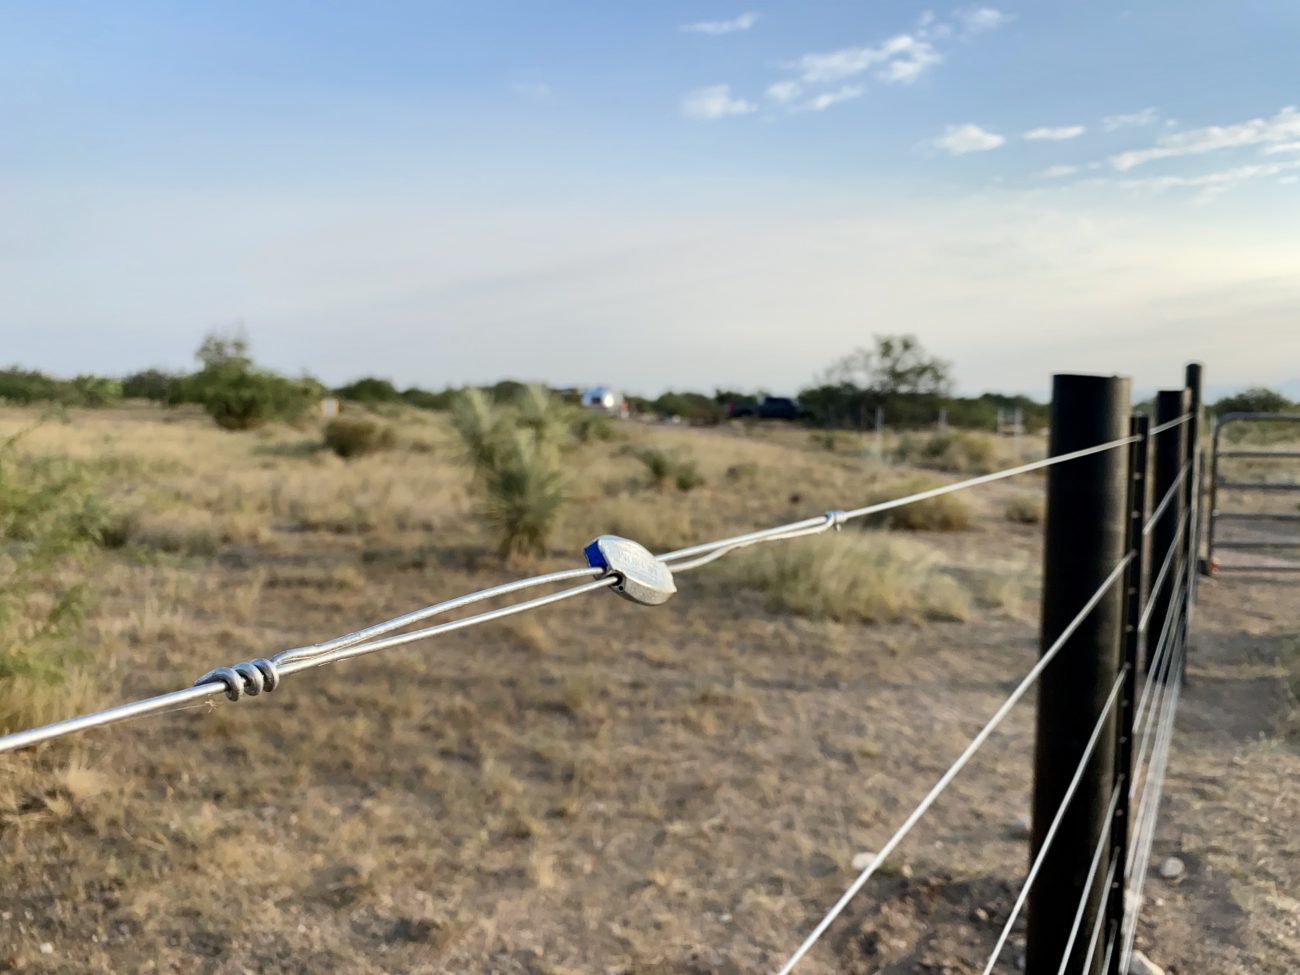
Tying off Gripples
Another important part of the electrifying process was to clean up our Gripple connections. Once you pull the high-tensile wire through each end and use the tool to tighten it up, you're left with a bunch of loose wires.
These could easily touch each other, ground out the system, and make the whole electric part not work very well.
Plus it looks bad and can poke your eye out!
So we went about trimming and wrapping on each side of the Gripple. This ended up being a huge pain, and we highly recommend using locking pliers (channel locks) to grab the wire to keep it from twisting while you wrap it.
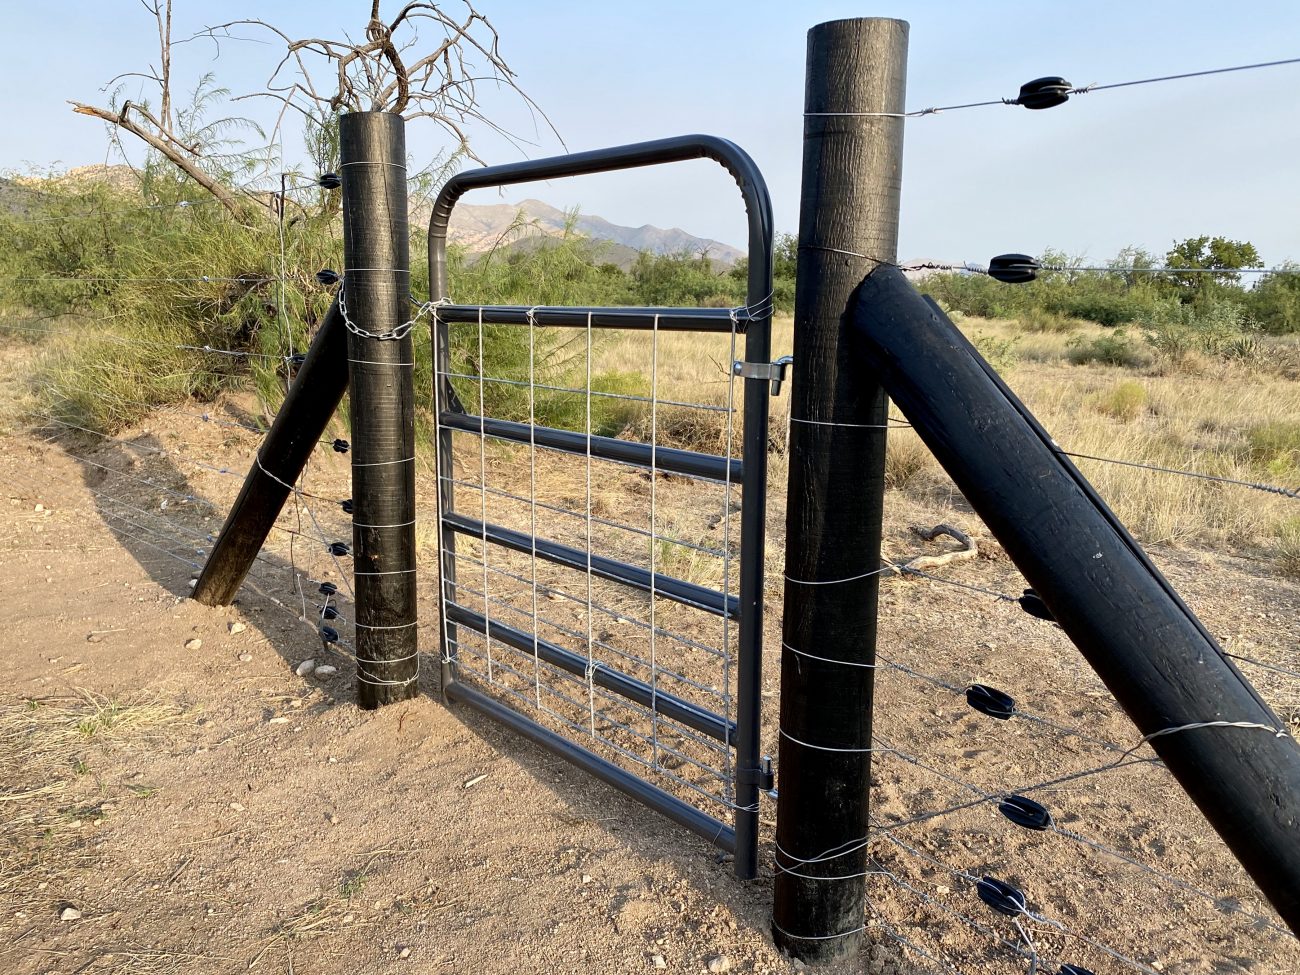
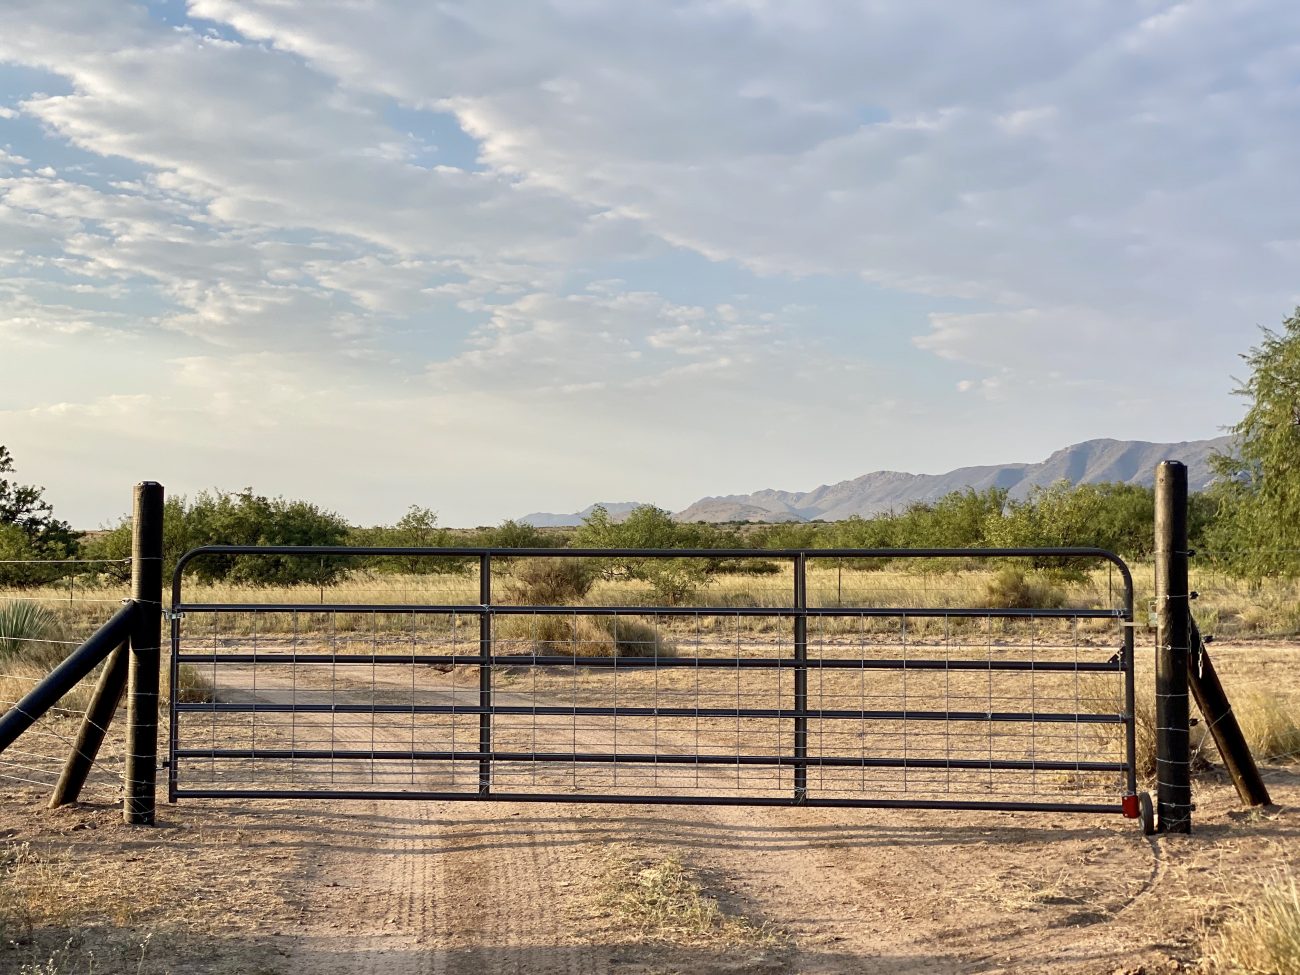
Finishing the Gates
Now that we were electrified, it was time to add some more security to our wide open tube gates. We grabbed some hog panel and hung it so that smaller animals couldn't sneak through.
Then we found these super handy one-handed latches and installed them for the main gates. So much easier for the kids to open and close them now!
Cleaning Up the Fence Line
As you can imagine, we left behind a huge mess of concrete bags, cut wire, chainsawed wood, and more at each major corner. It took several trips, but we finally got it all cleaned up.
We also chopped off the tops of our corner posts as they were too tall at nearly 6' above ground. This created a more finished look, and we love how it turned out.
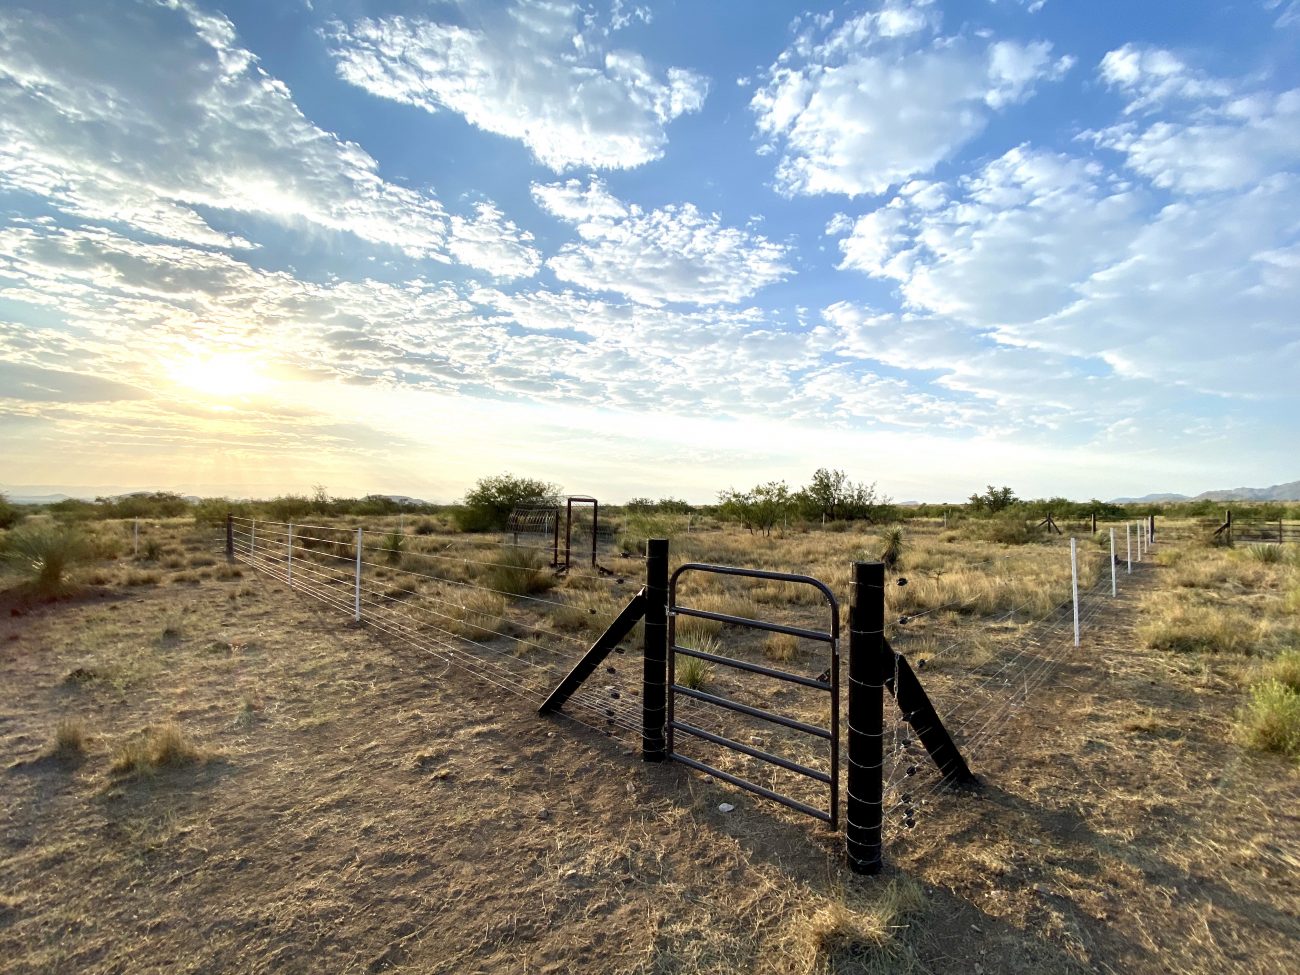
Bonus Fence Project - Adding an Animal Paddock!
Just when I thought we were finished fencing, Ashley talked me into one last project. There was a section on the property that would be perfect to fence in some animals - and if we did it right could use part of the existing fence line.
So we did some planning and were able to install a 9,000 square foot fenced area using two existing fence lines and adding to it over the weekend.
This is where the Timeless Fence System really starts to shine in it's versatility and flexibility.
We pulled up a few of the t-posts and pushed the whole line back to auger and install a corner post to run the new fence line perpendicular to the existing one. Then we slid the t-post down to mount right to the face of the new wood post we just put in.
It was crazy how fast we were able to put up and enclose the area now that we (kind of) know what we're doing.
What's Next?
First up, we're finalizing a full fencing cost breakdown that we'll share in detail soon.
But more importantly, finishing this fence is a huge step forward for us.
Up to this point, all our work on the property has been preparation. The driveway was added for deliveries and easy access. The water storage tank and solar powered pump house was installed so we could have quick access to water without every day. The shade sails were put up to keep us cool during the summer. And the floating shou sugih ban deck was built for additional hangout space and to keep us up above monsoon mud and critters.
And this fence - it's the final major prep project.
Now that we've secured the perimeter, it's time to start creating our dream property. There are going to be so many fun projects coming soon. And we can't wait to share all of them with you.
If you're not already subscribed, make sure to sign up below so you don't miss anything!
Apparel
Grab a fun, comfy t-shirt & help support our family.


About the Author
Jonathan Longnecker is the strongly opinionated tattooed and bearded half of Tiny Shiny Home. He loves making music, figuring out nerdy solutions, exploring the outdoors, and living off-grid.
comments powered by Disqus